This protocol describes how mussels were sourced, how they were induced to attach to standardized mica substrates, and how their byssal threads were collected and stored for mechanical testing in the PSMFC byssus pilot. The same platform design can be reused for any experiment that needs threads on a smooth, uniform surface.
1. Specimen collection
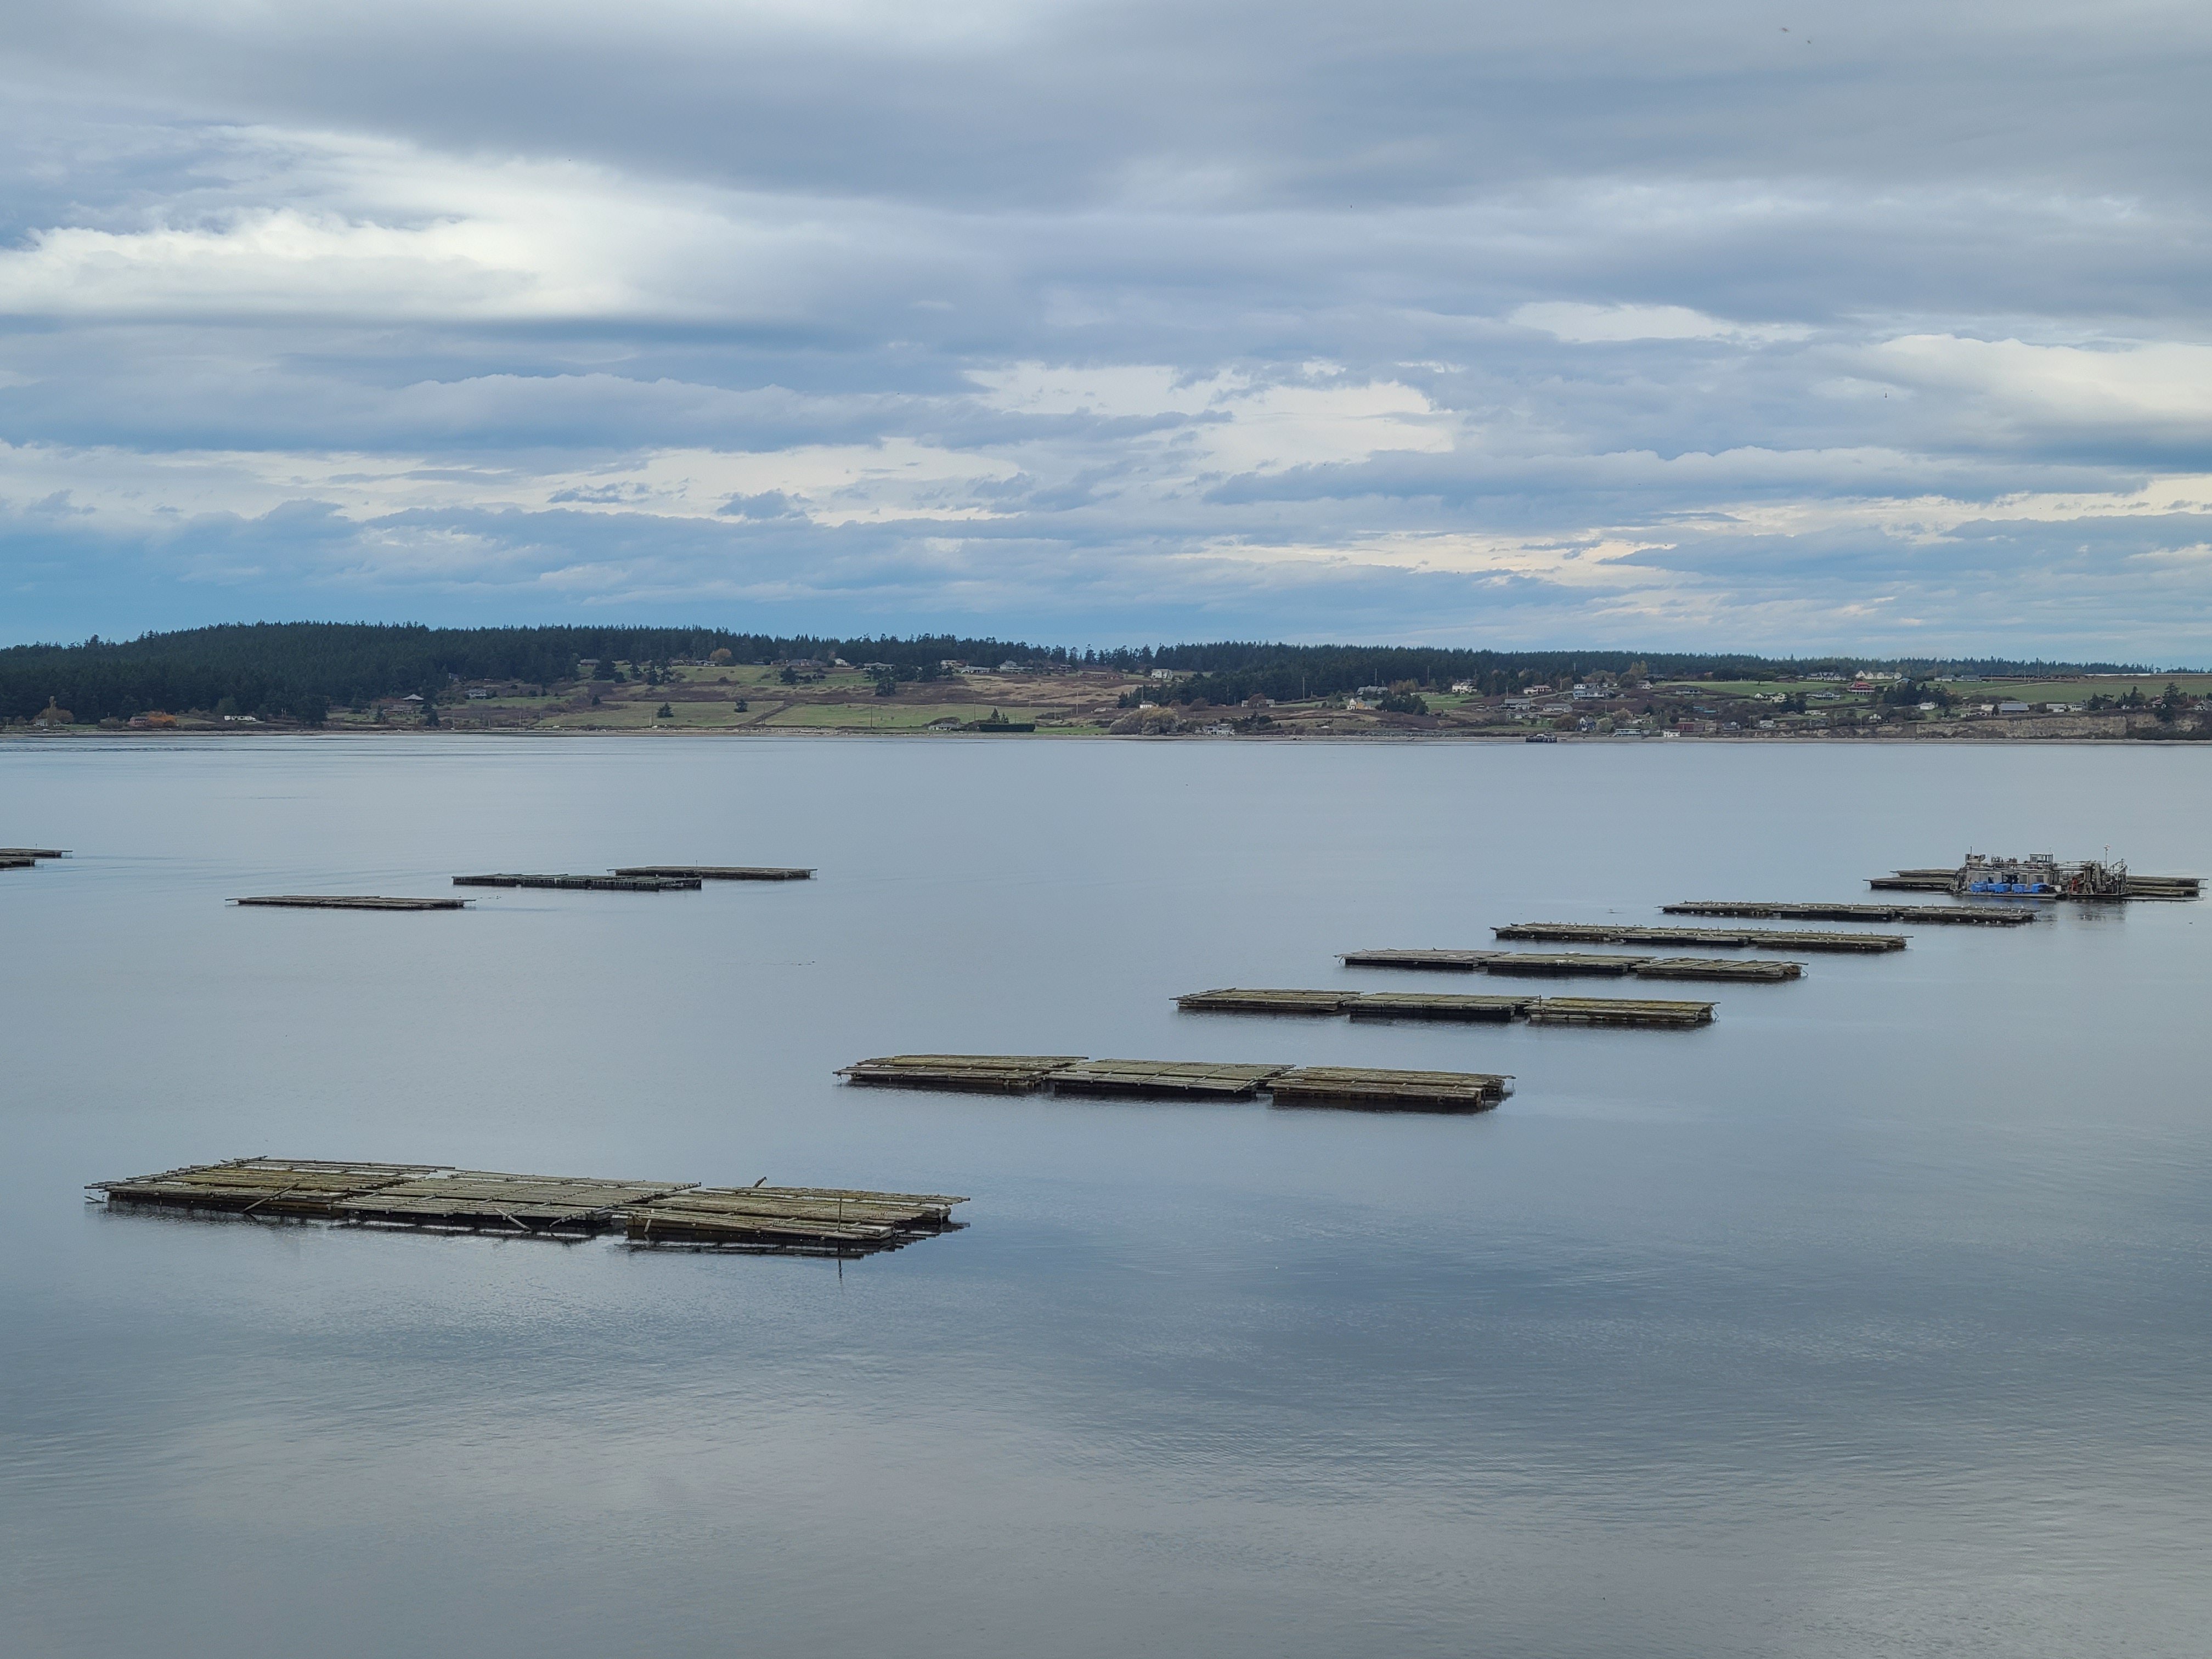
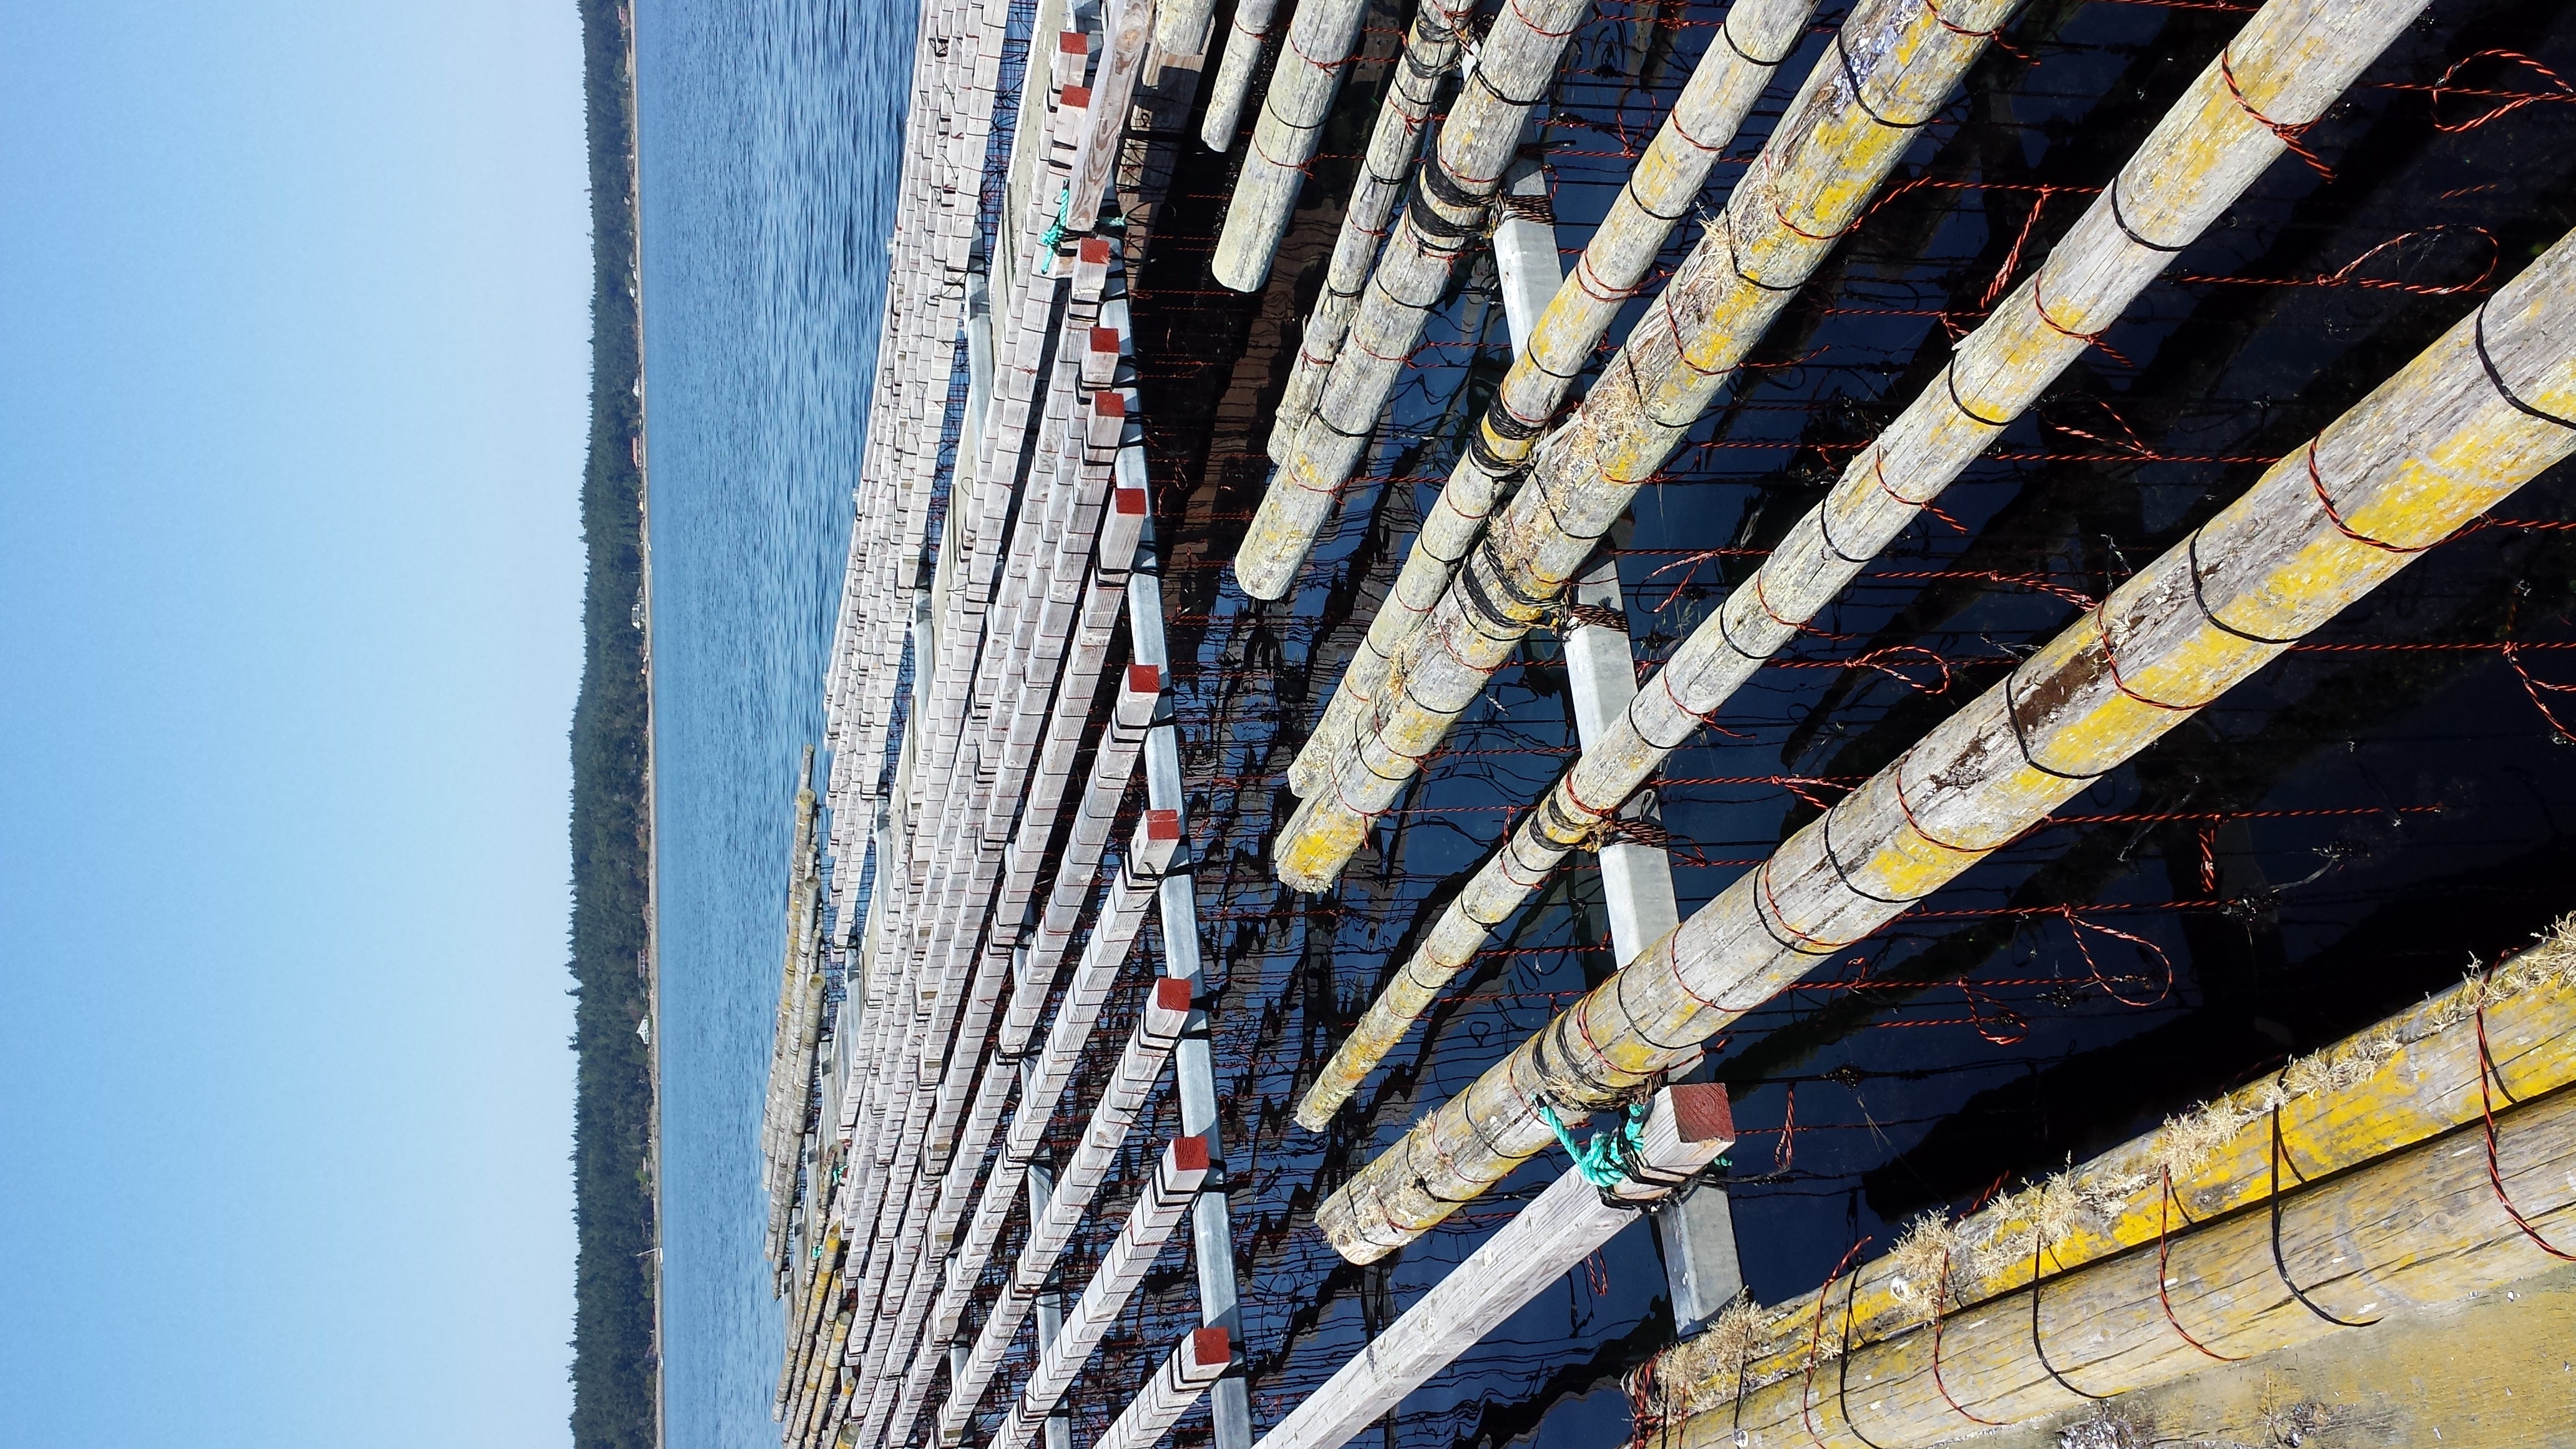
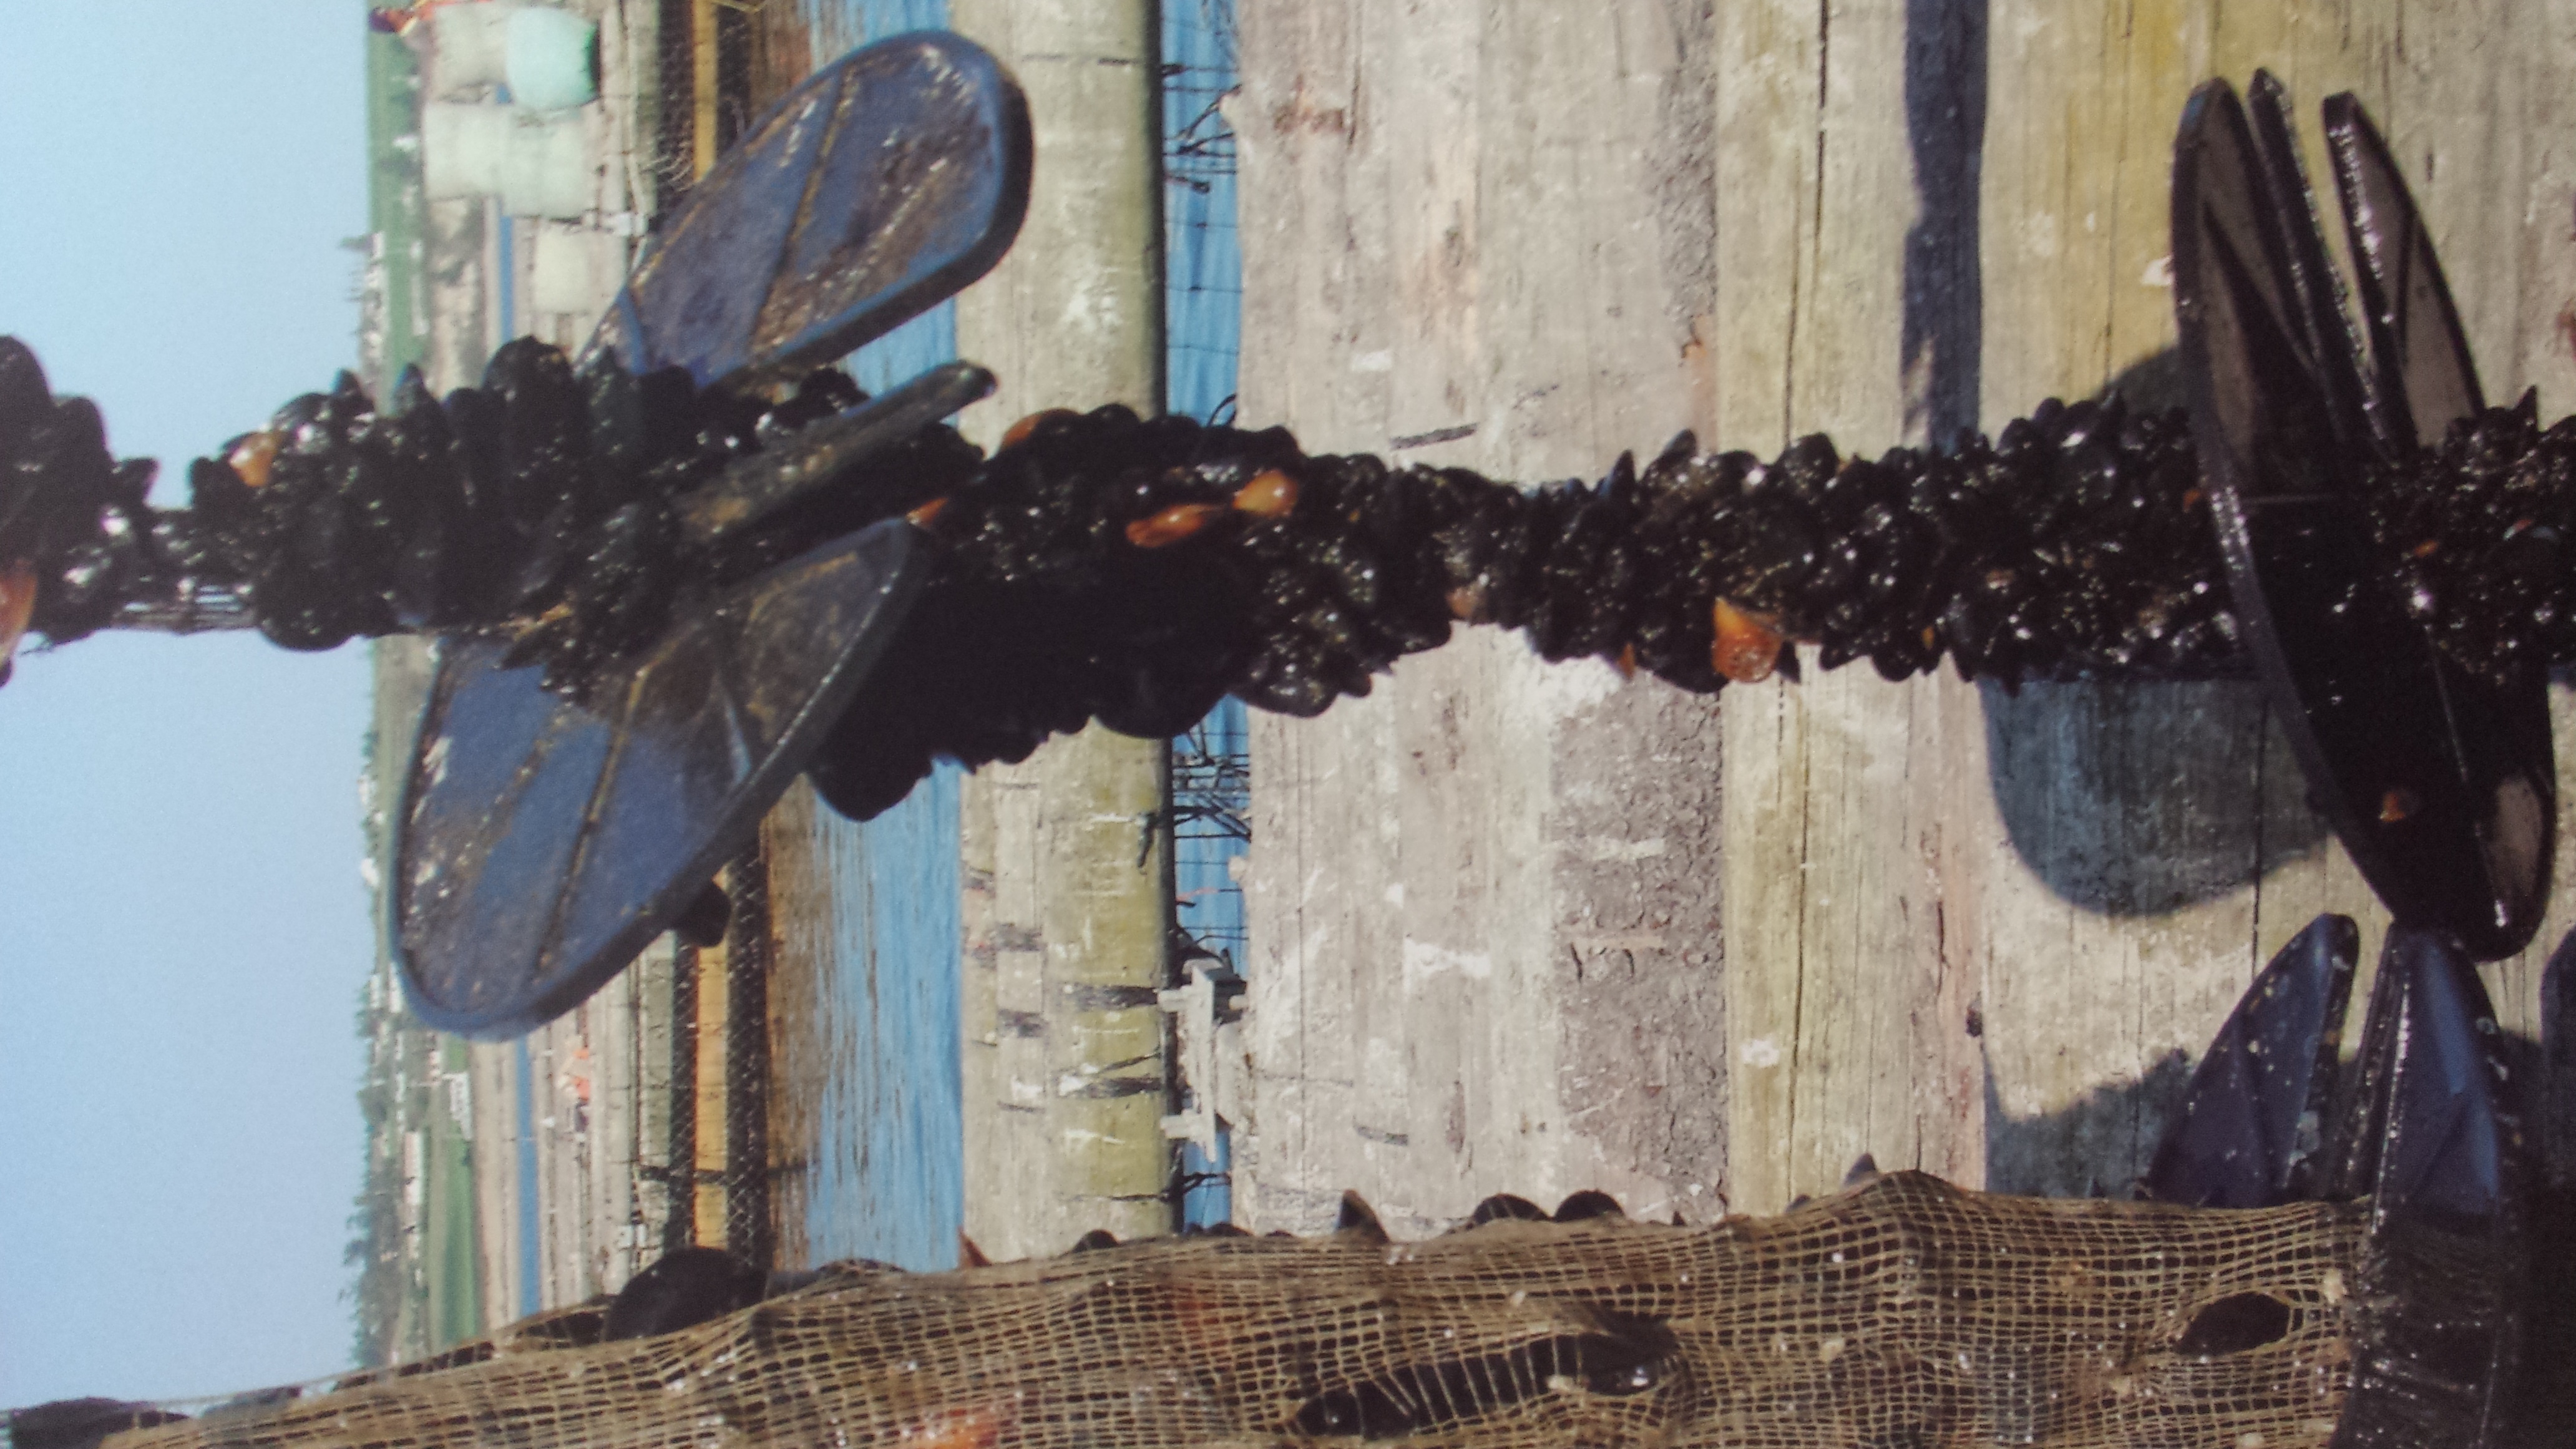
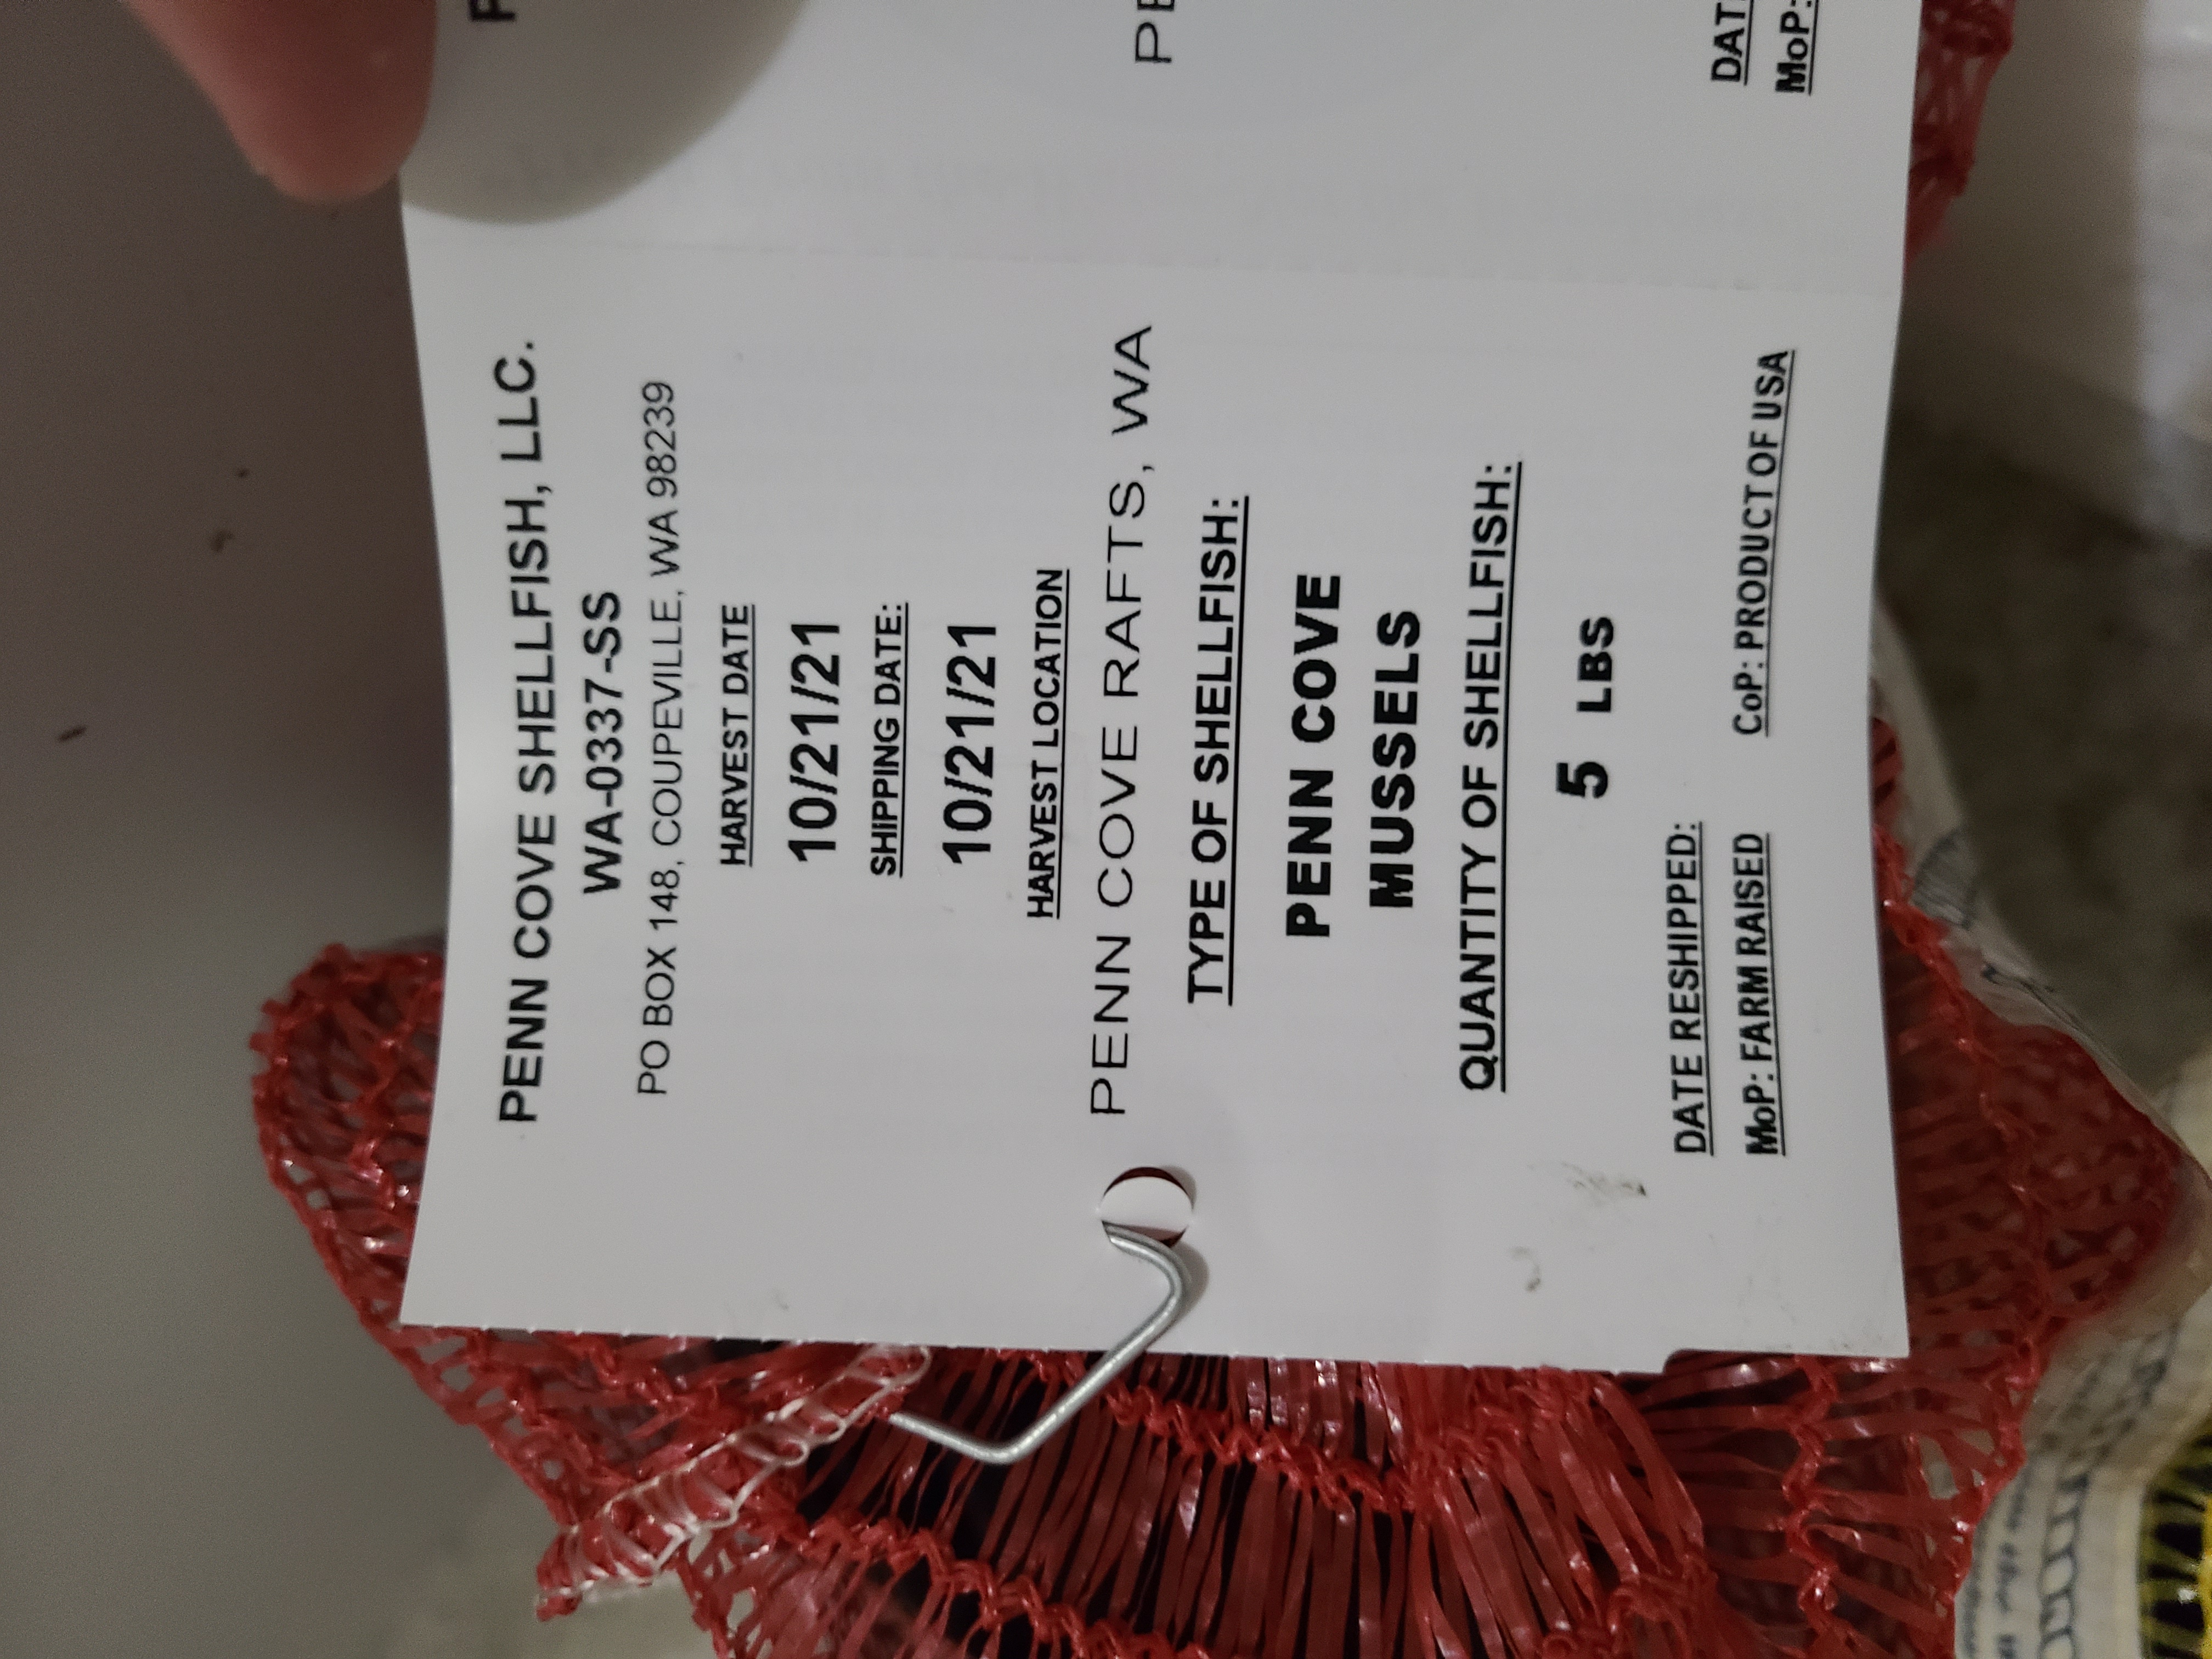
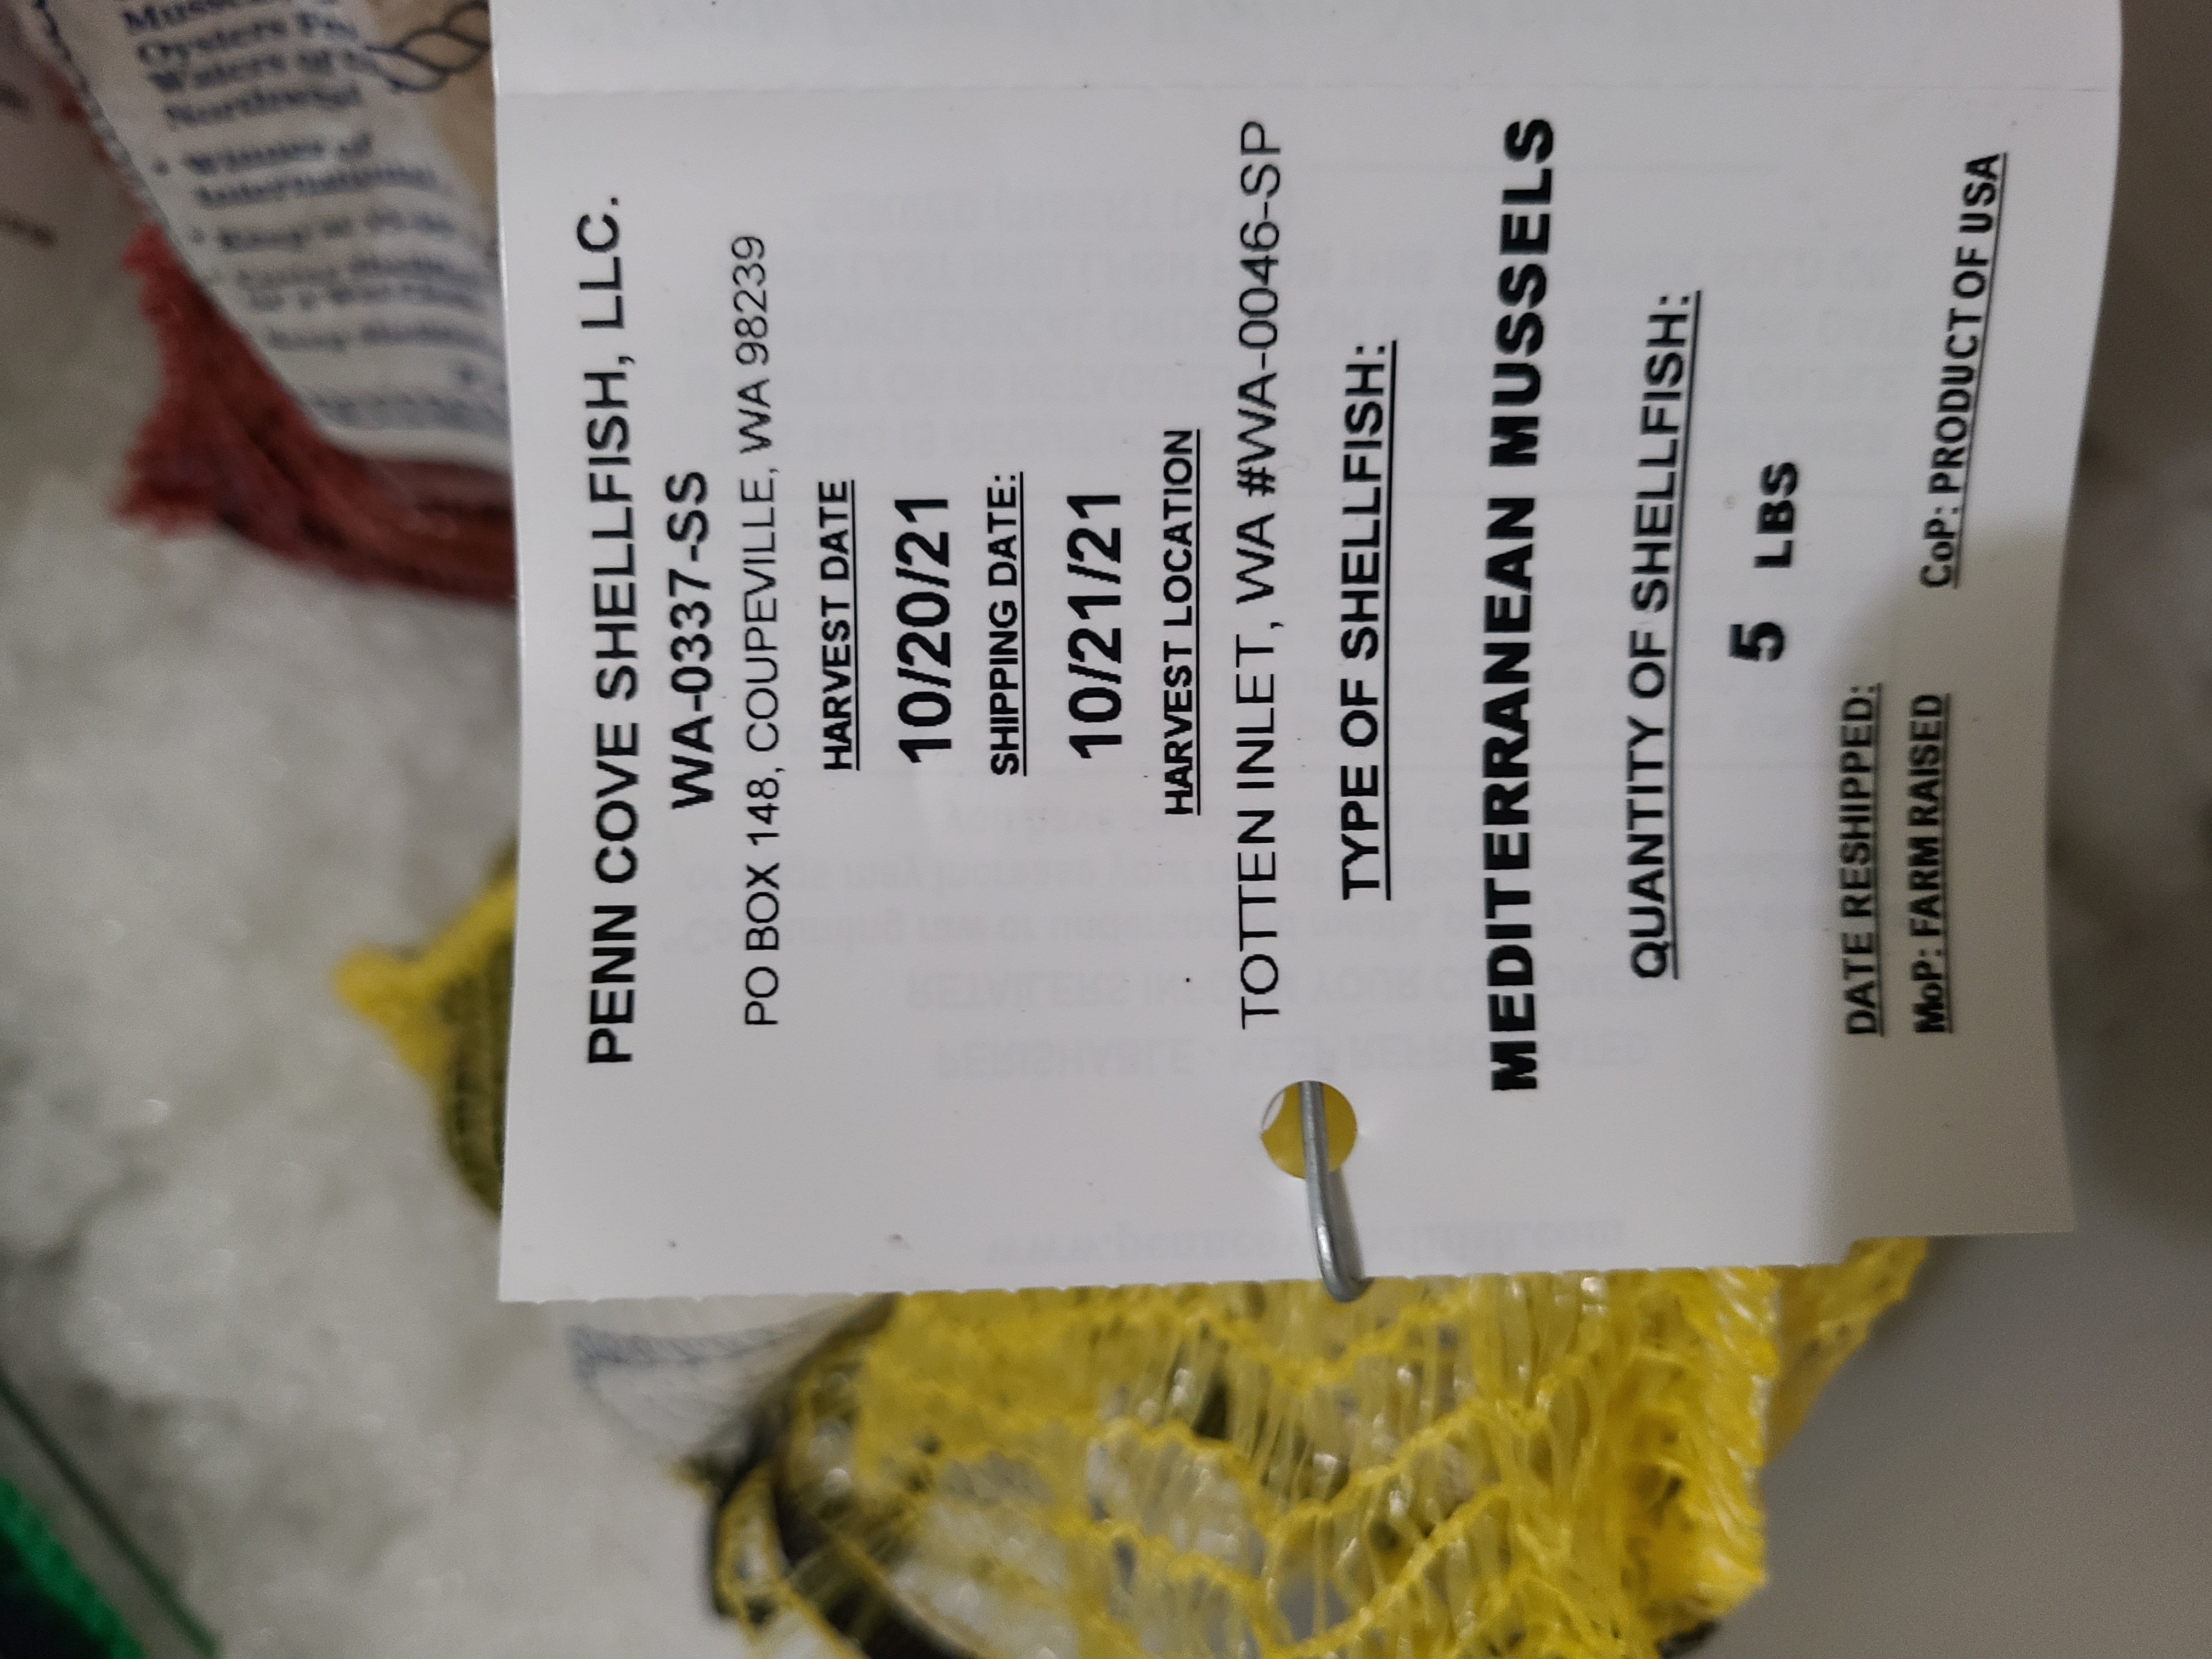
About 500 mussels (Mytilus trossulus and M. galloprovincialis) were obtained from Penn Cove Shellfish (Coupeville, WA). Mussels were taken directly from the aquaculture lines rather than from packed product, to avoid the stress of commercial harvesting and packaging. According to the shipping tags, the two lots were:
| Lot (as labeled) | Species | Harvest location | Harvested | Shipped | Quantity |
|---|---|---|---|---|---|
| Penn Cove mussels | M. trossulus | Penn Cove rafts, Whidbey Island, WA | 21 Oct 2021 | 21 Oct 2021 | 5 lb |
| Mediterranean mussels | M. galloprovincialis | Totten Inlet, WA (harvest area WA-0046-SP) | 20 Oct 2021 | 21 Oct 2021 | 5 lb |

2. Thread production
2.1 Choosing a substrate
Mussels were induced to attach to mica. Muscovite mica is hydrophilic and cleaves into smooth, crystalline sheets, giving a reproducible surface on which differences in adhesion are not confounded by surface roughness or chemical heterogeneity. Cellulose acetate is a reasonable alternative. Metals and hydrophobic surfaces should be avoided unless they are part of the study design.
The main challenge is finding enough natural mica sheets of the right size and thickness. Search for natural “muscovite” mica sheets or tiles sold for crafts or electrical insulation, and check that they are natural rather than reconstituted. The smallest sheets I have used successfully were 2 in × 2.3 in, about 0.1 in thick.
| Mica option | Suitable? | Notes | Example listing (2022-23) |
|---|---|---|---|
| Pressed (reconstituted) mica, e.g. microwave waveguide covers | No | Ground mica mixed with a heat-resistant binder and pressed into shape; the surface is not crystalline. | Amazon B09ZB5R4F1 |
| Natural mica slabs sold for art and stenciling | Rarely | Natural mica, but usually too thick, irregular in shape, and expensive. | Amazon B00161O5UI |
| Natural mica sheets for microwave repair | No | Inexpensive and natural, but cut too small. | Amazon B07P4CG33S |
| Clear mica tiles, 2×3, 3×3, and 3×5 in, packs of 10 | Yes | Works; buy several sizes and trim to a uniform size. Relatively expensive. | Etsy listing 820460402 |
| Bulk natural muscovite sheets from a manufacturer | Yes | Cuts to size with bulk pricing; worth contacting for large or repeat orders. | Alibaba listing 1600553787122 |
2.2 Building the attachment platforms
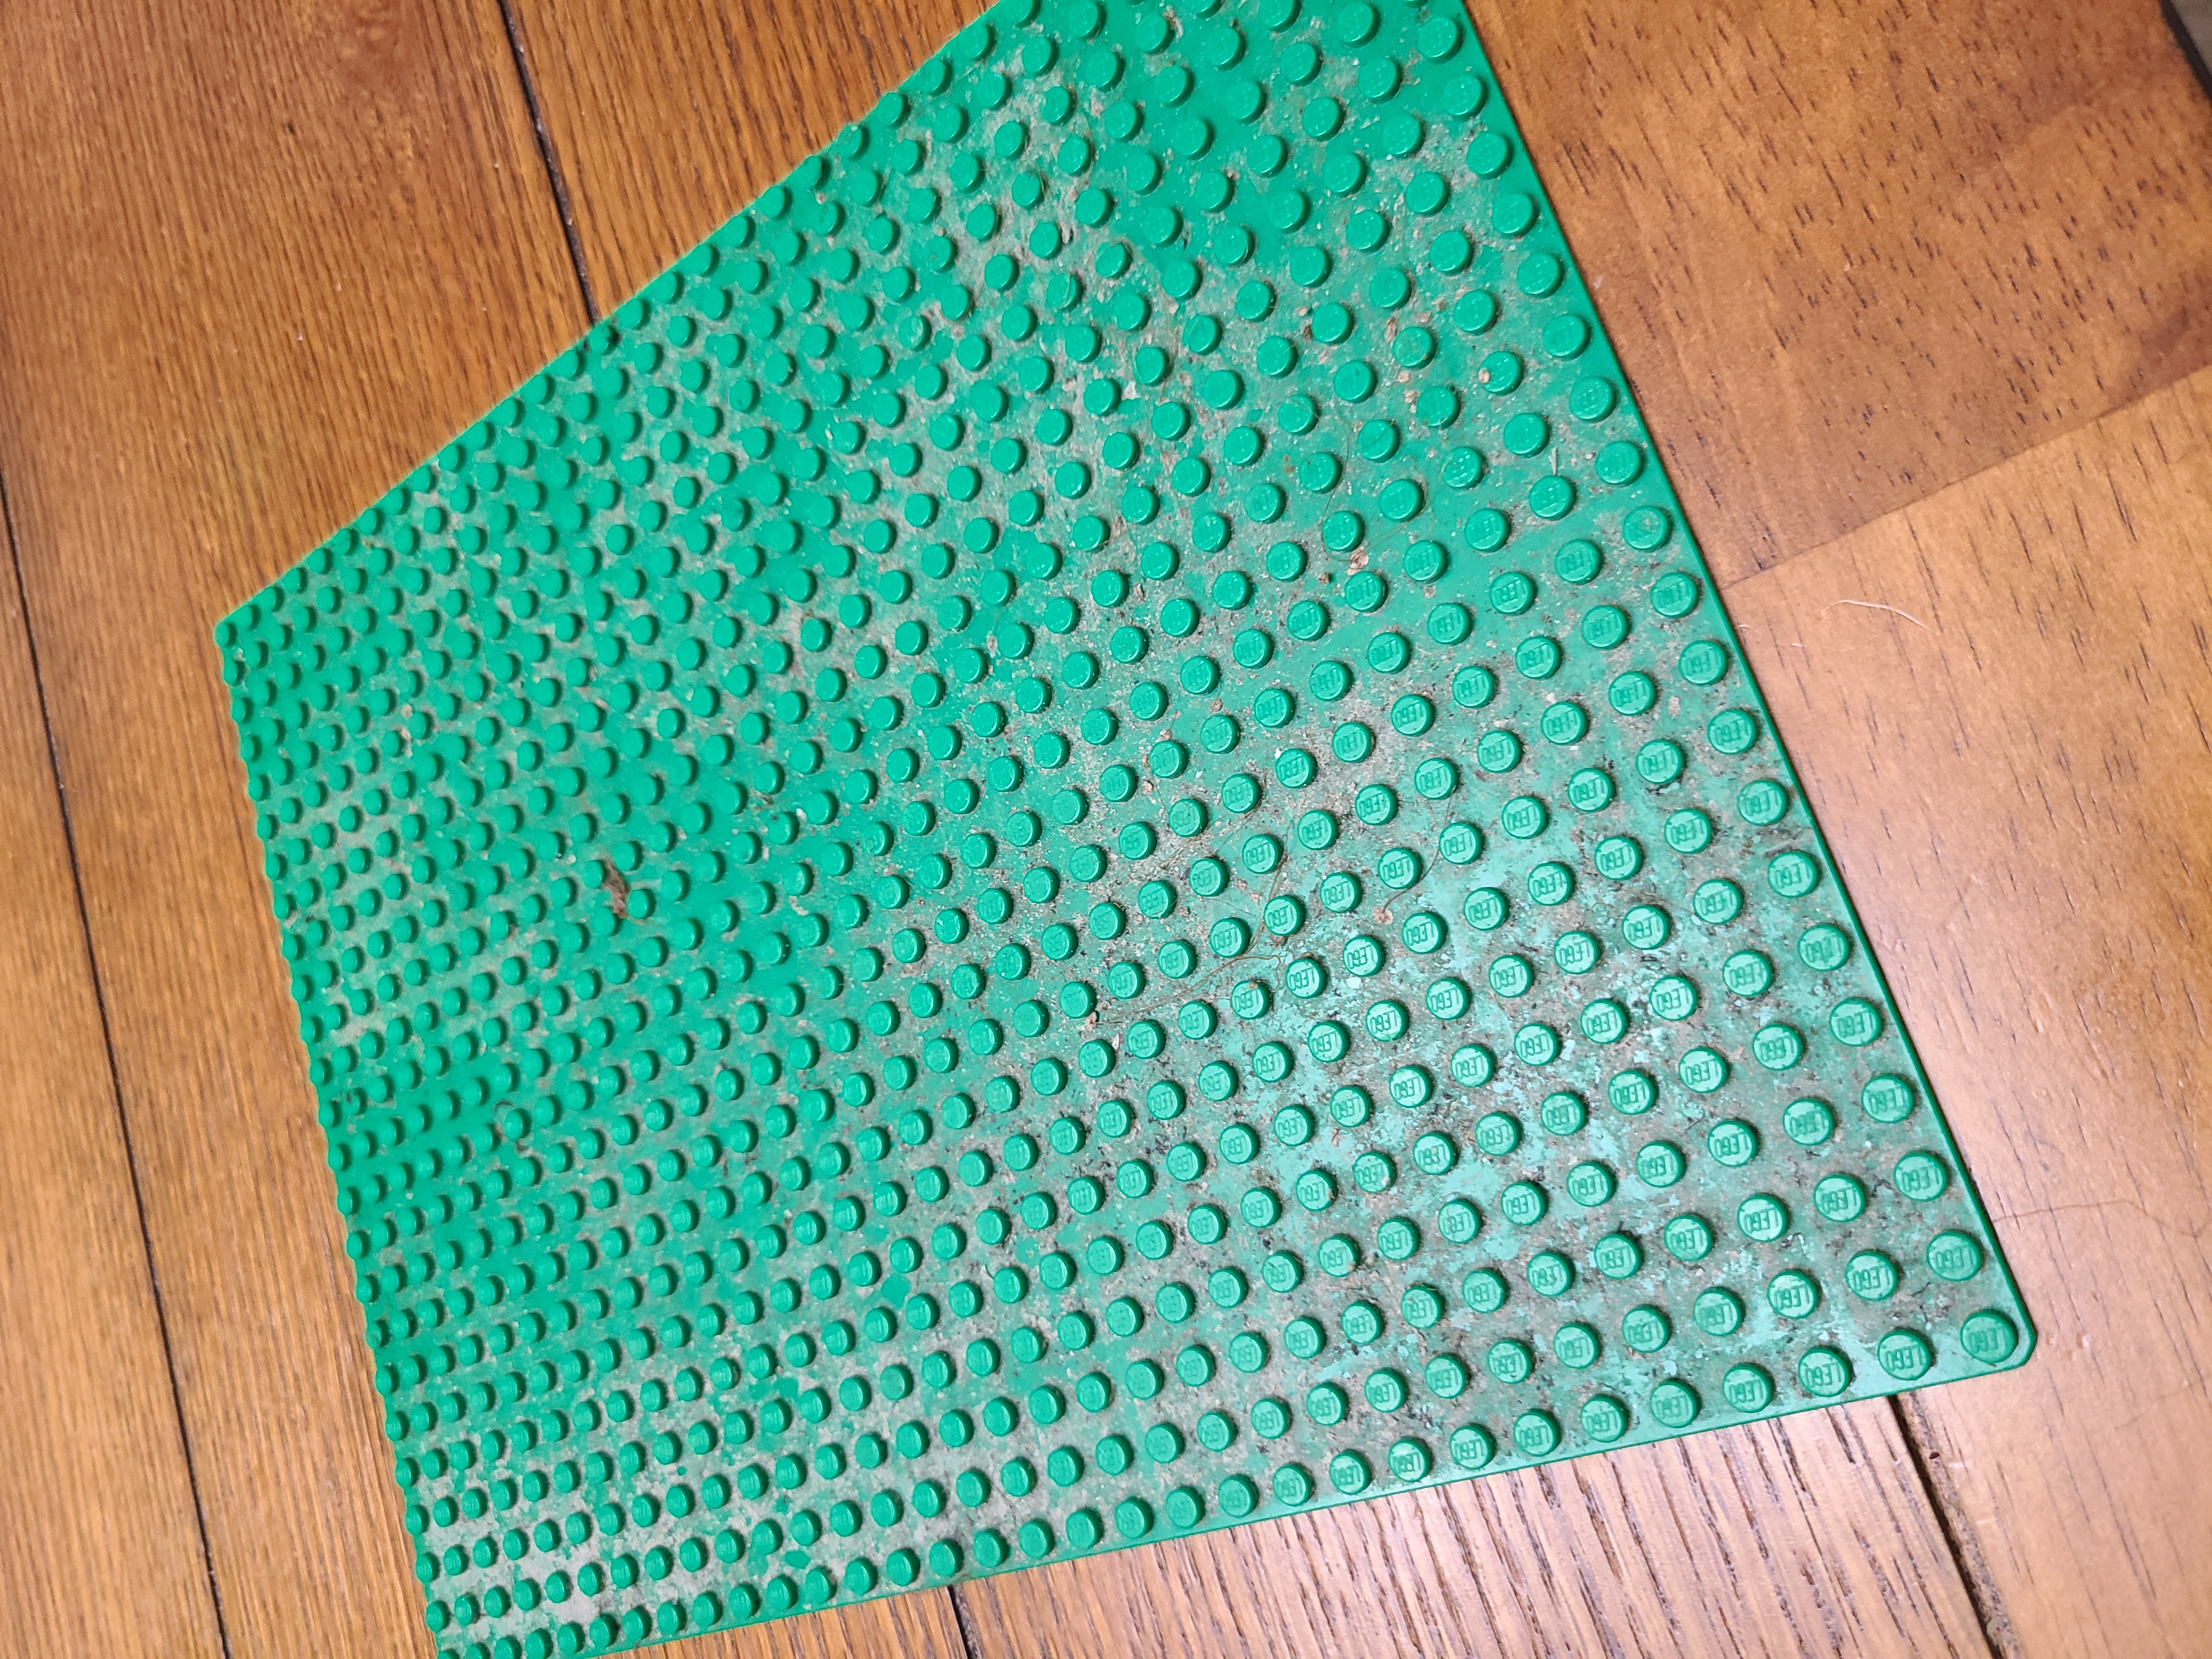
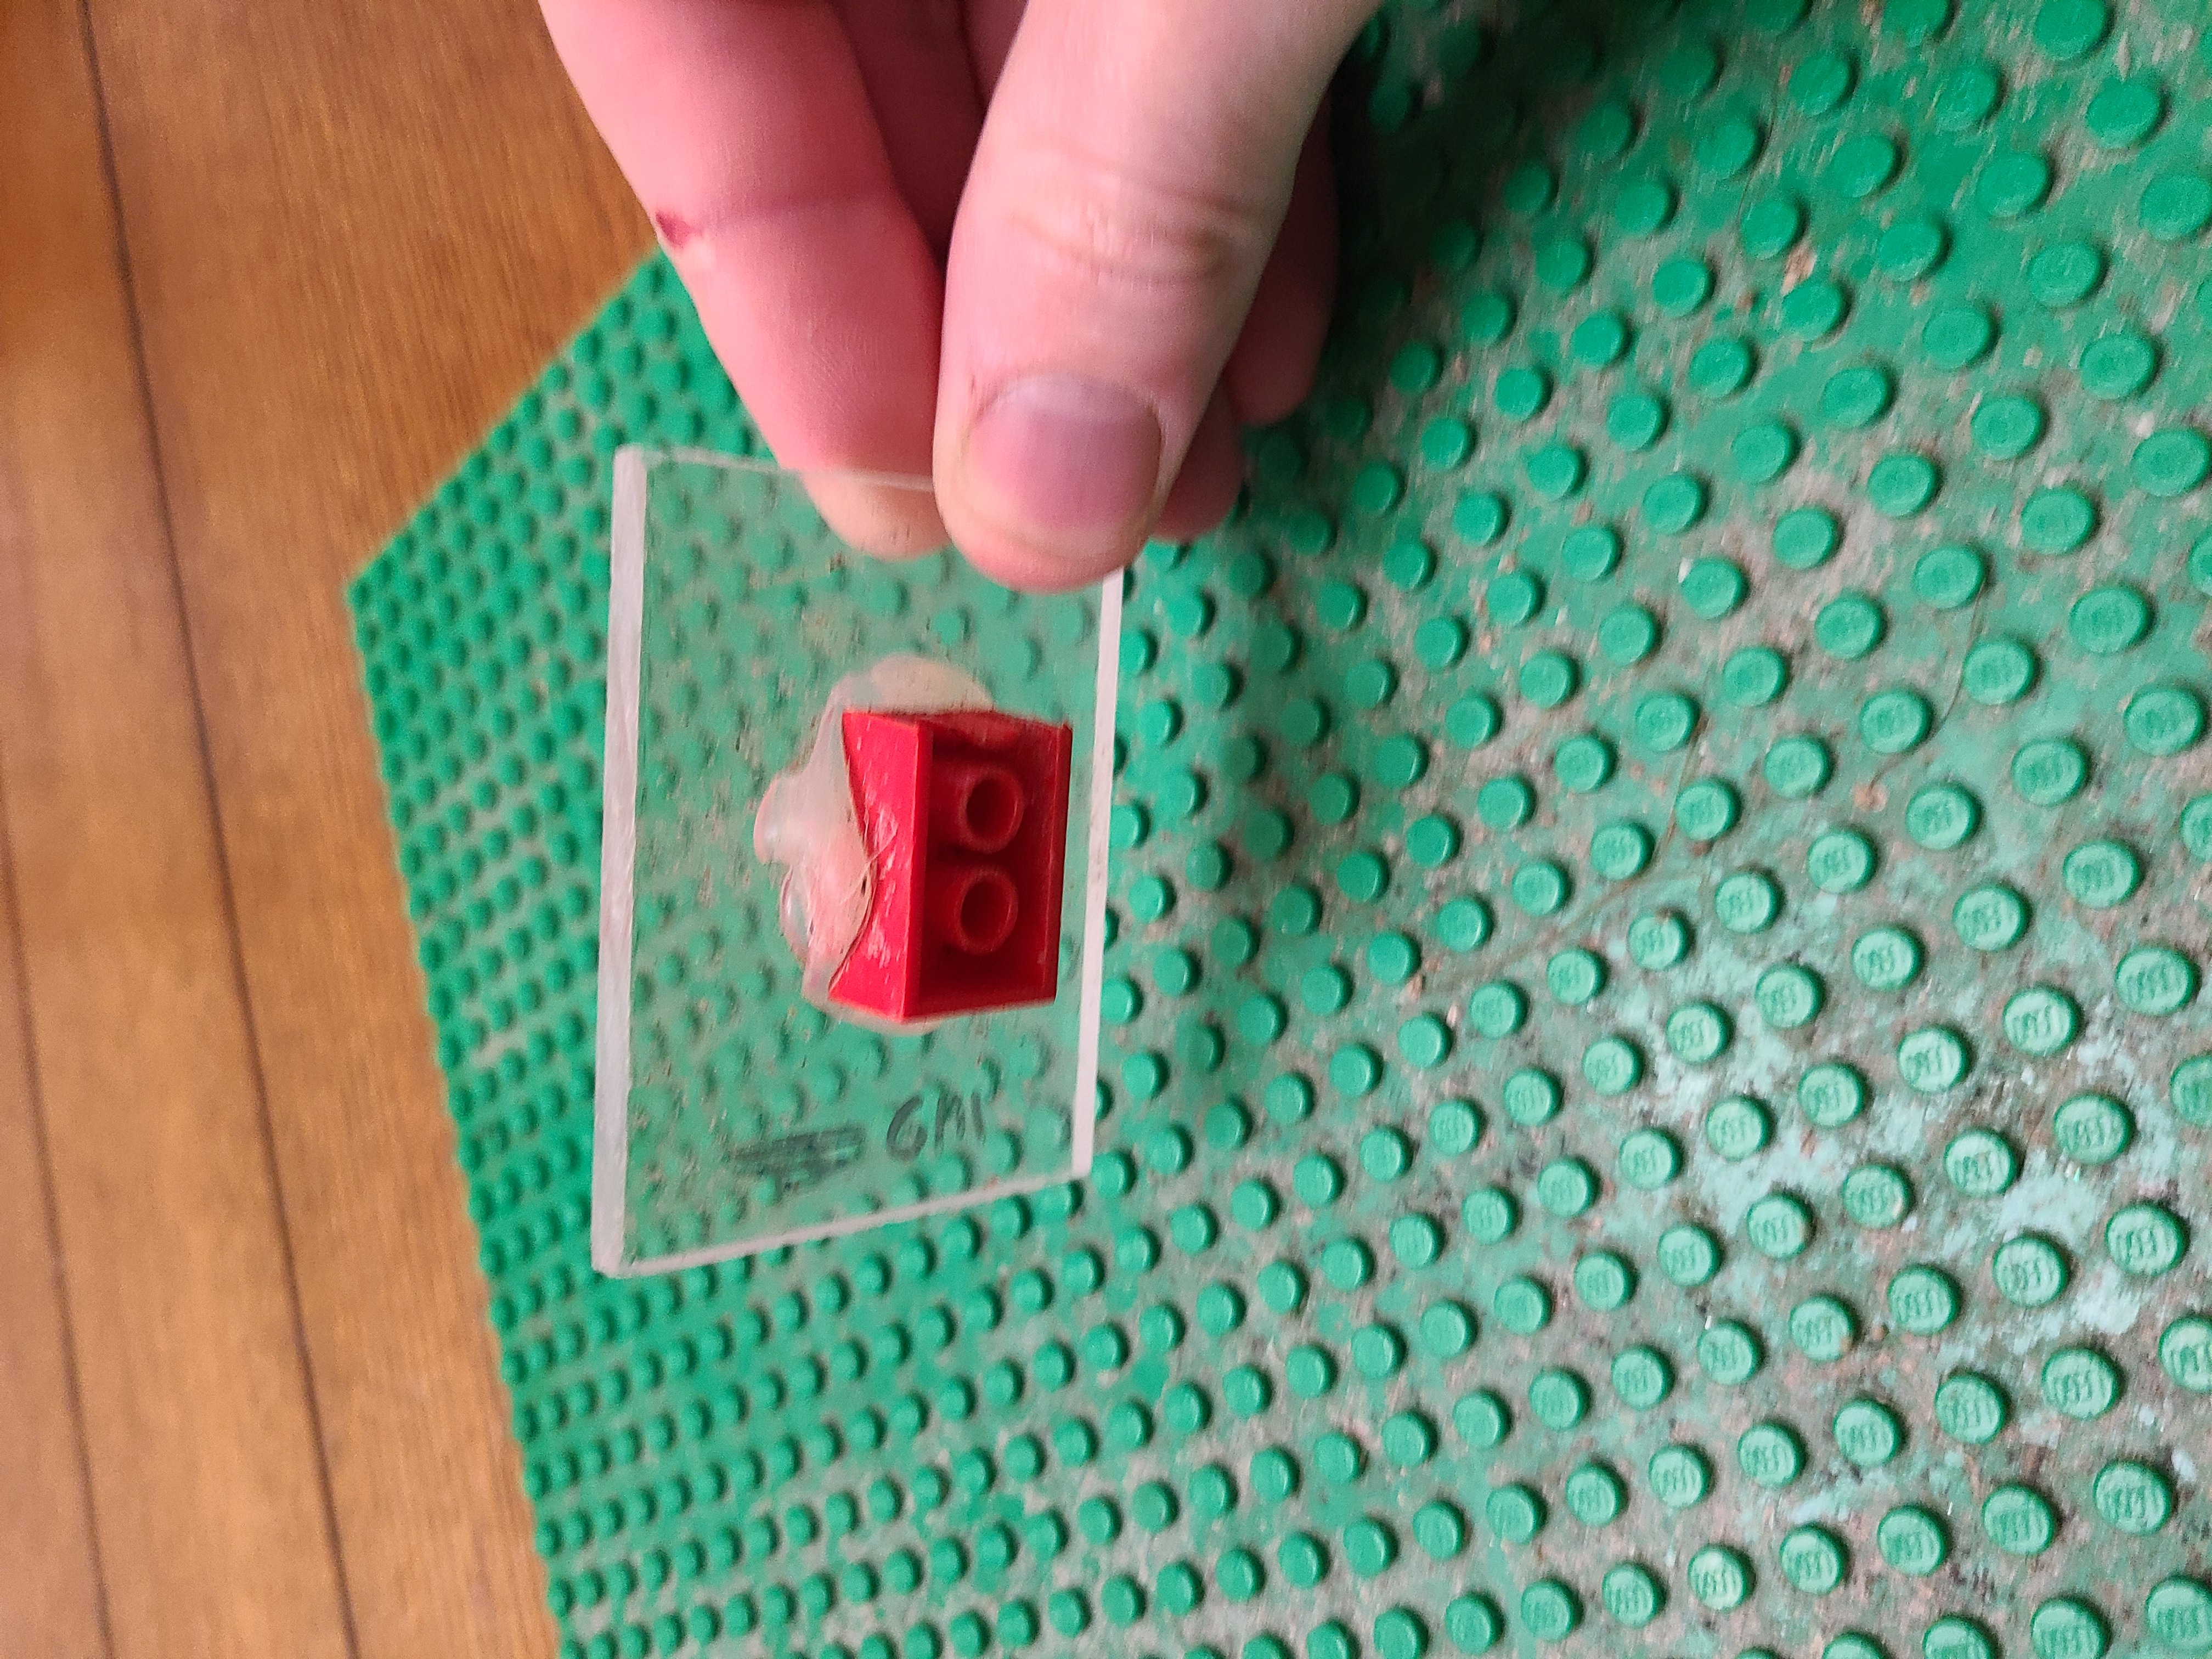
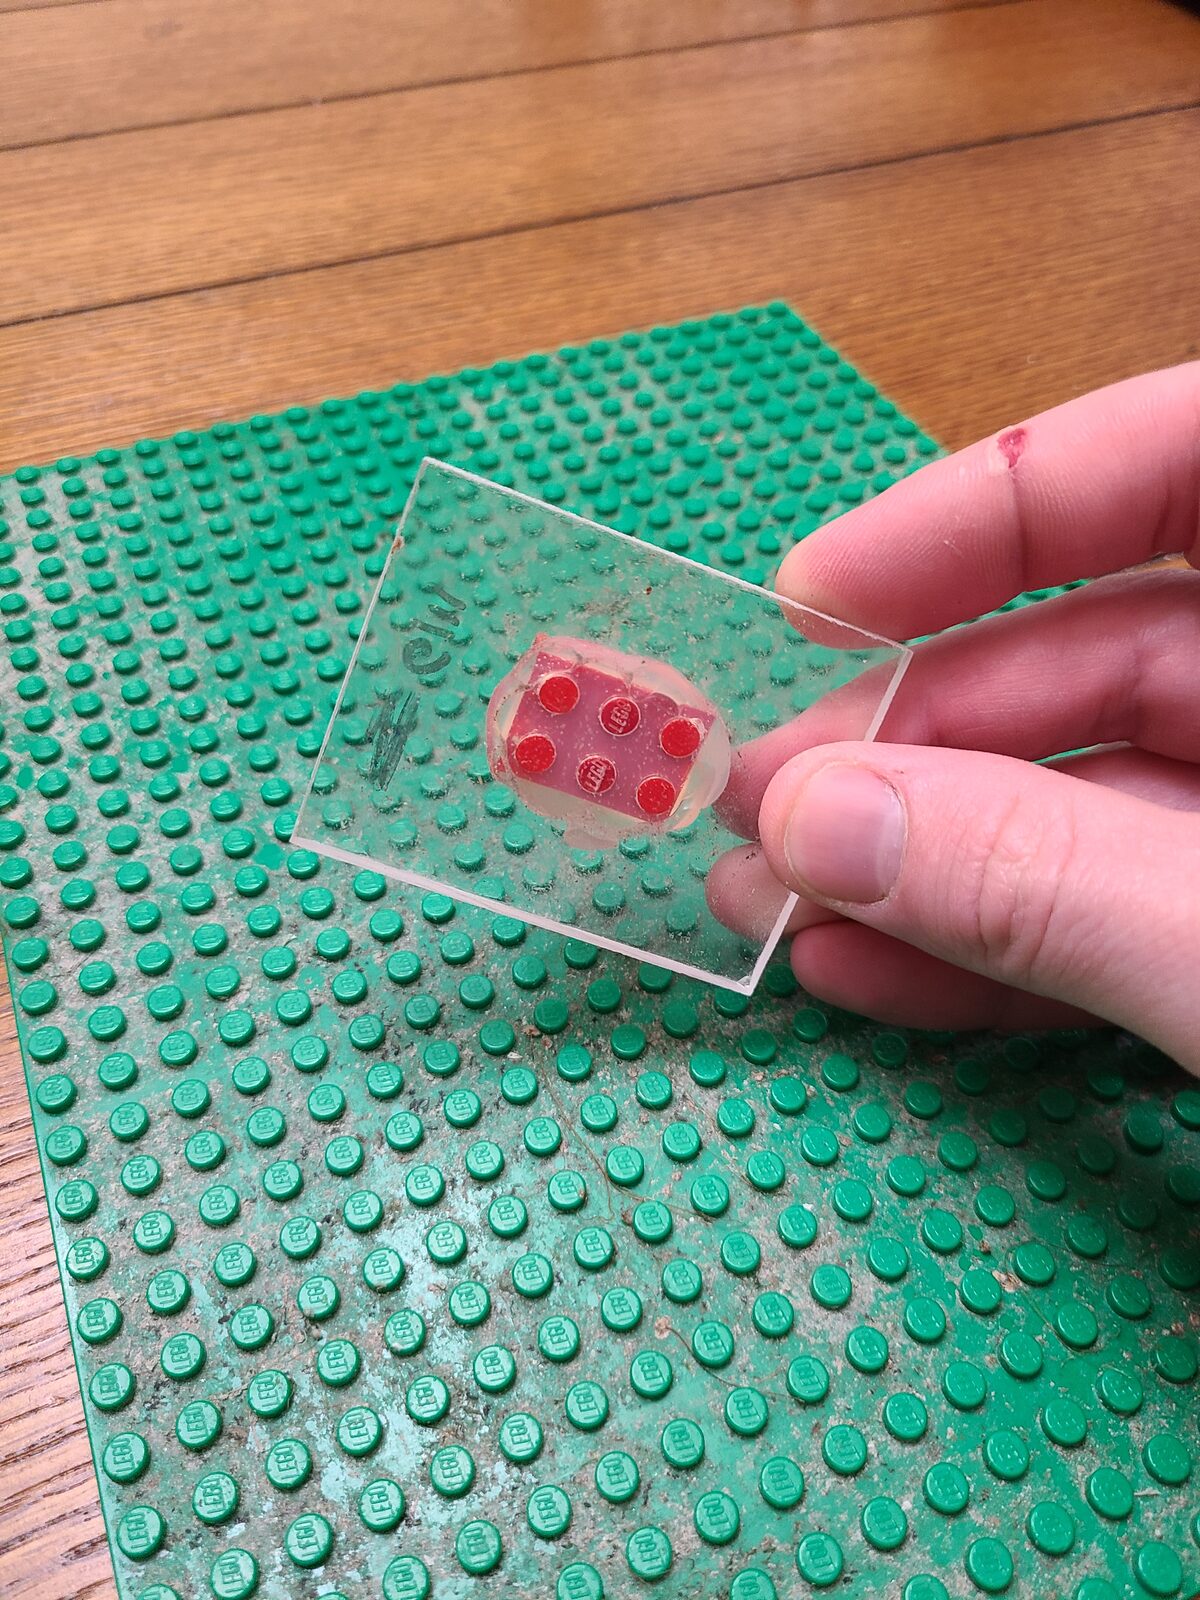
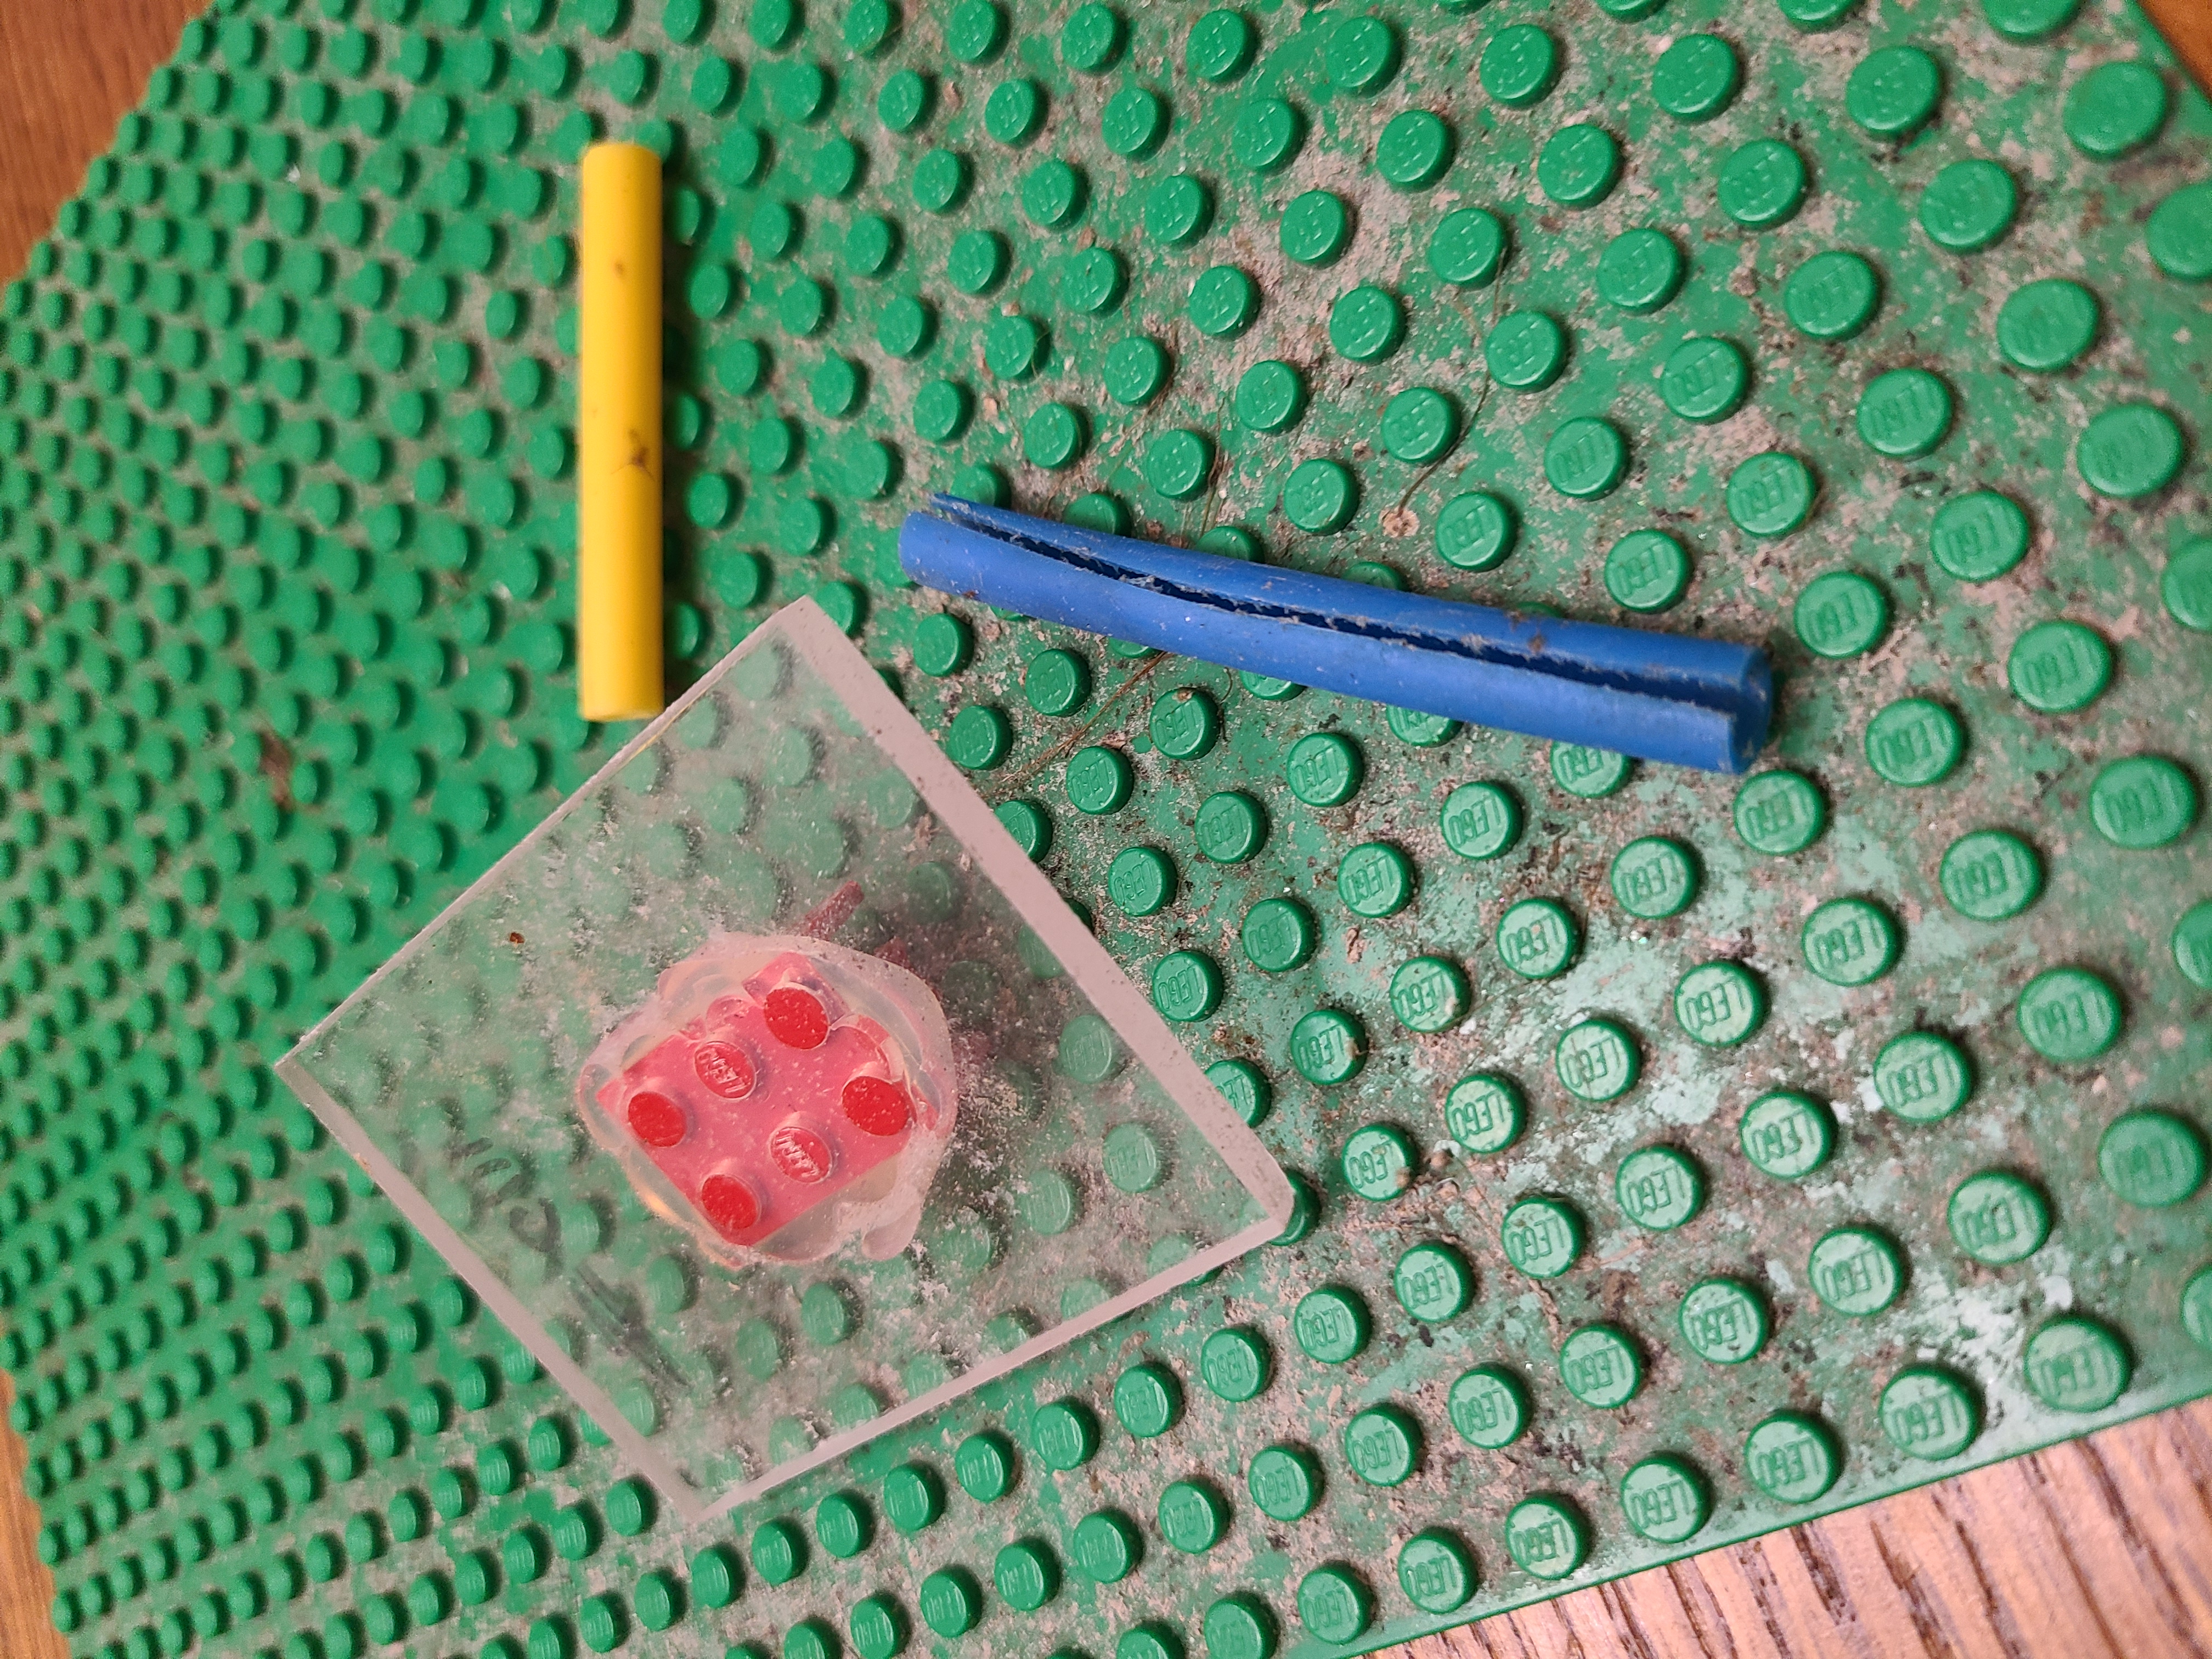
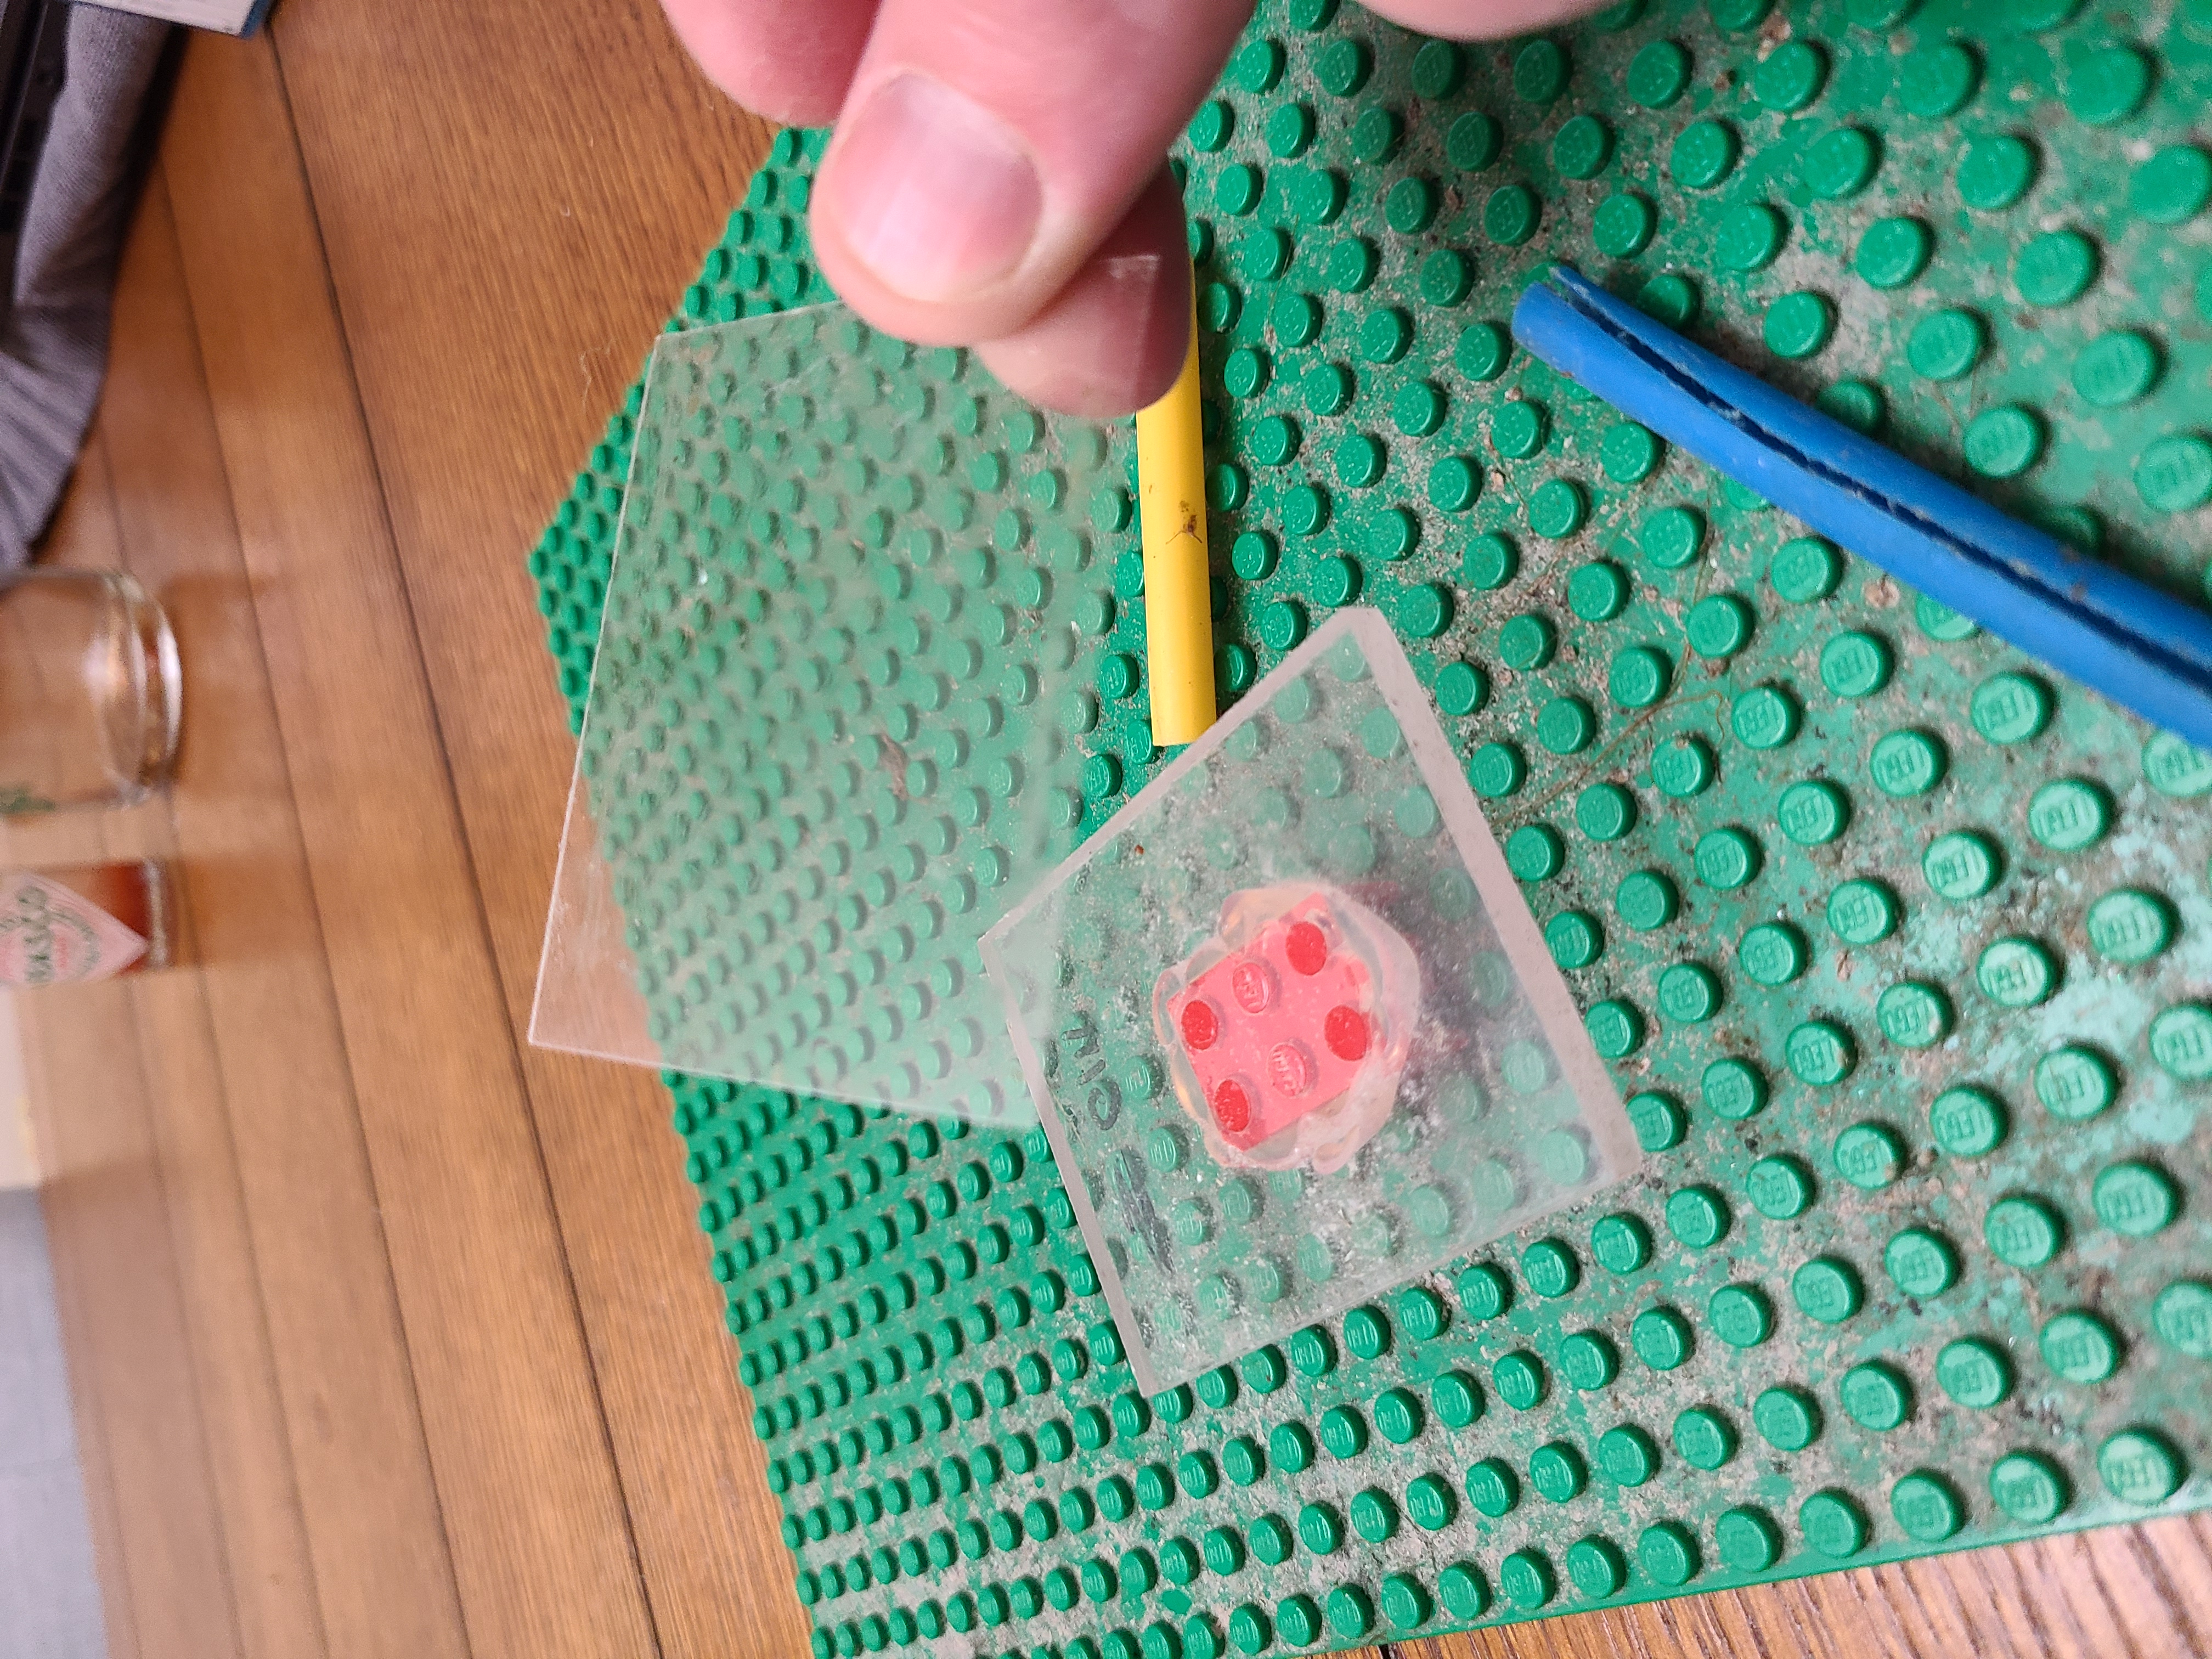
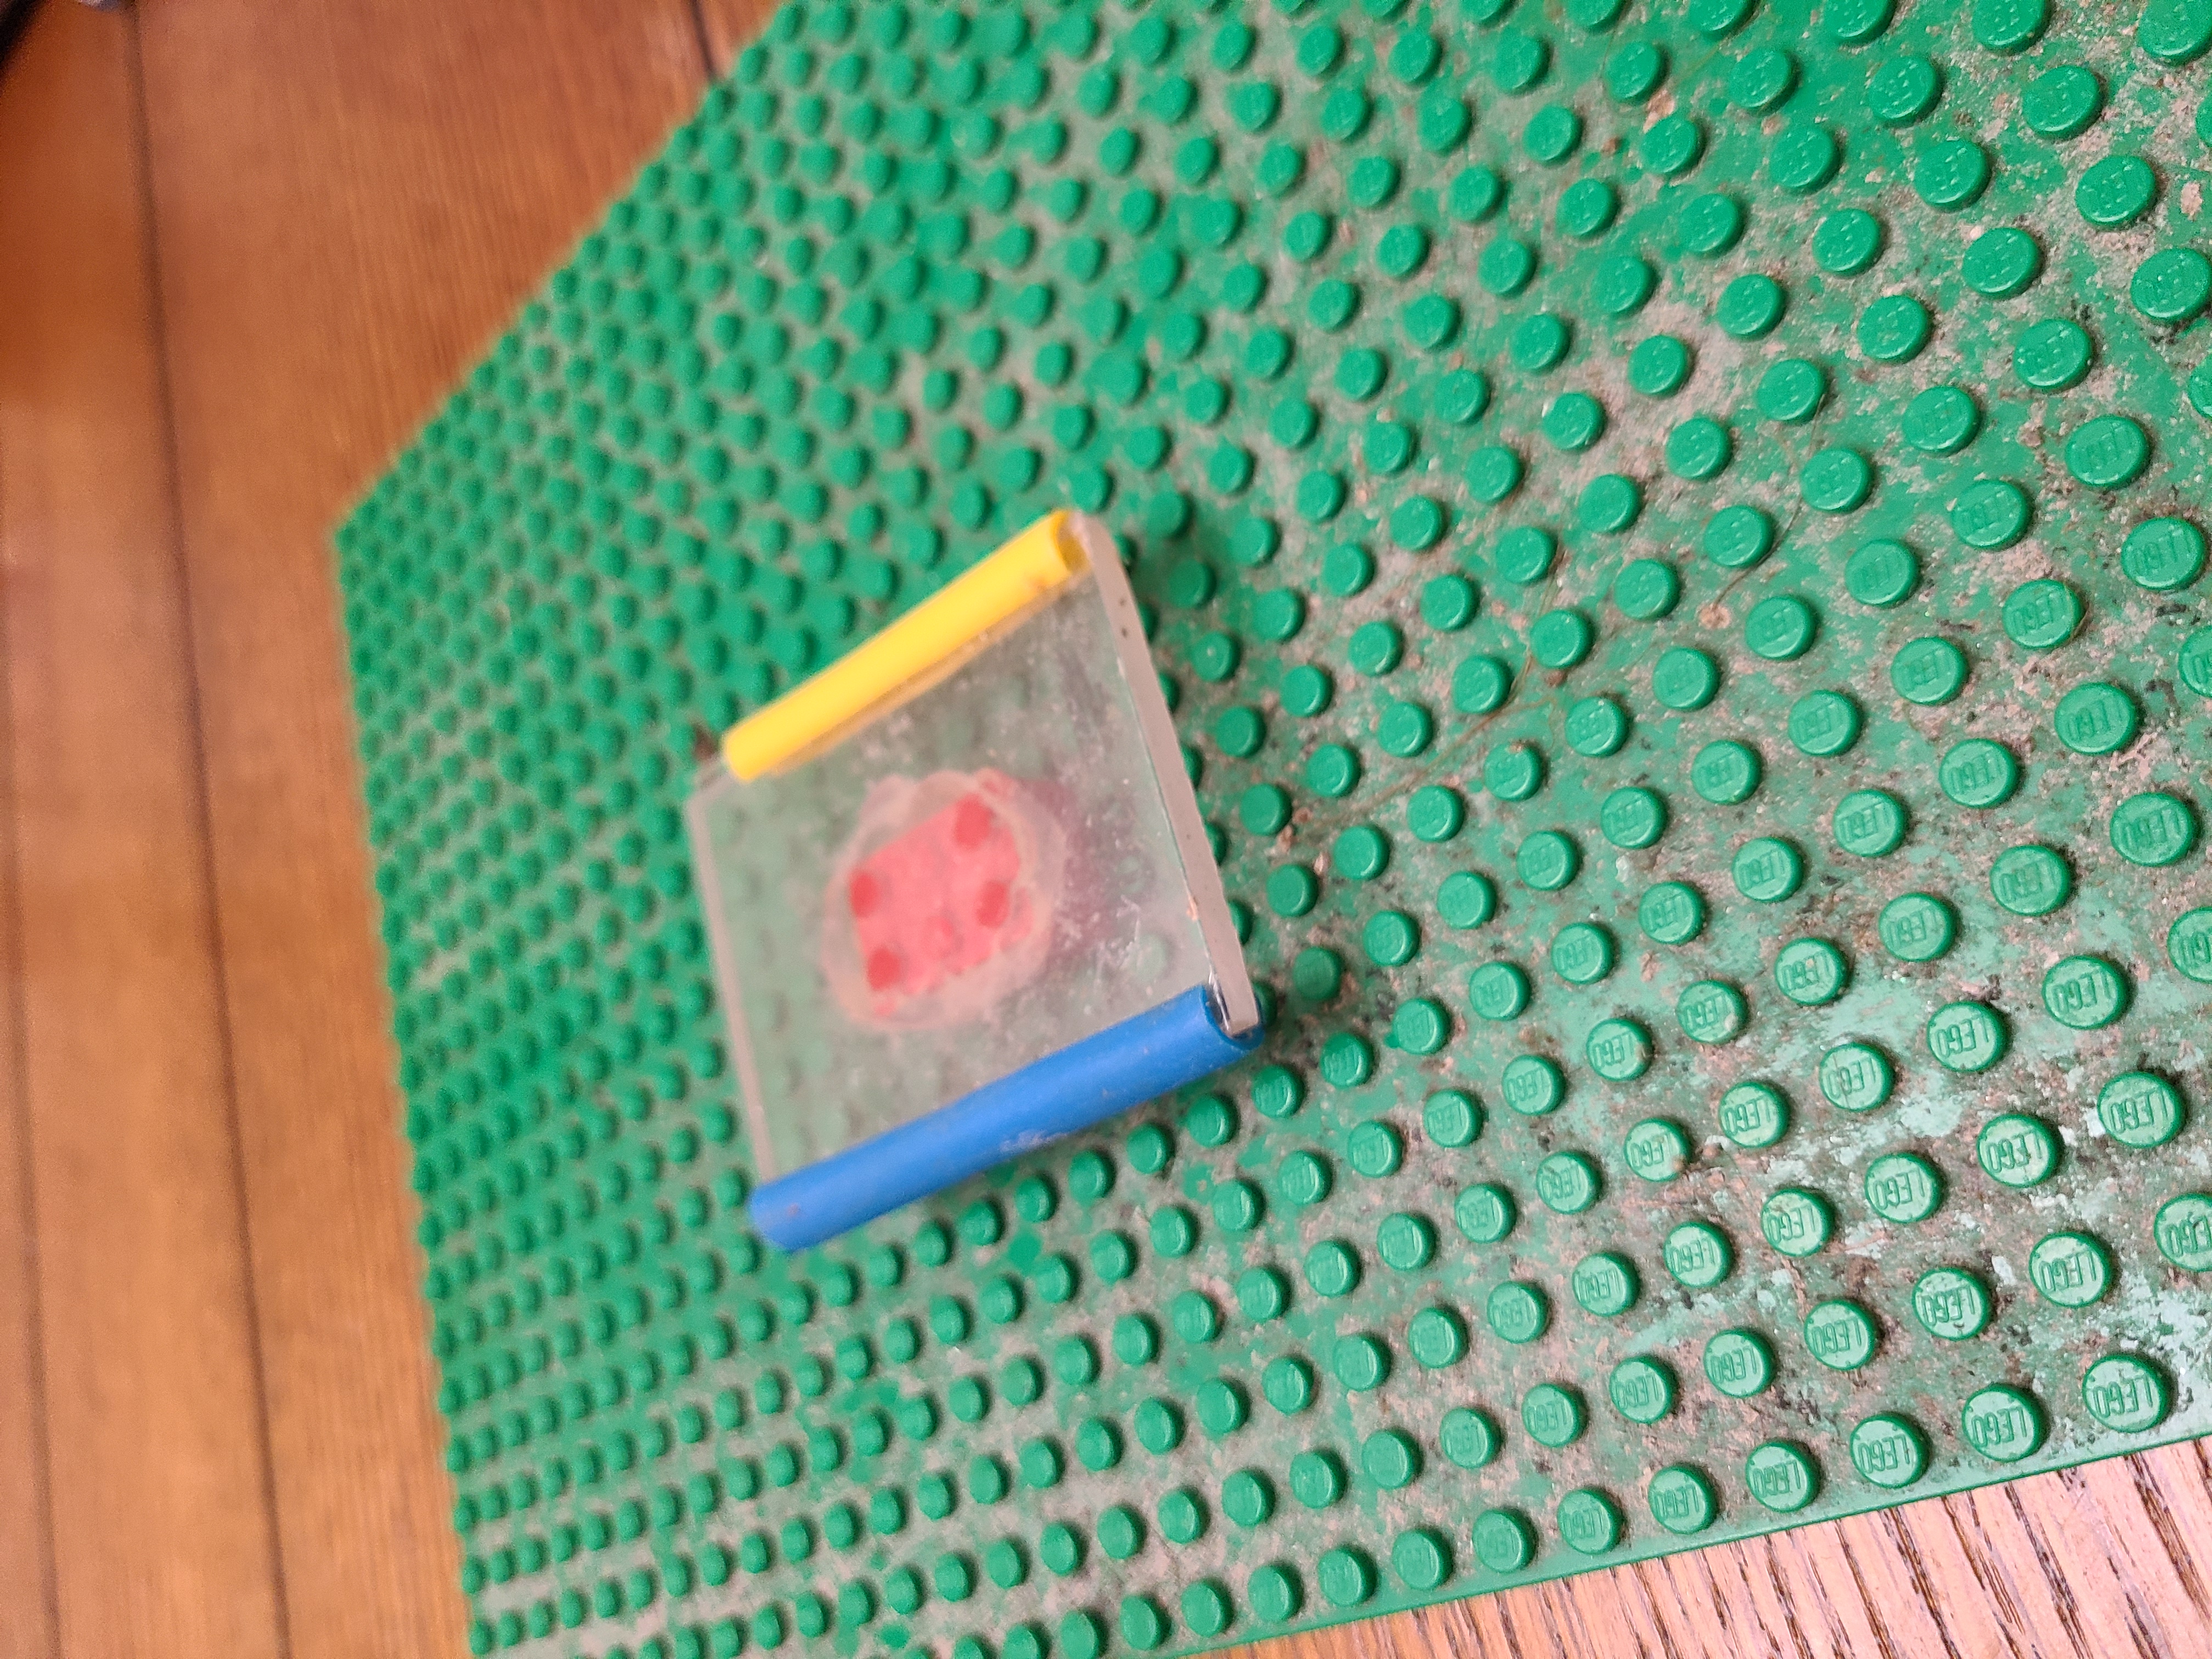
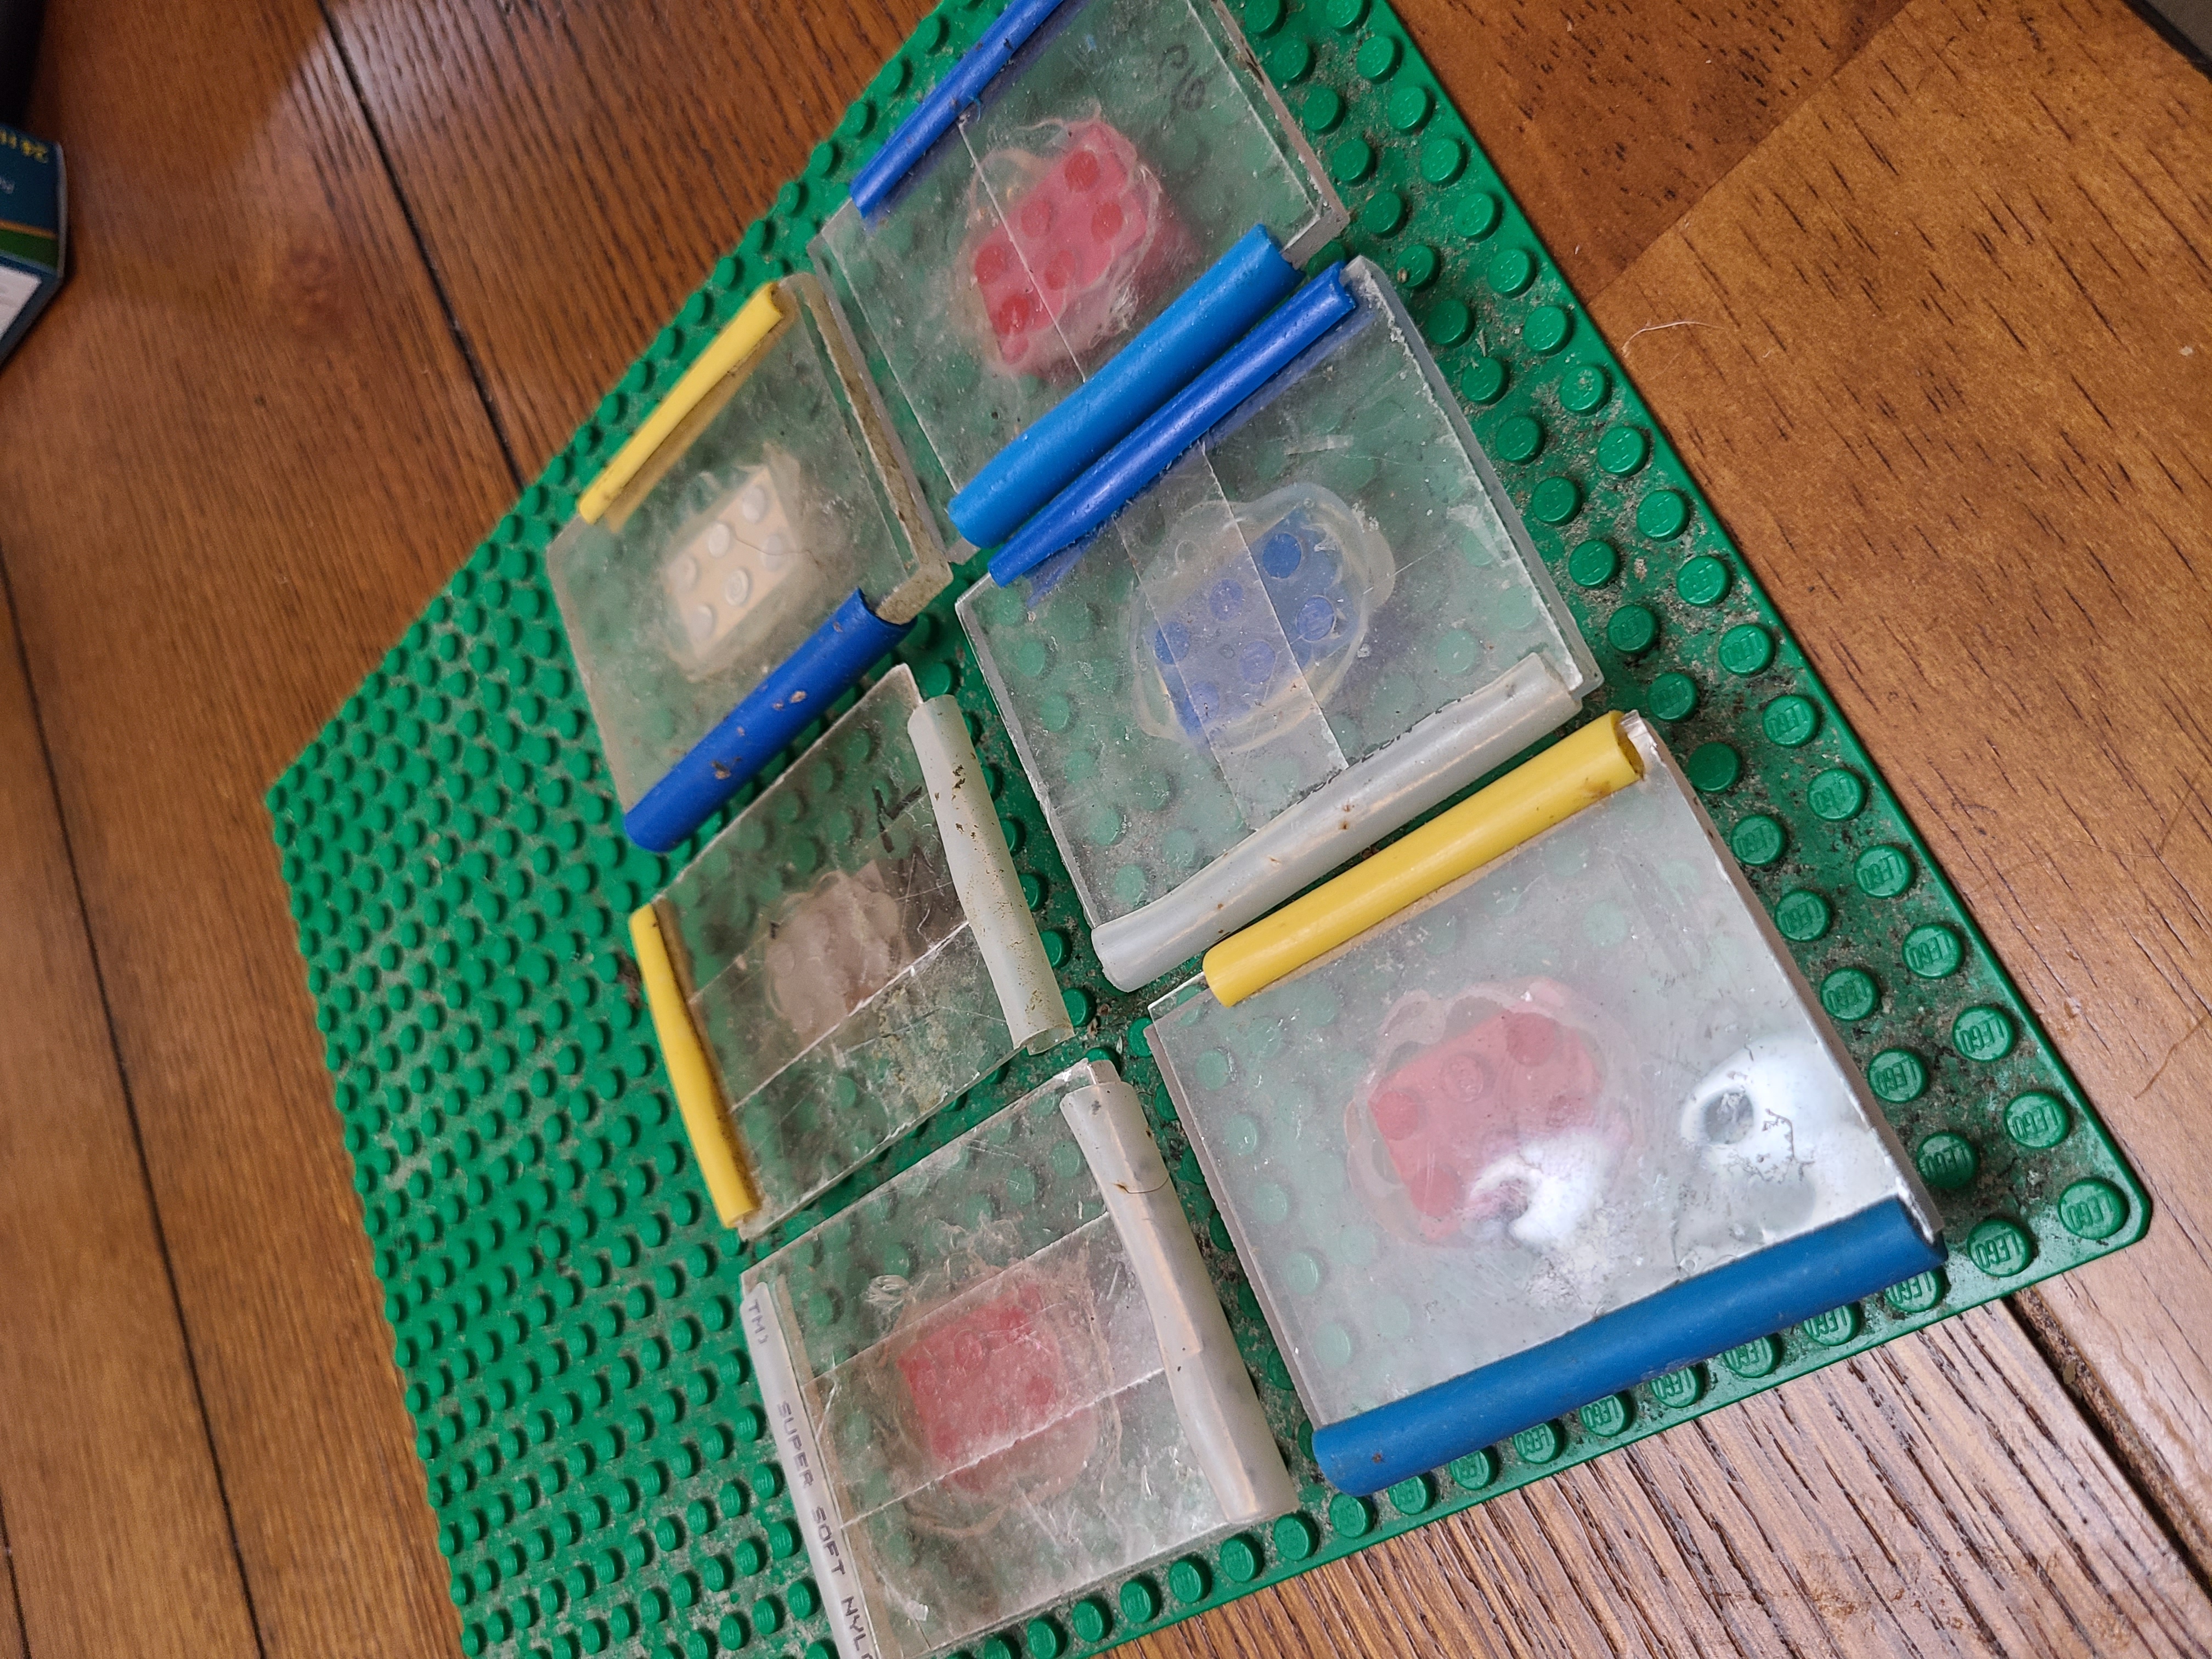
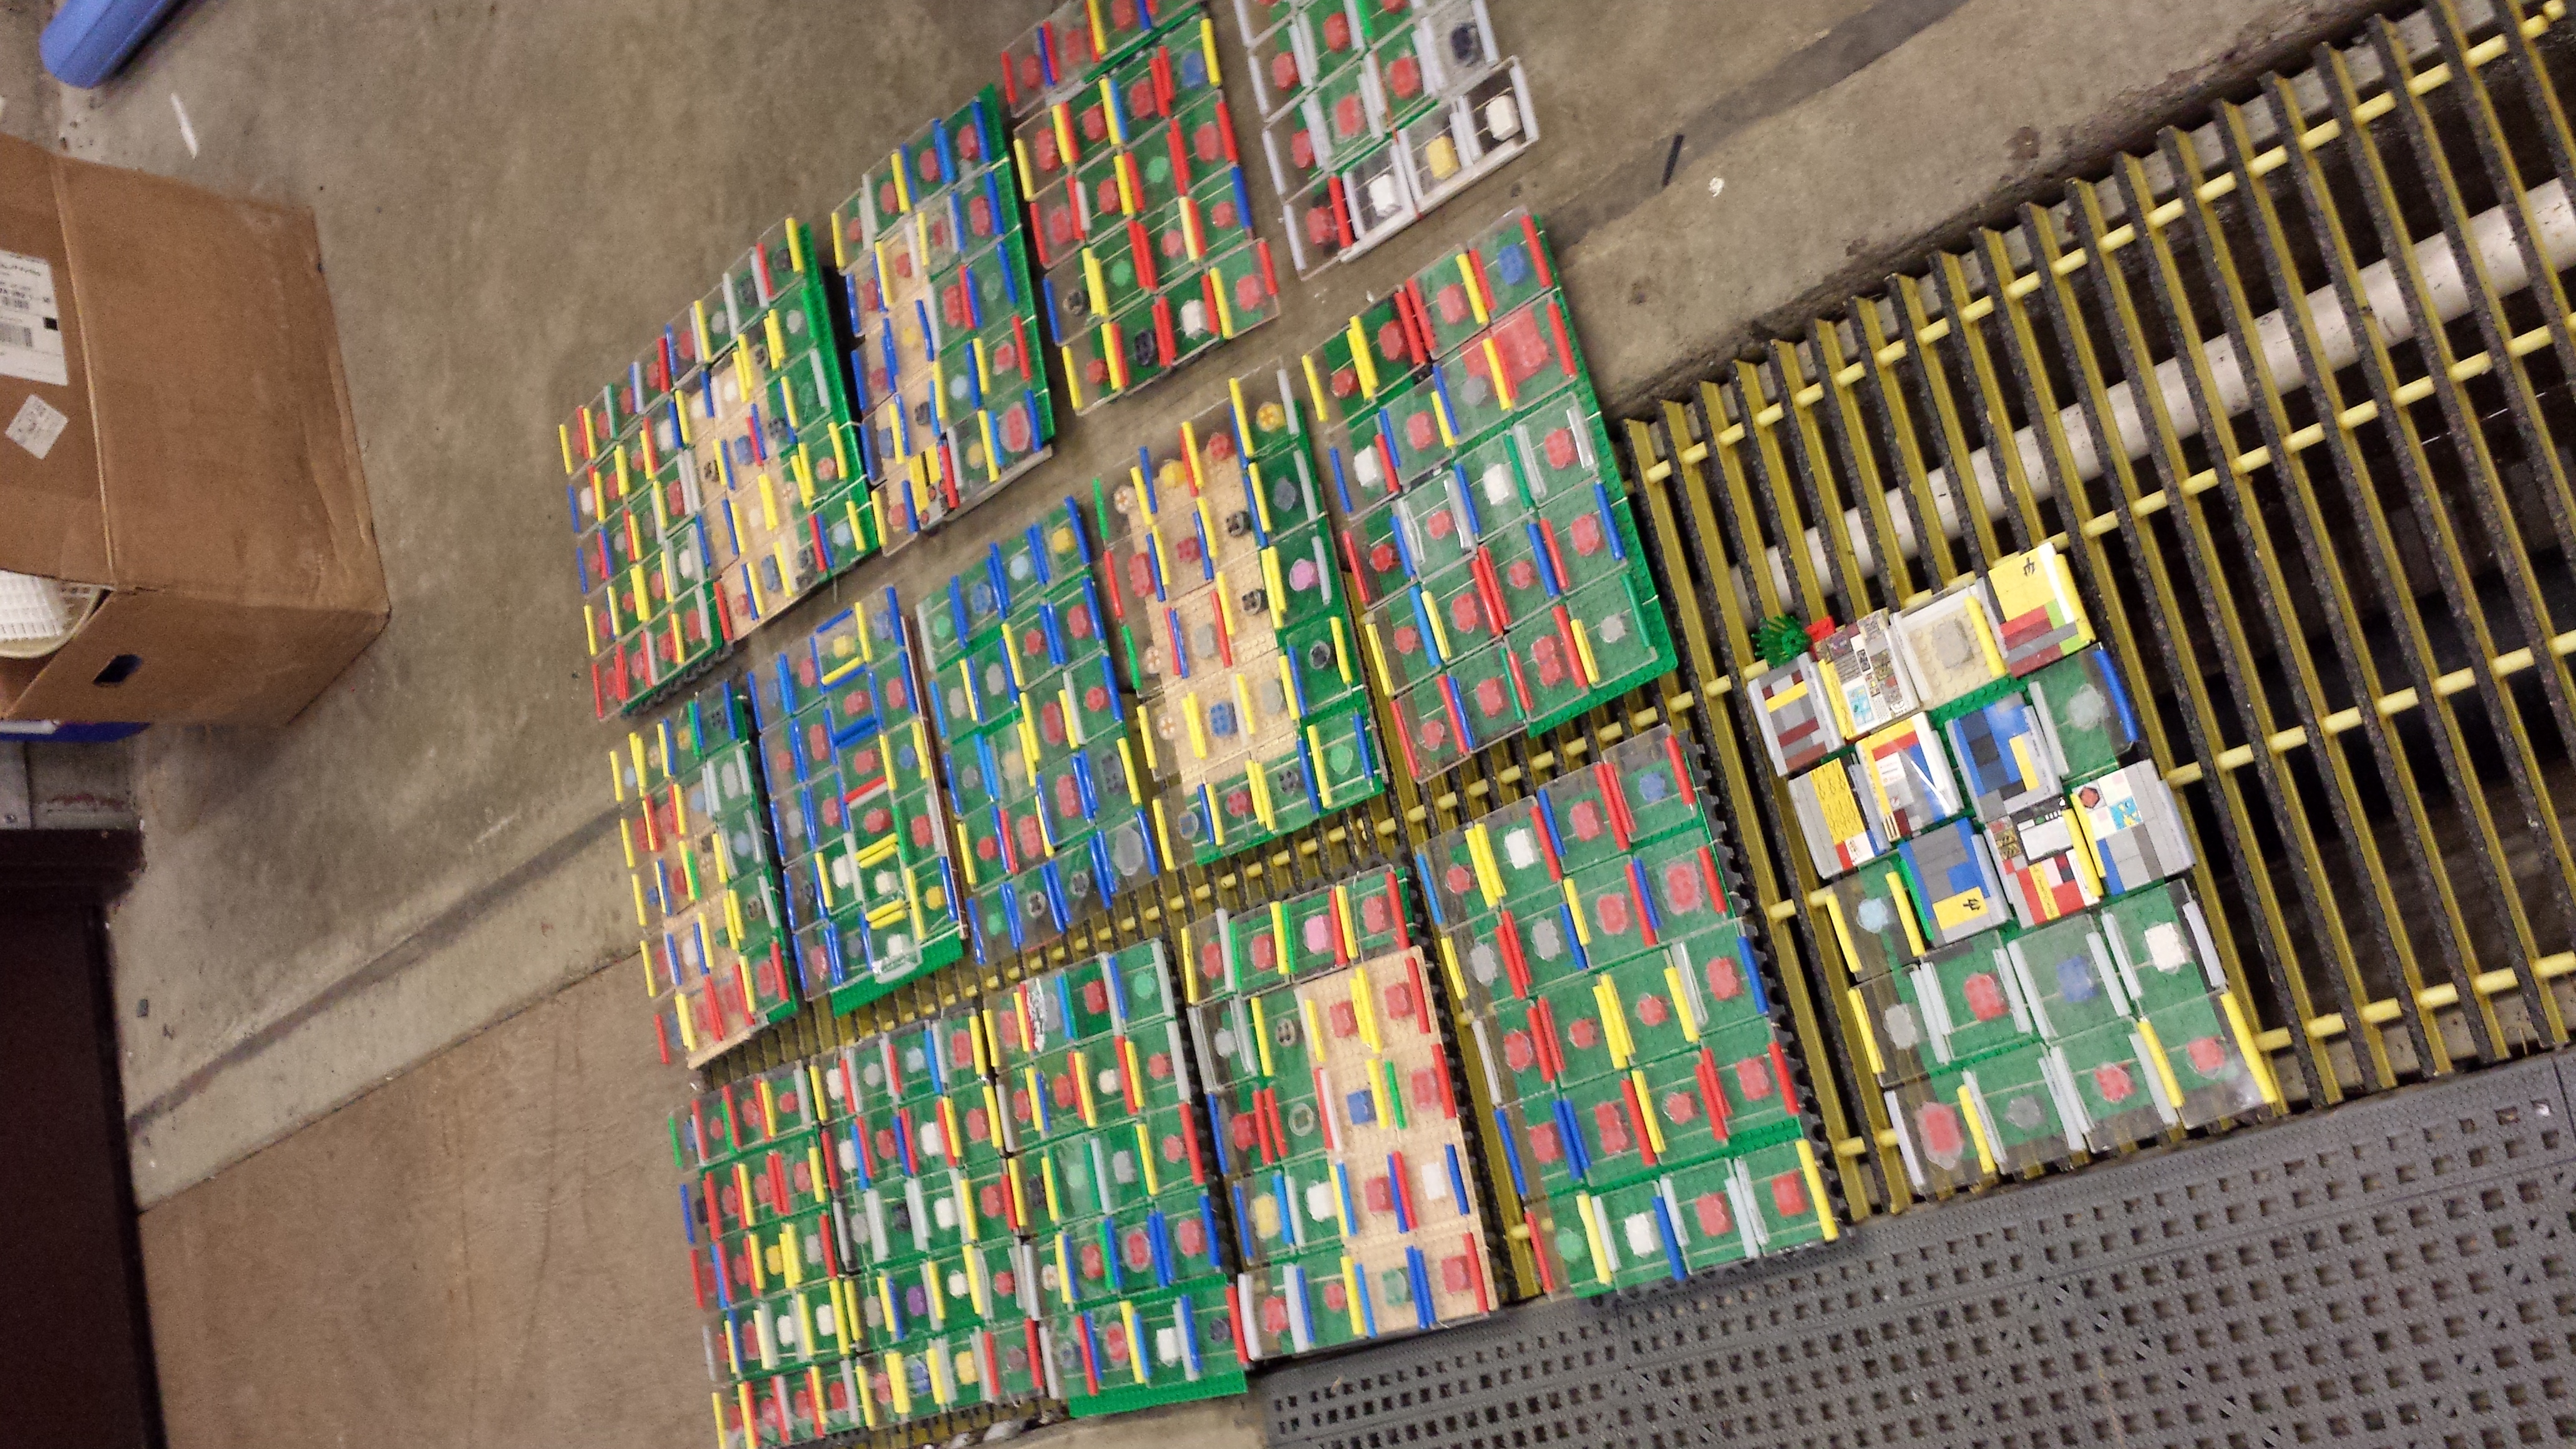
Each mica sheet is held on a small acrylic block that snaps onto a LEGO baseplate, so platforms can be arranged, moved, and replaced individually.
Materials
| Item | Specification | Example listing (2022-23) |
|---|---|---|
| Acrylic sheet | Clear acrylic (plexiglass), cut into blocks the same size as the mica sheets | Amazon B0899QVSY1 |
| LEGO-compatible bricks | 2×4 bricks work best; 2×3 also work | Amazon B07YN6K5M4 |
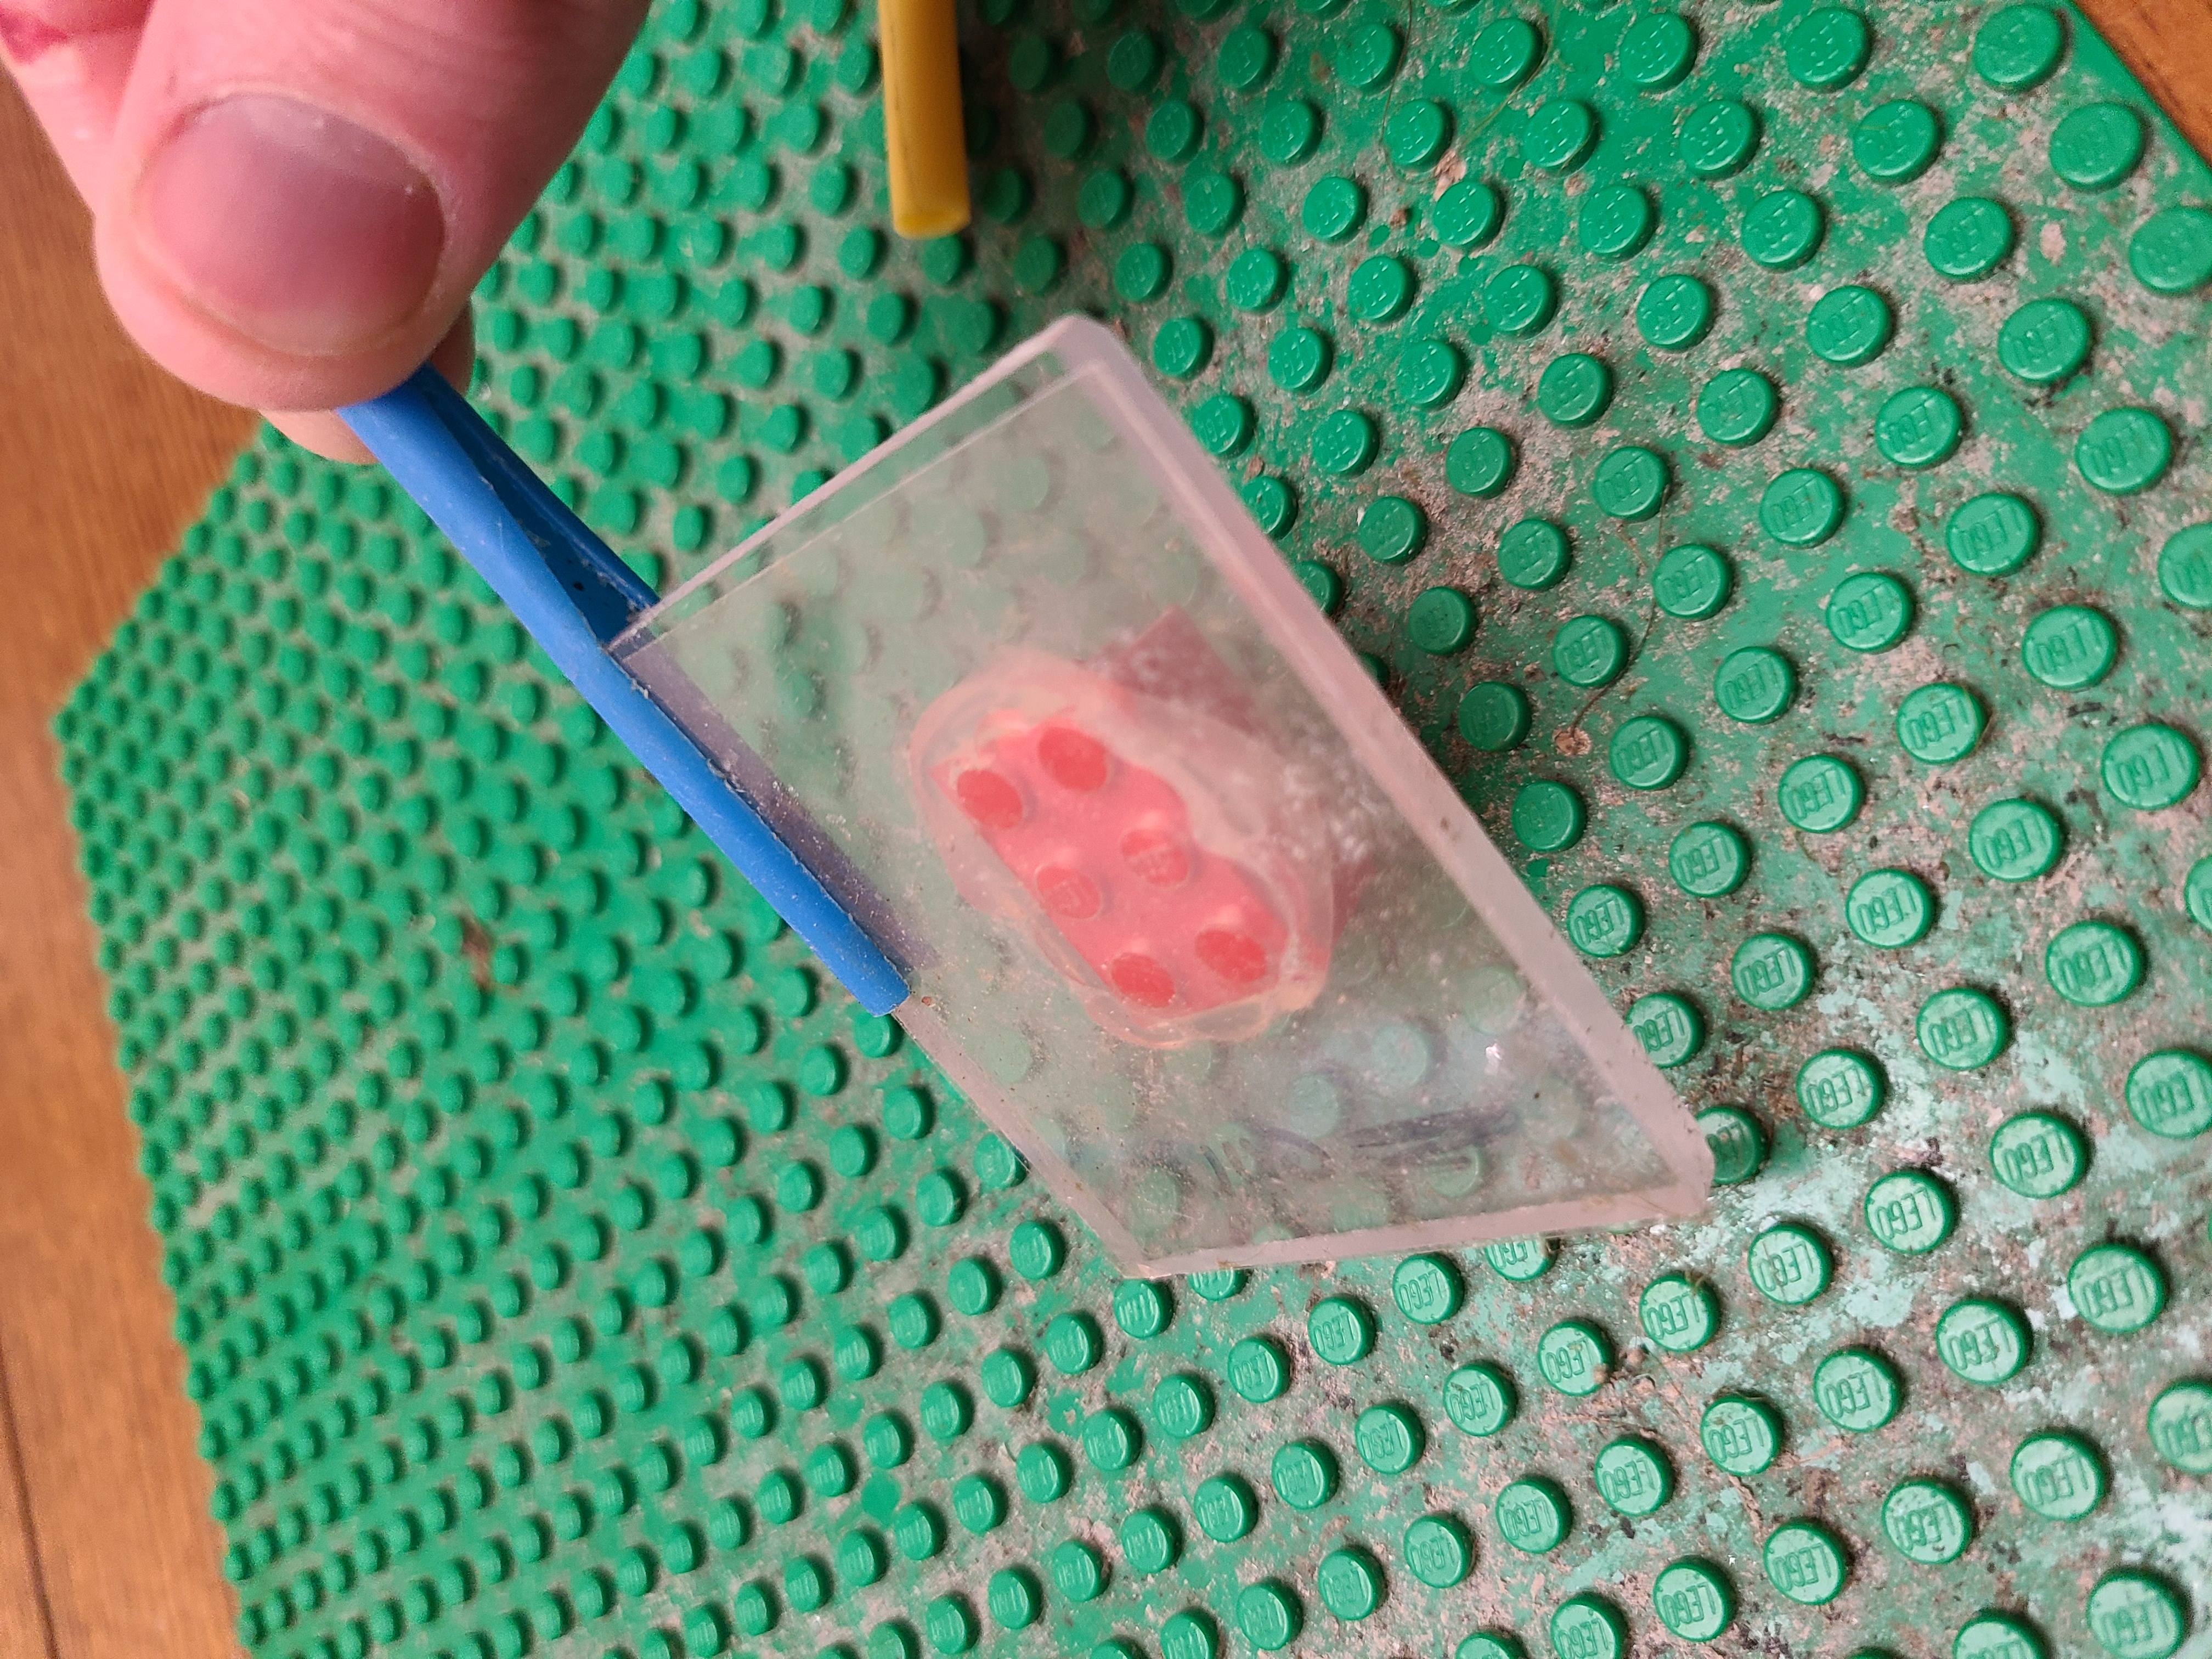
| Tubing | 1/4 in OD polyethylene tubing, cut into short pieces and slit lengthwise with a razor blade | Amazon B071D9G94B |
| Baseplate | Green LEGO baseplate (LEGO 6384599); weight it down so it does not float | Amazon B09JKVKC47 |
| Superglue | Gel cyanoacrylate (Loctite Super Glue Ultra Gel Control) for bricks and tags | Amazon B01EZTPXEO |
Steps
- Cut the acrylic sheet into blocks the same size as the mica sheets.
- Superglue a brick to the underside of each acrylic block.
- Lay a mica sheet on the block and hold it in place with two pieces of slit tubing slid over opposite edges, pinching the mica against the acrylic.
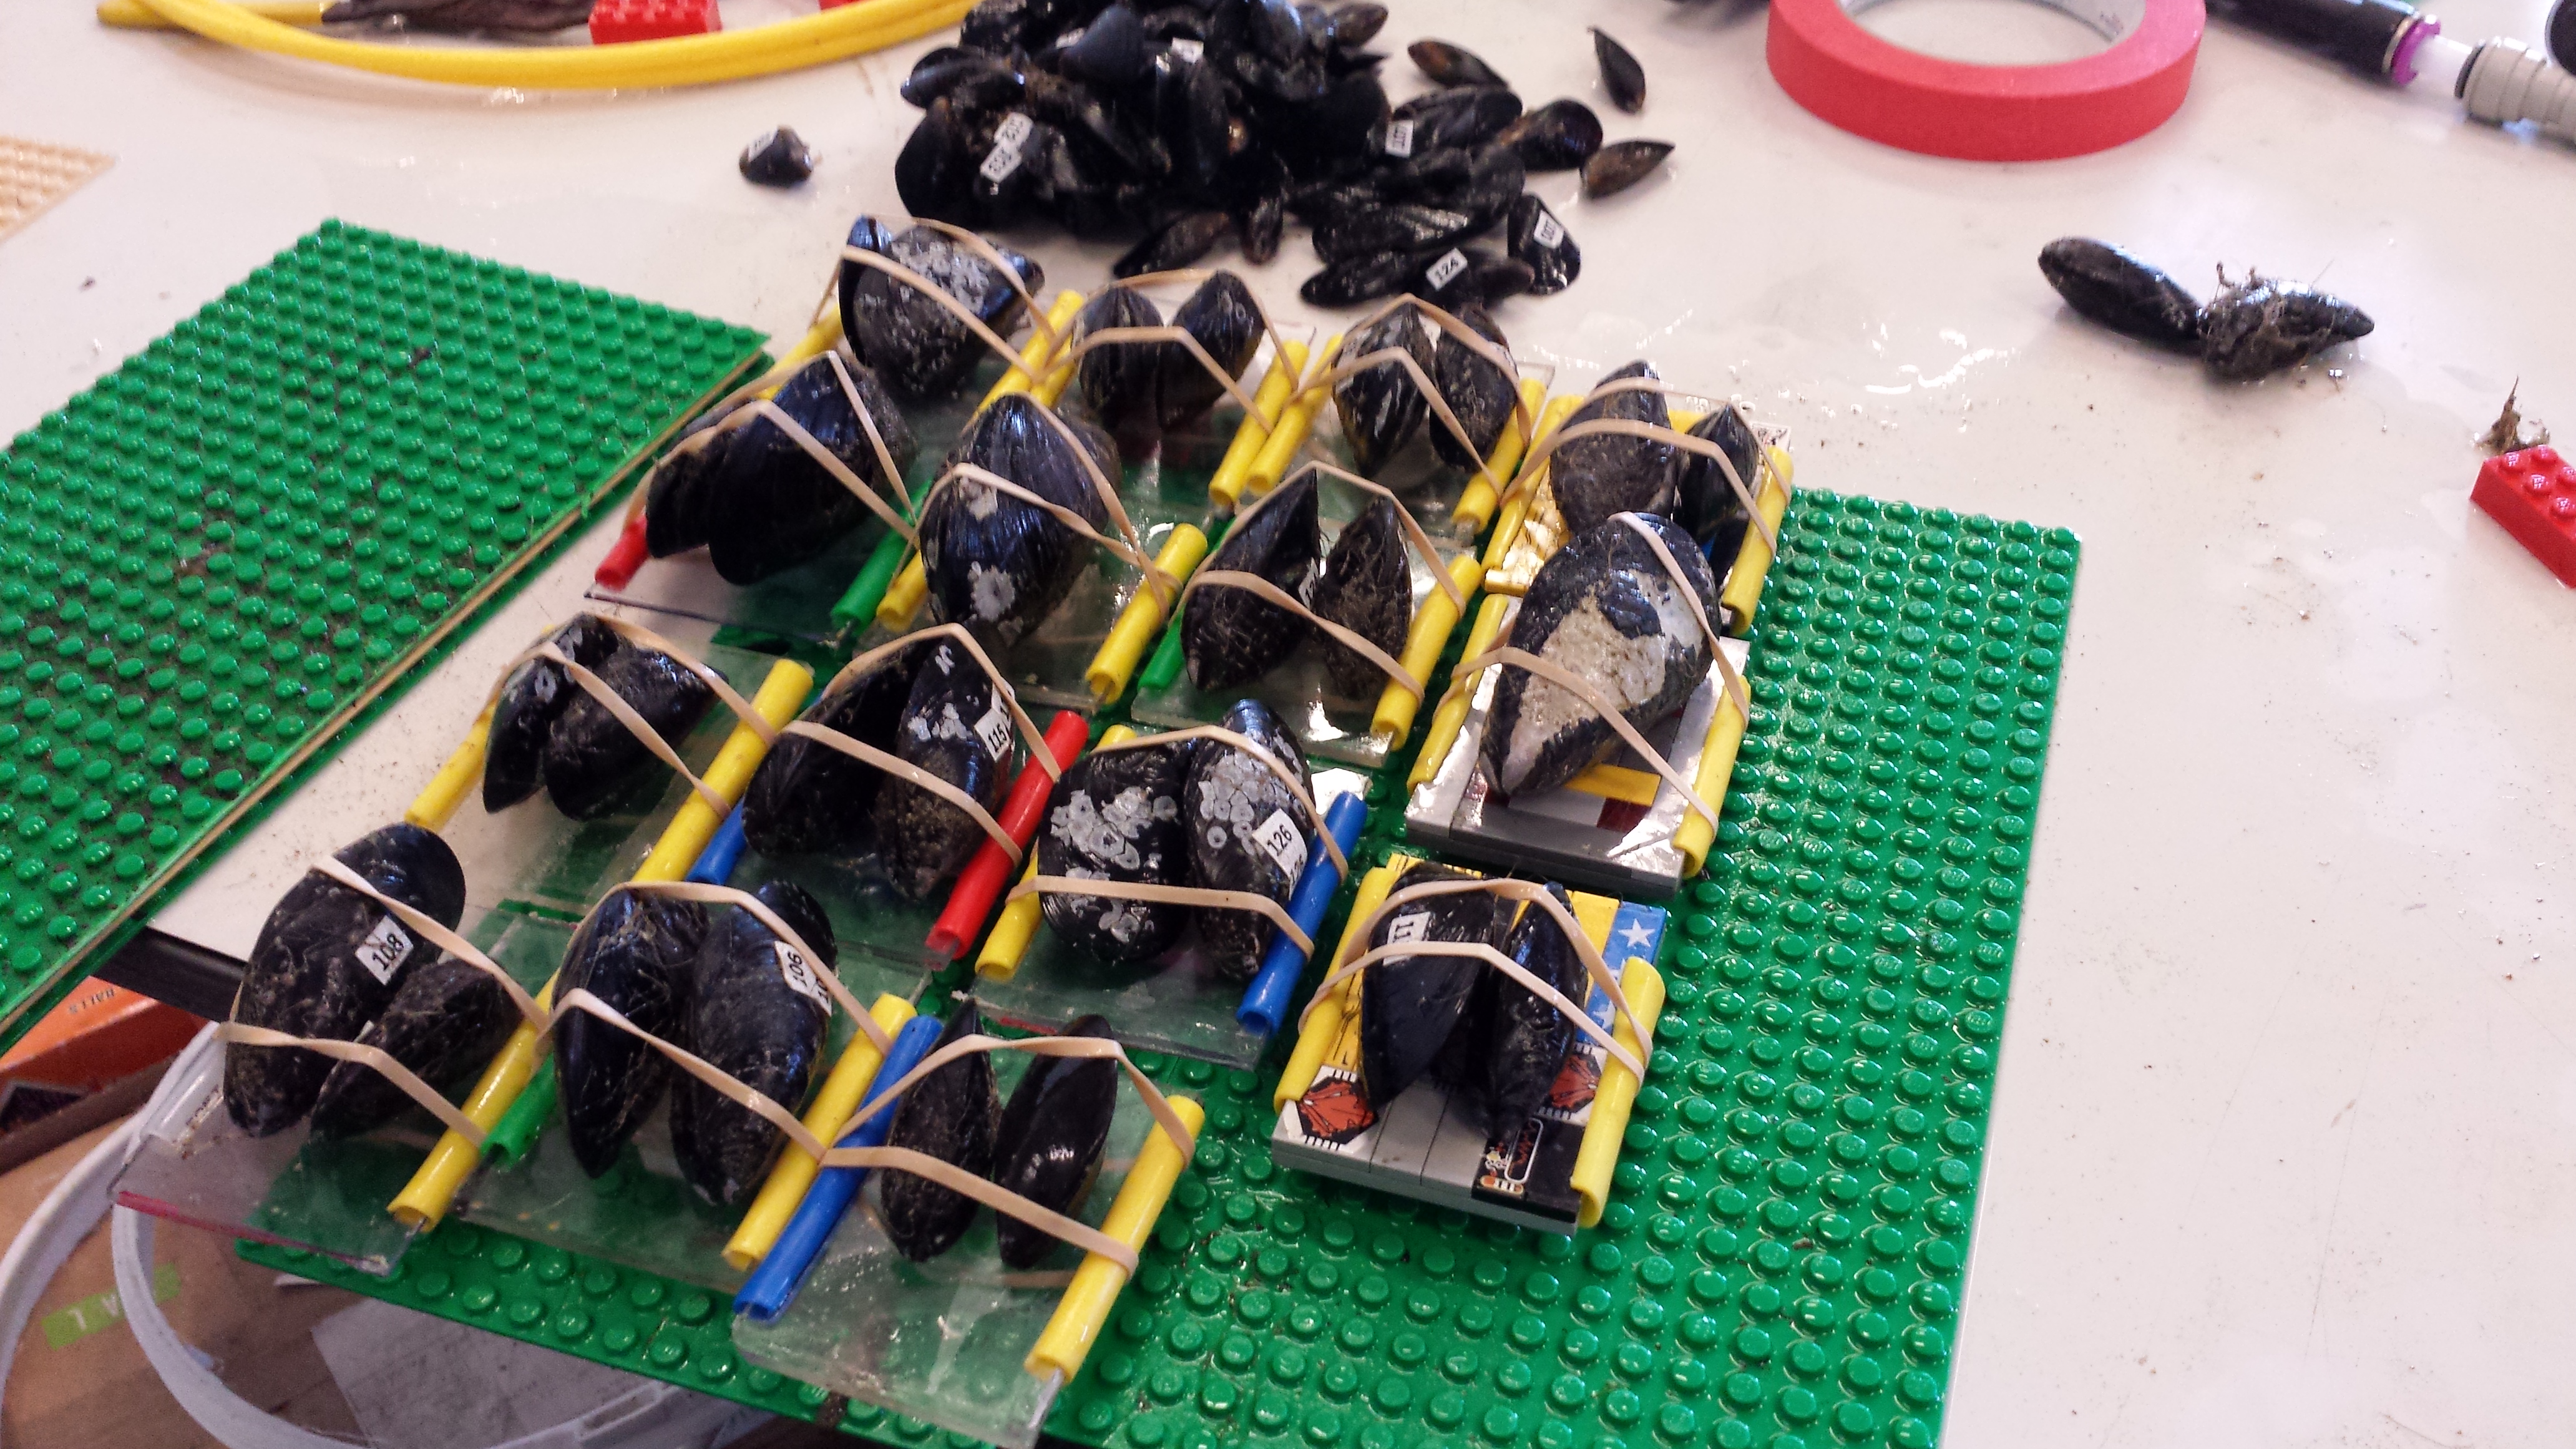
- Snap the blocks onto the baseplate in an array. Weight the baseplate so it does not float; rubber-banding it to a tile works.
- Place two mussels on each platform, valve opening down, and wrap a rubber band around the platform to hold both mussels in place.
3. Exposure and thread collection
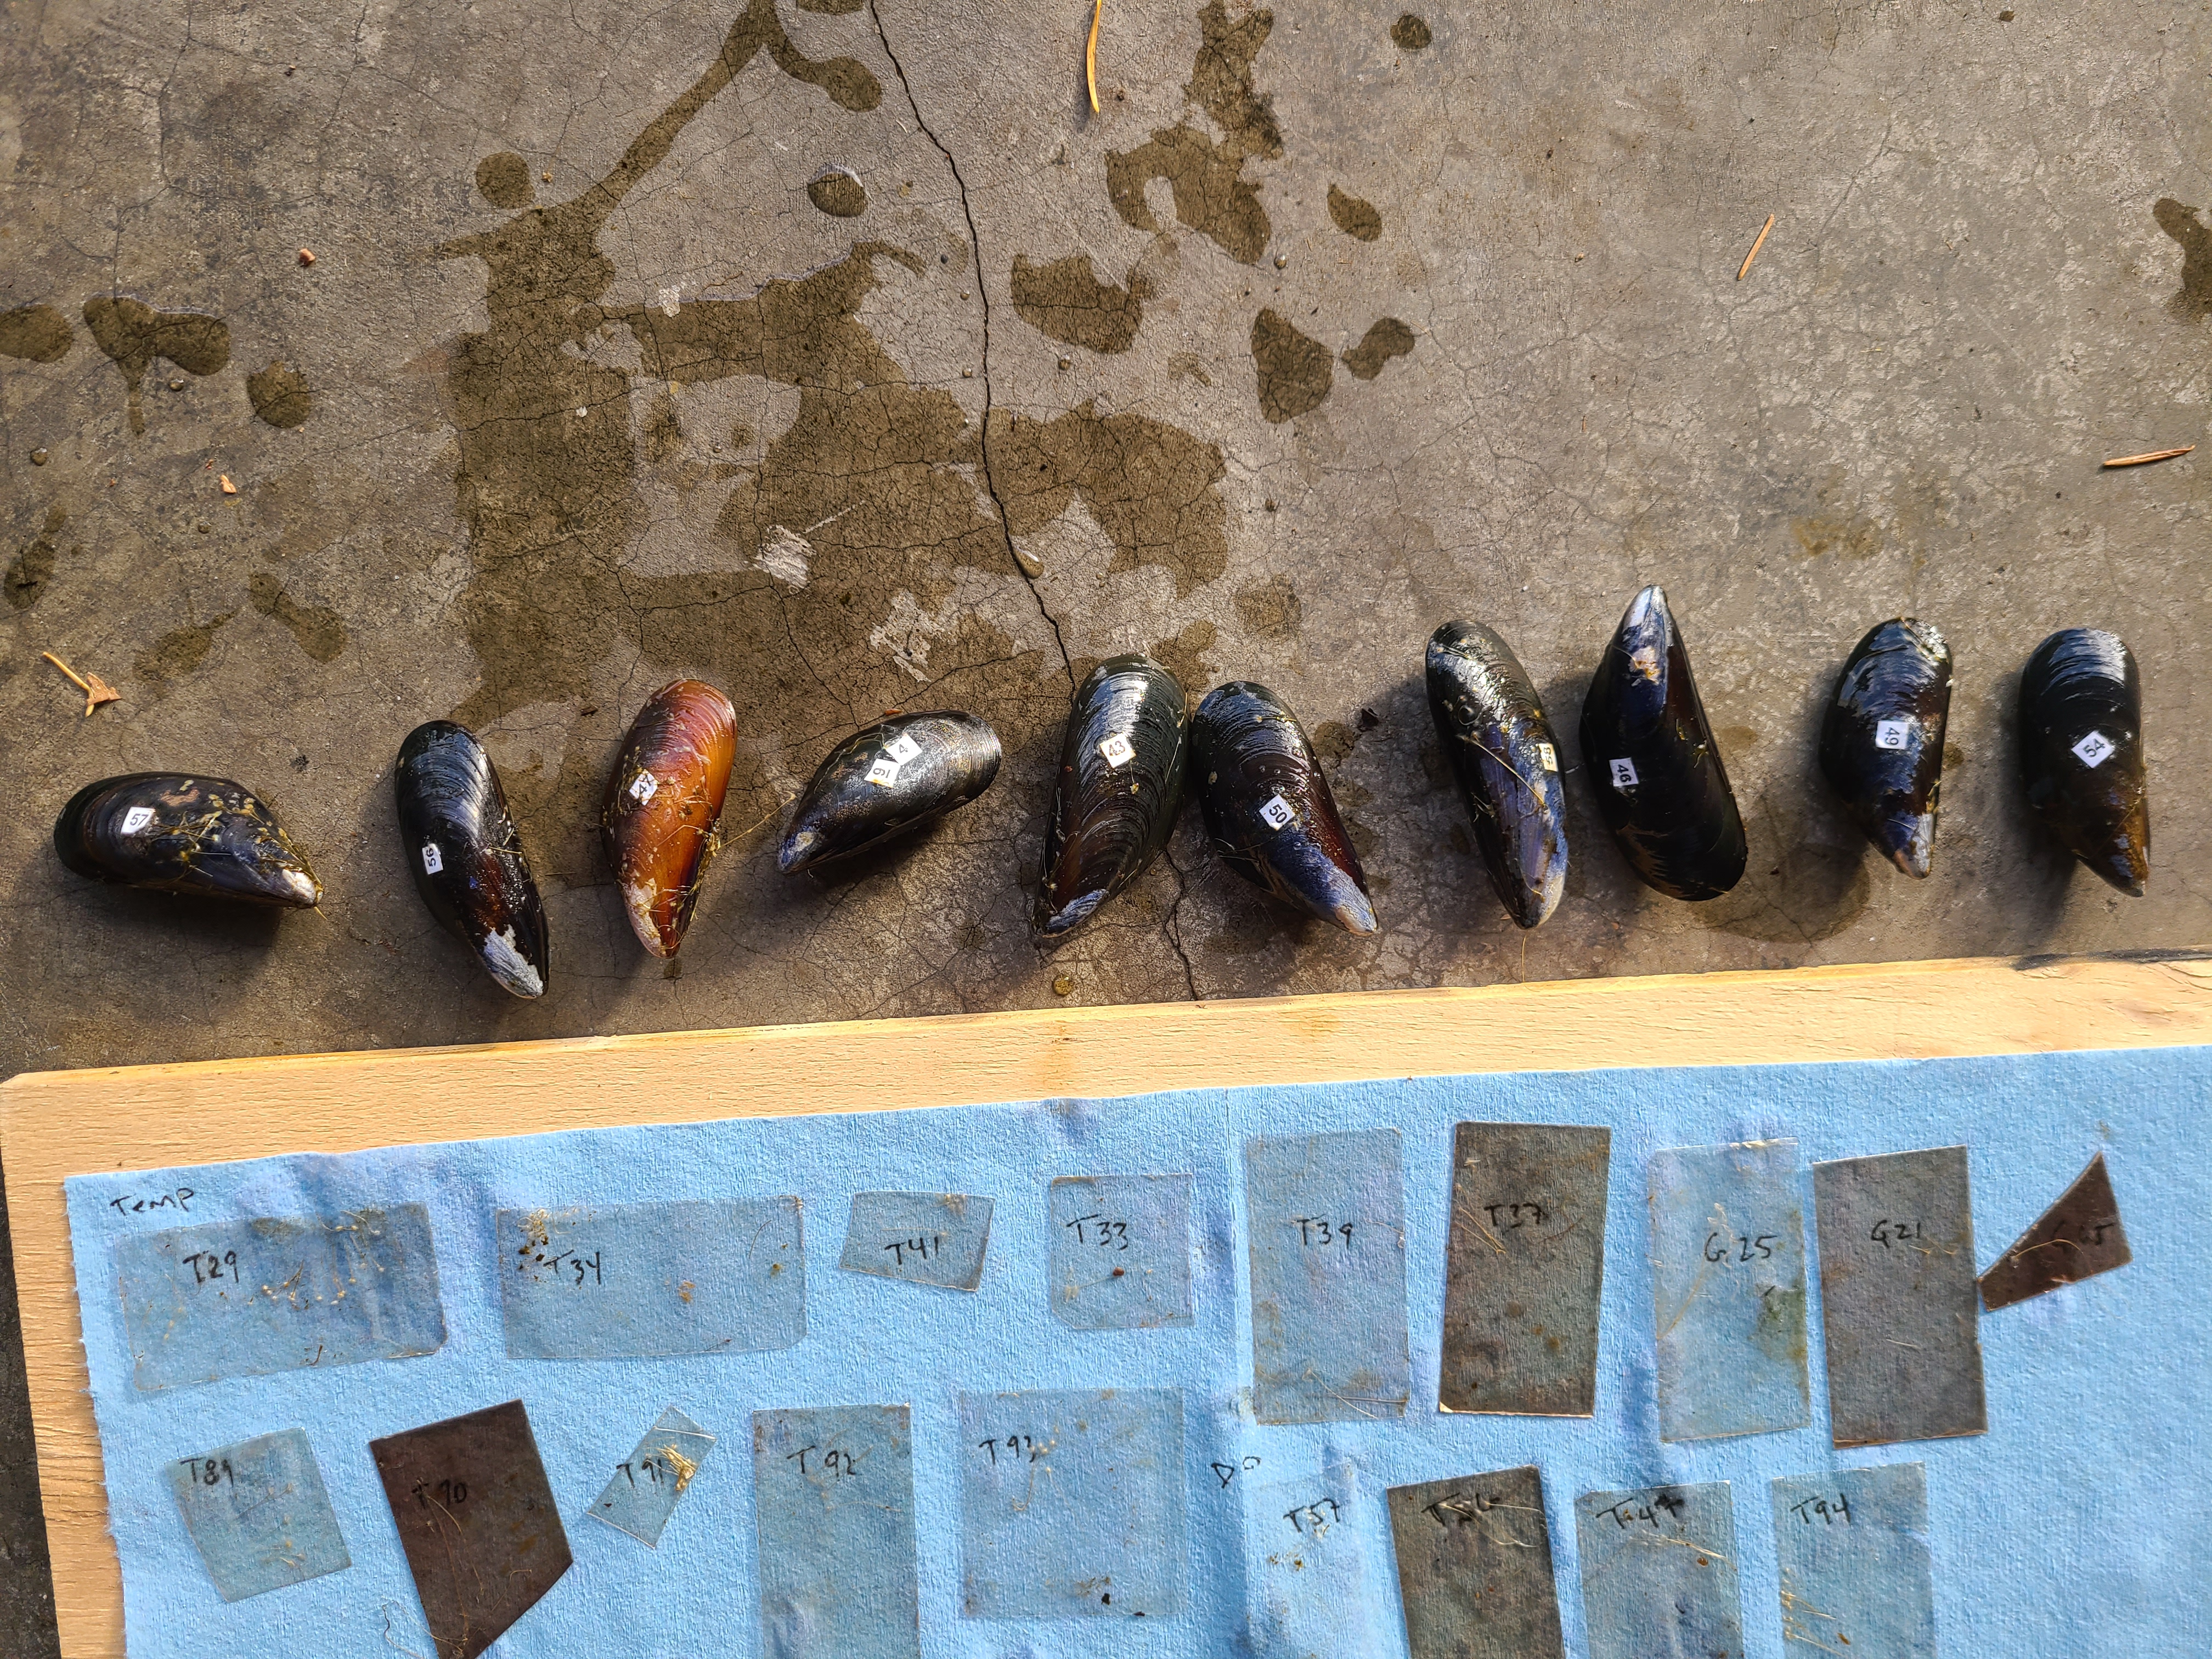
- Tag each mussel. Glue a numbered wire marker (e.g. Klein Tools 56250 wire-marker book, Amazon B072SVZKQ5) to one valve with gel superglue.
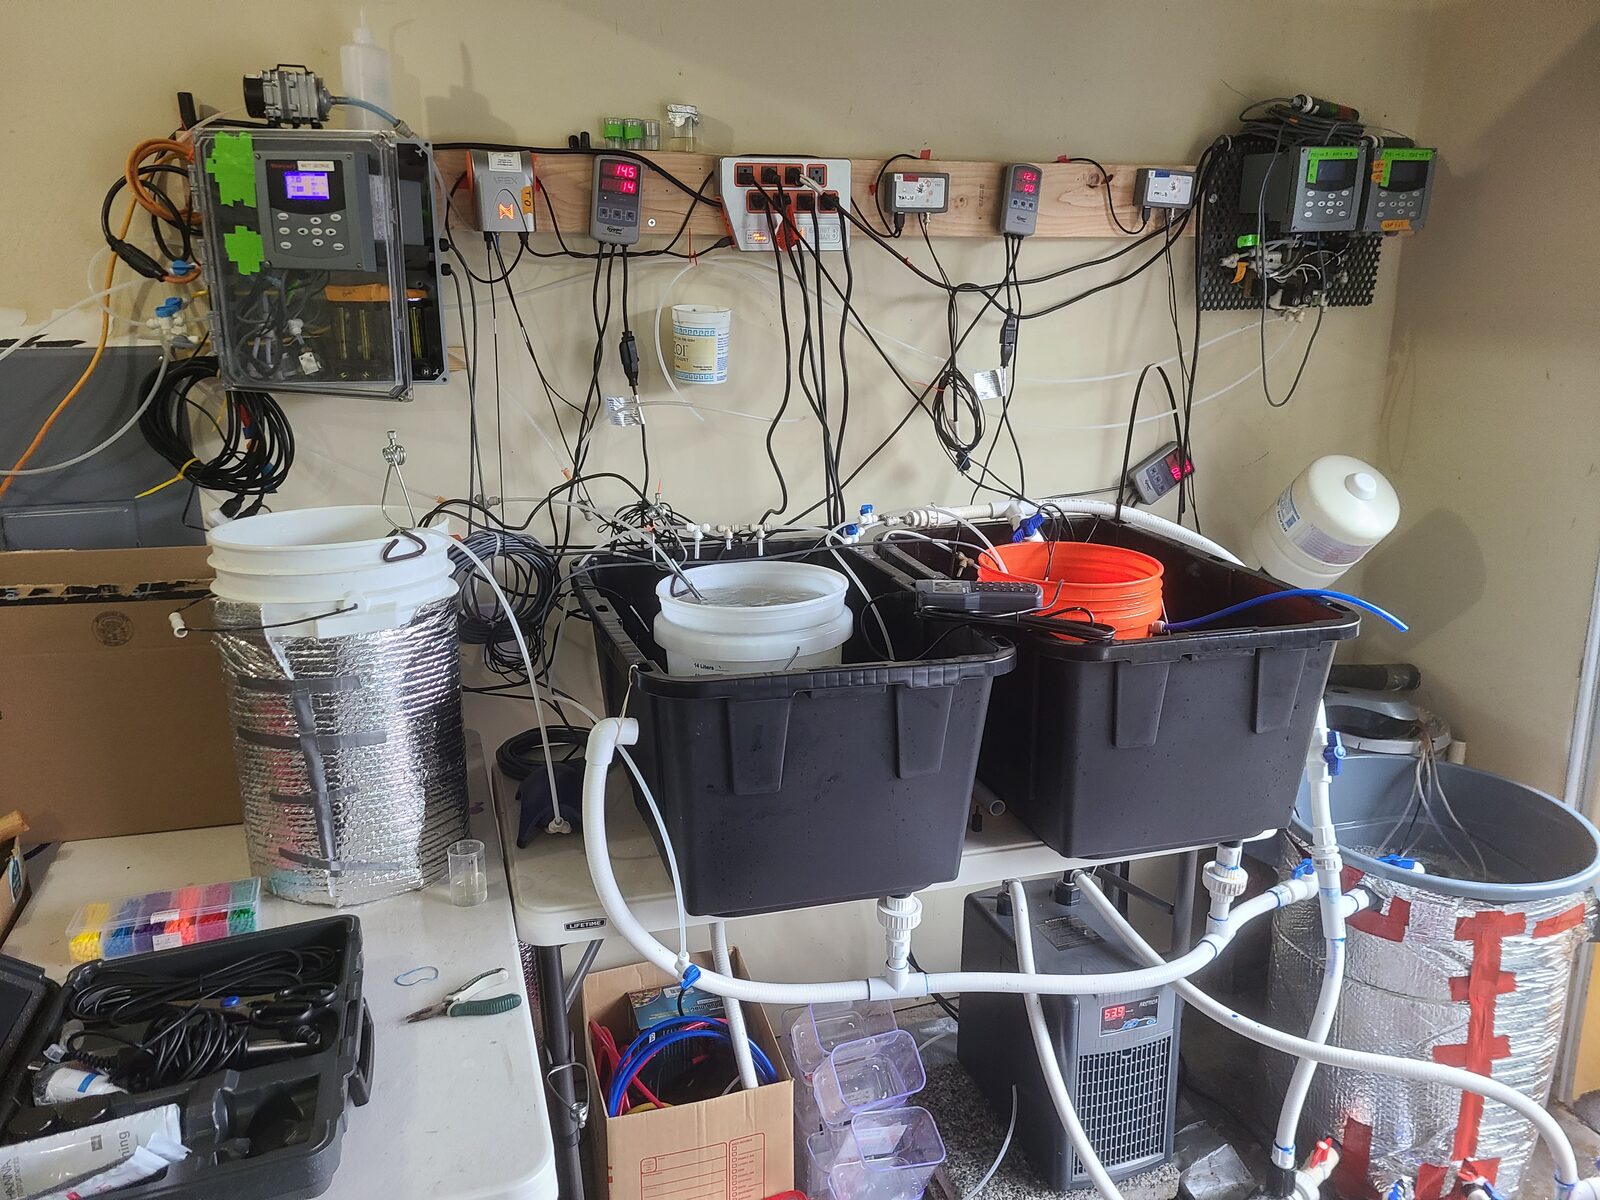
- Expose. Hold mussels on their platforms under the treatment conditions for three days. Record the number of threads each mussel produced, and compare with the number it produced before the exposure.
- Harvest threads. Cut each thread at the shell. When more than one mussel attached to the same mica sheet, cut the sheet apart and label each piece with the ID of the mussel that made the threads.
- Store dry. Lay the mica sheets between two paper towels, press them between two pieces of cardboard, and clamp with binder clips (Amazon B074XTRX7G).
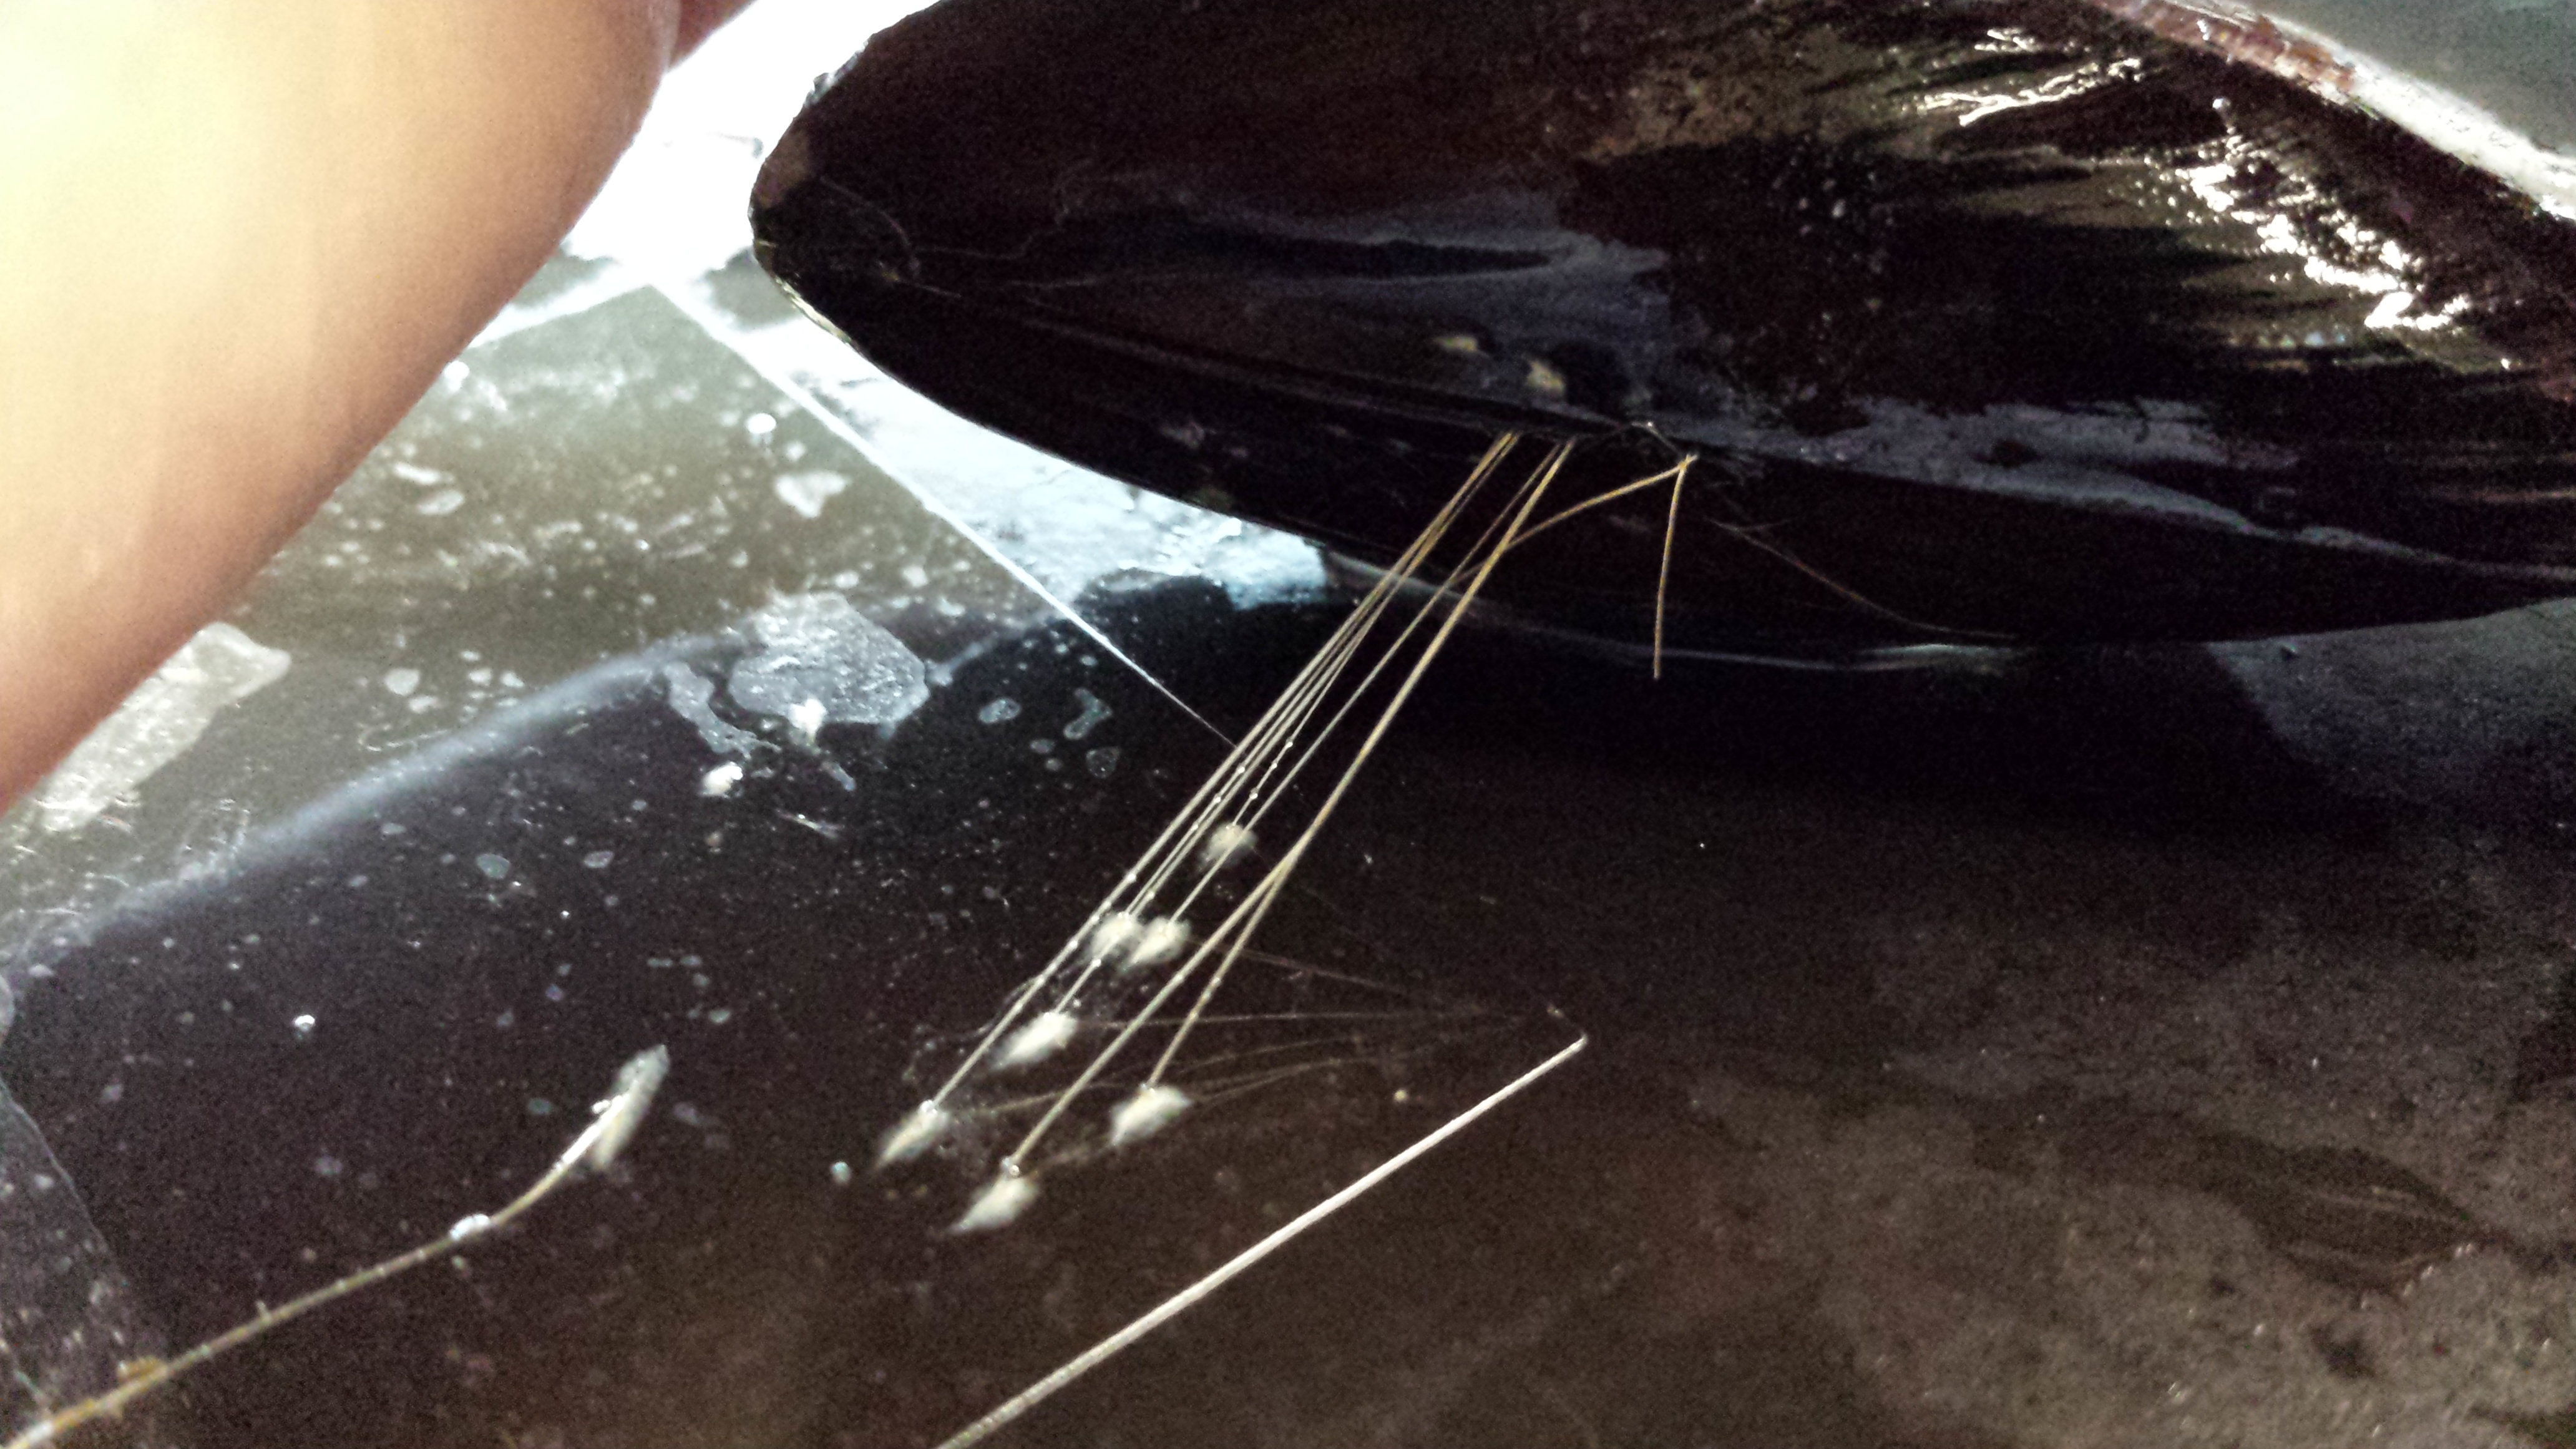
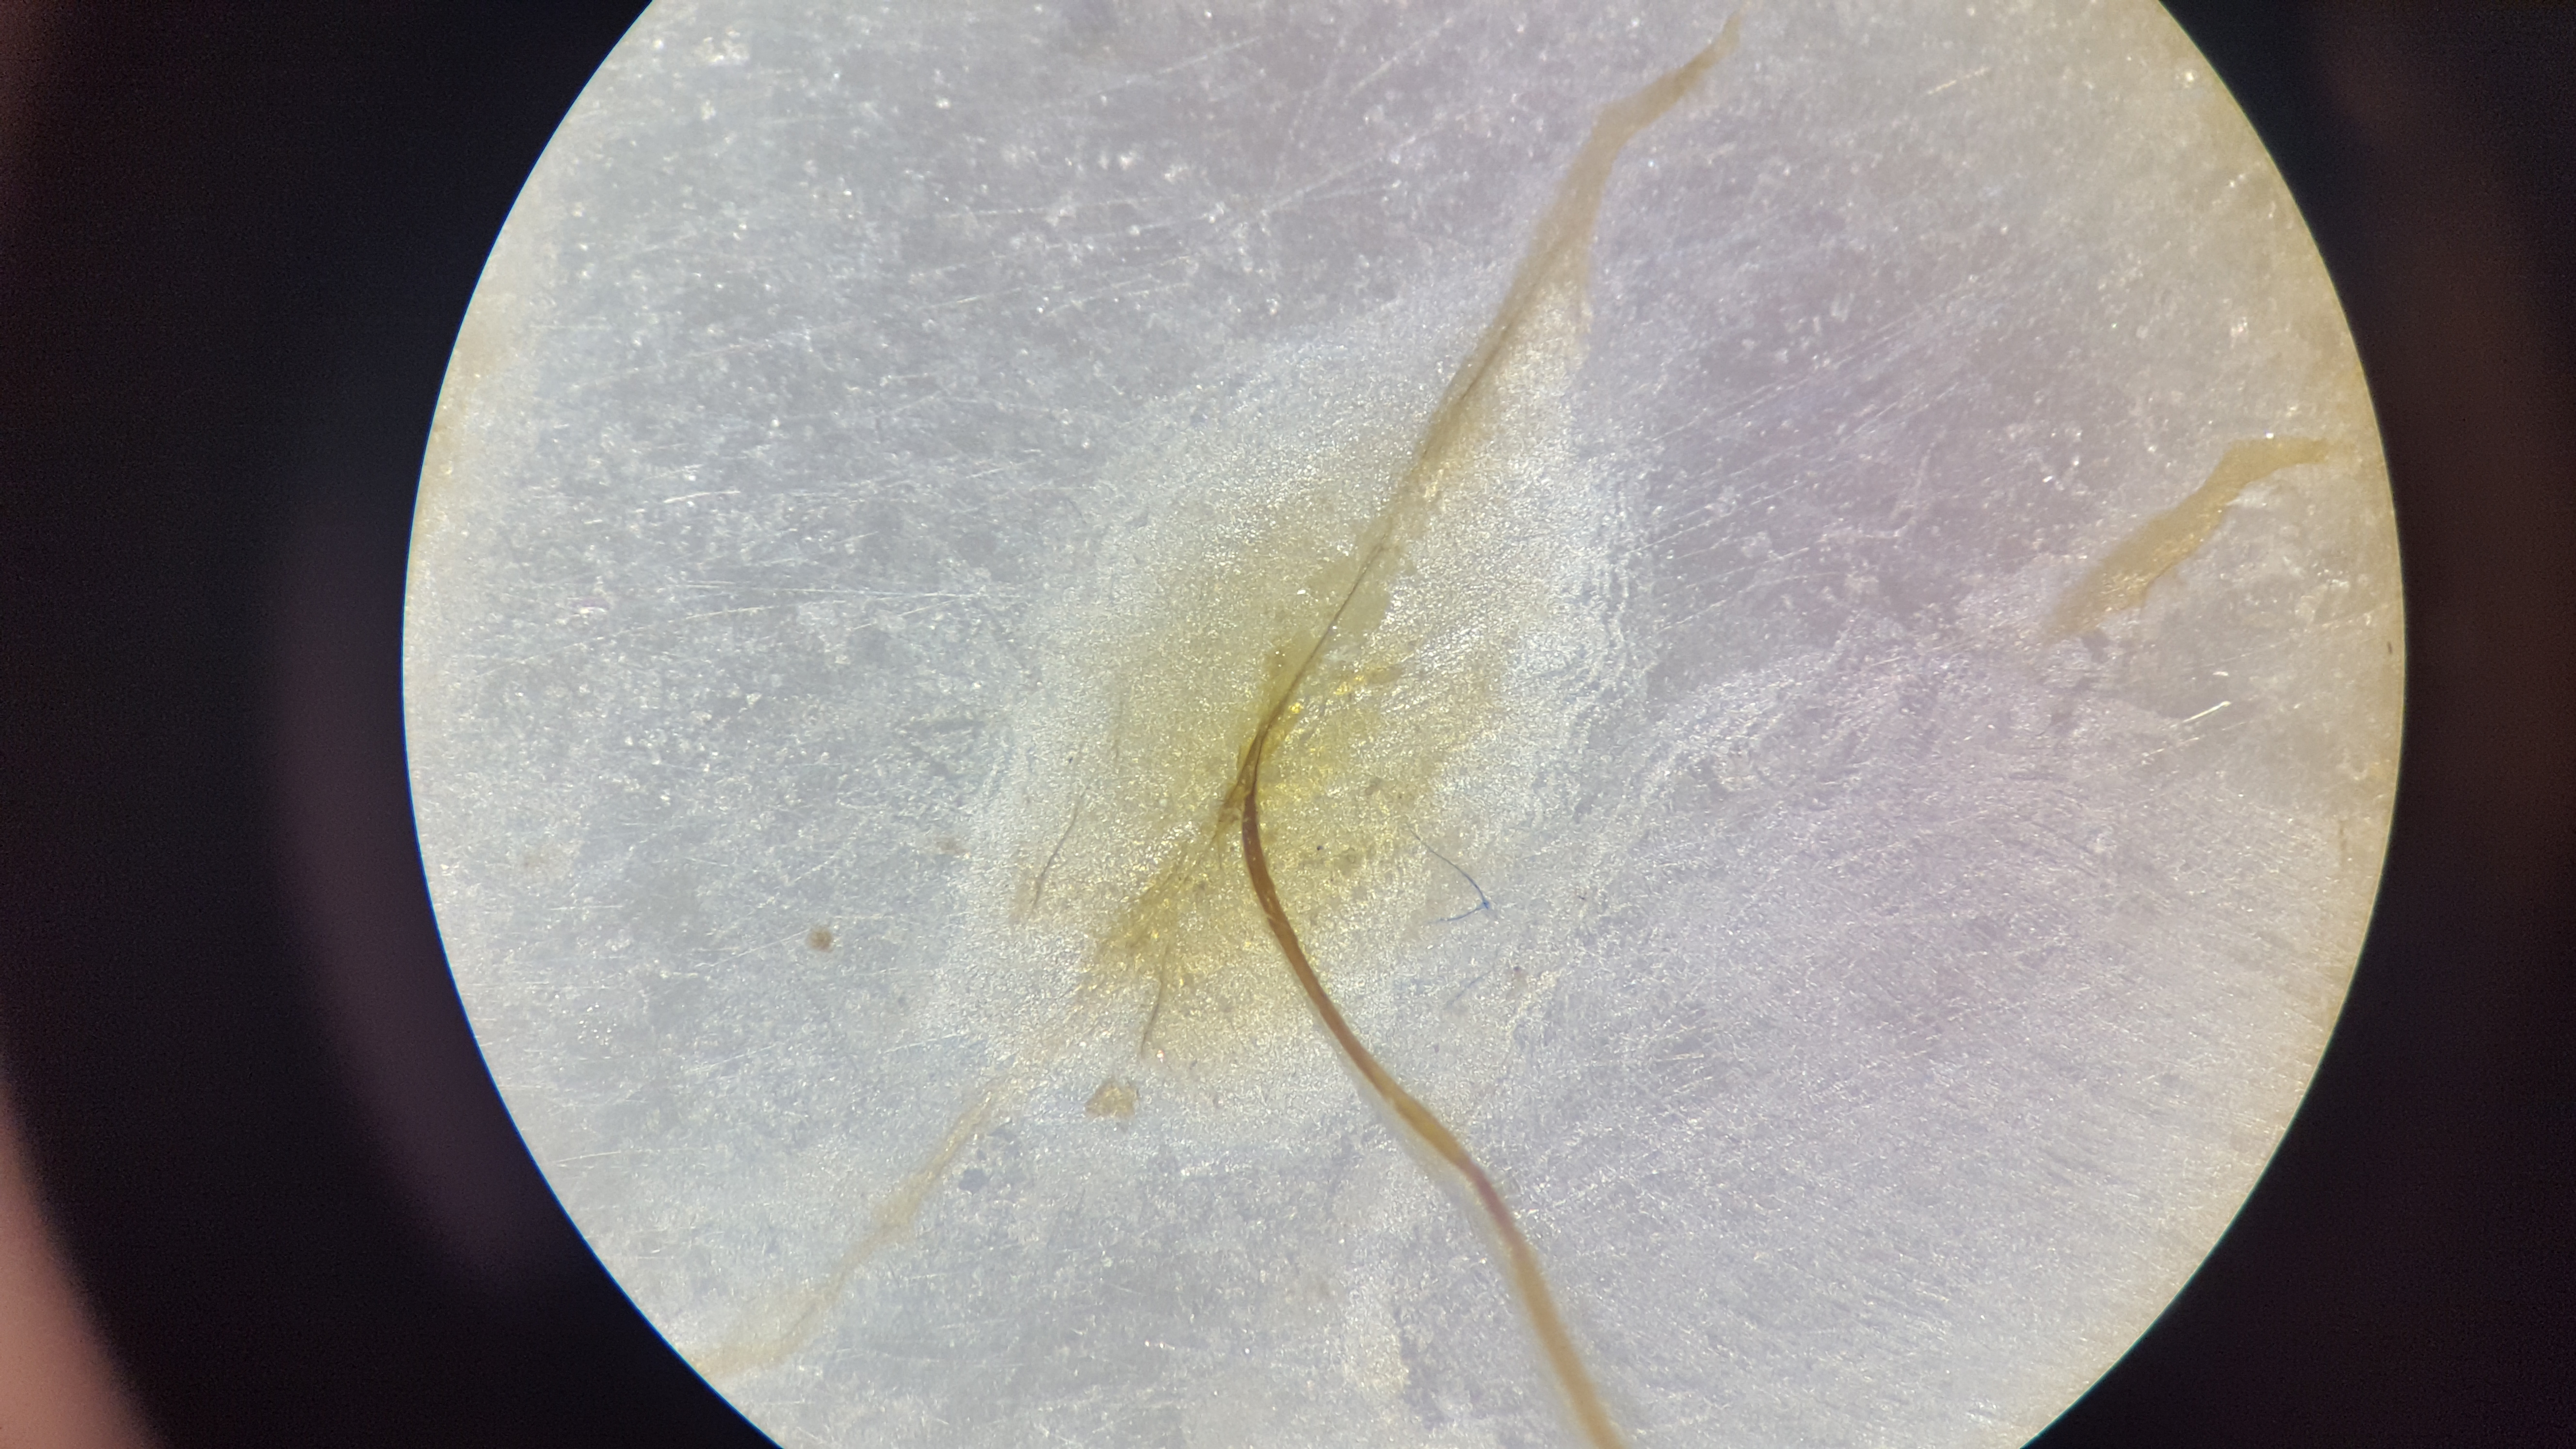
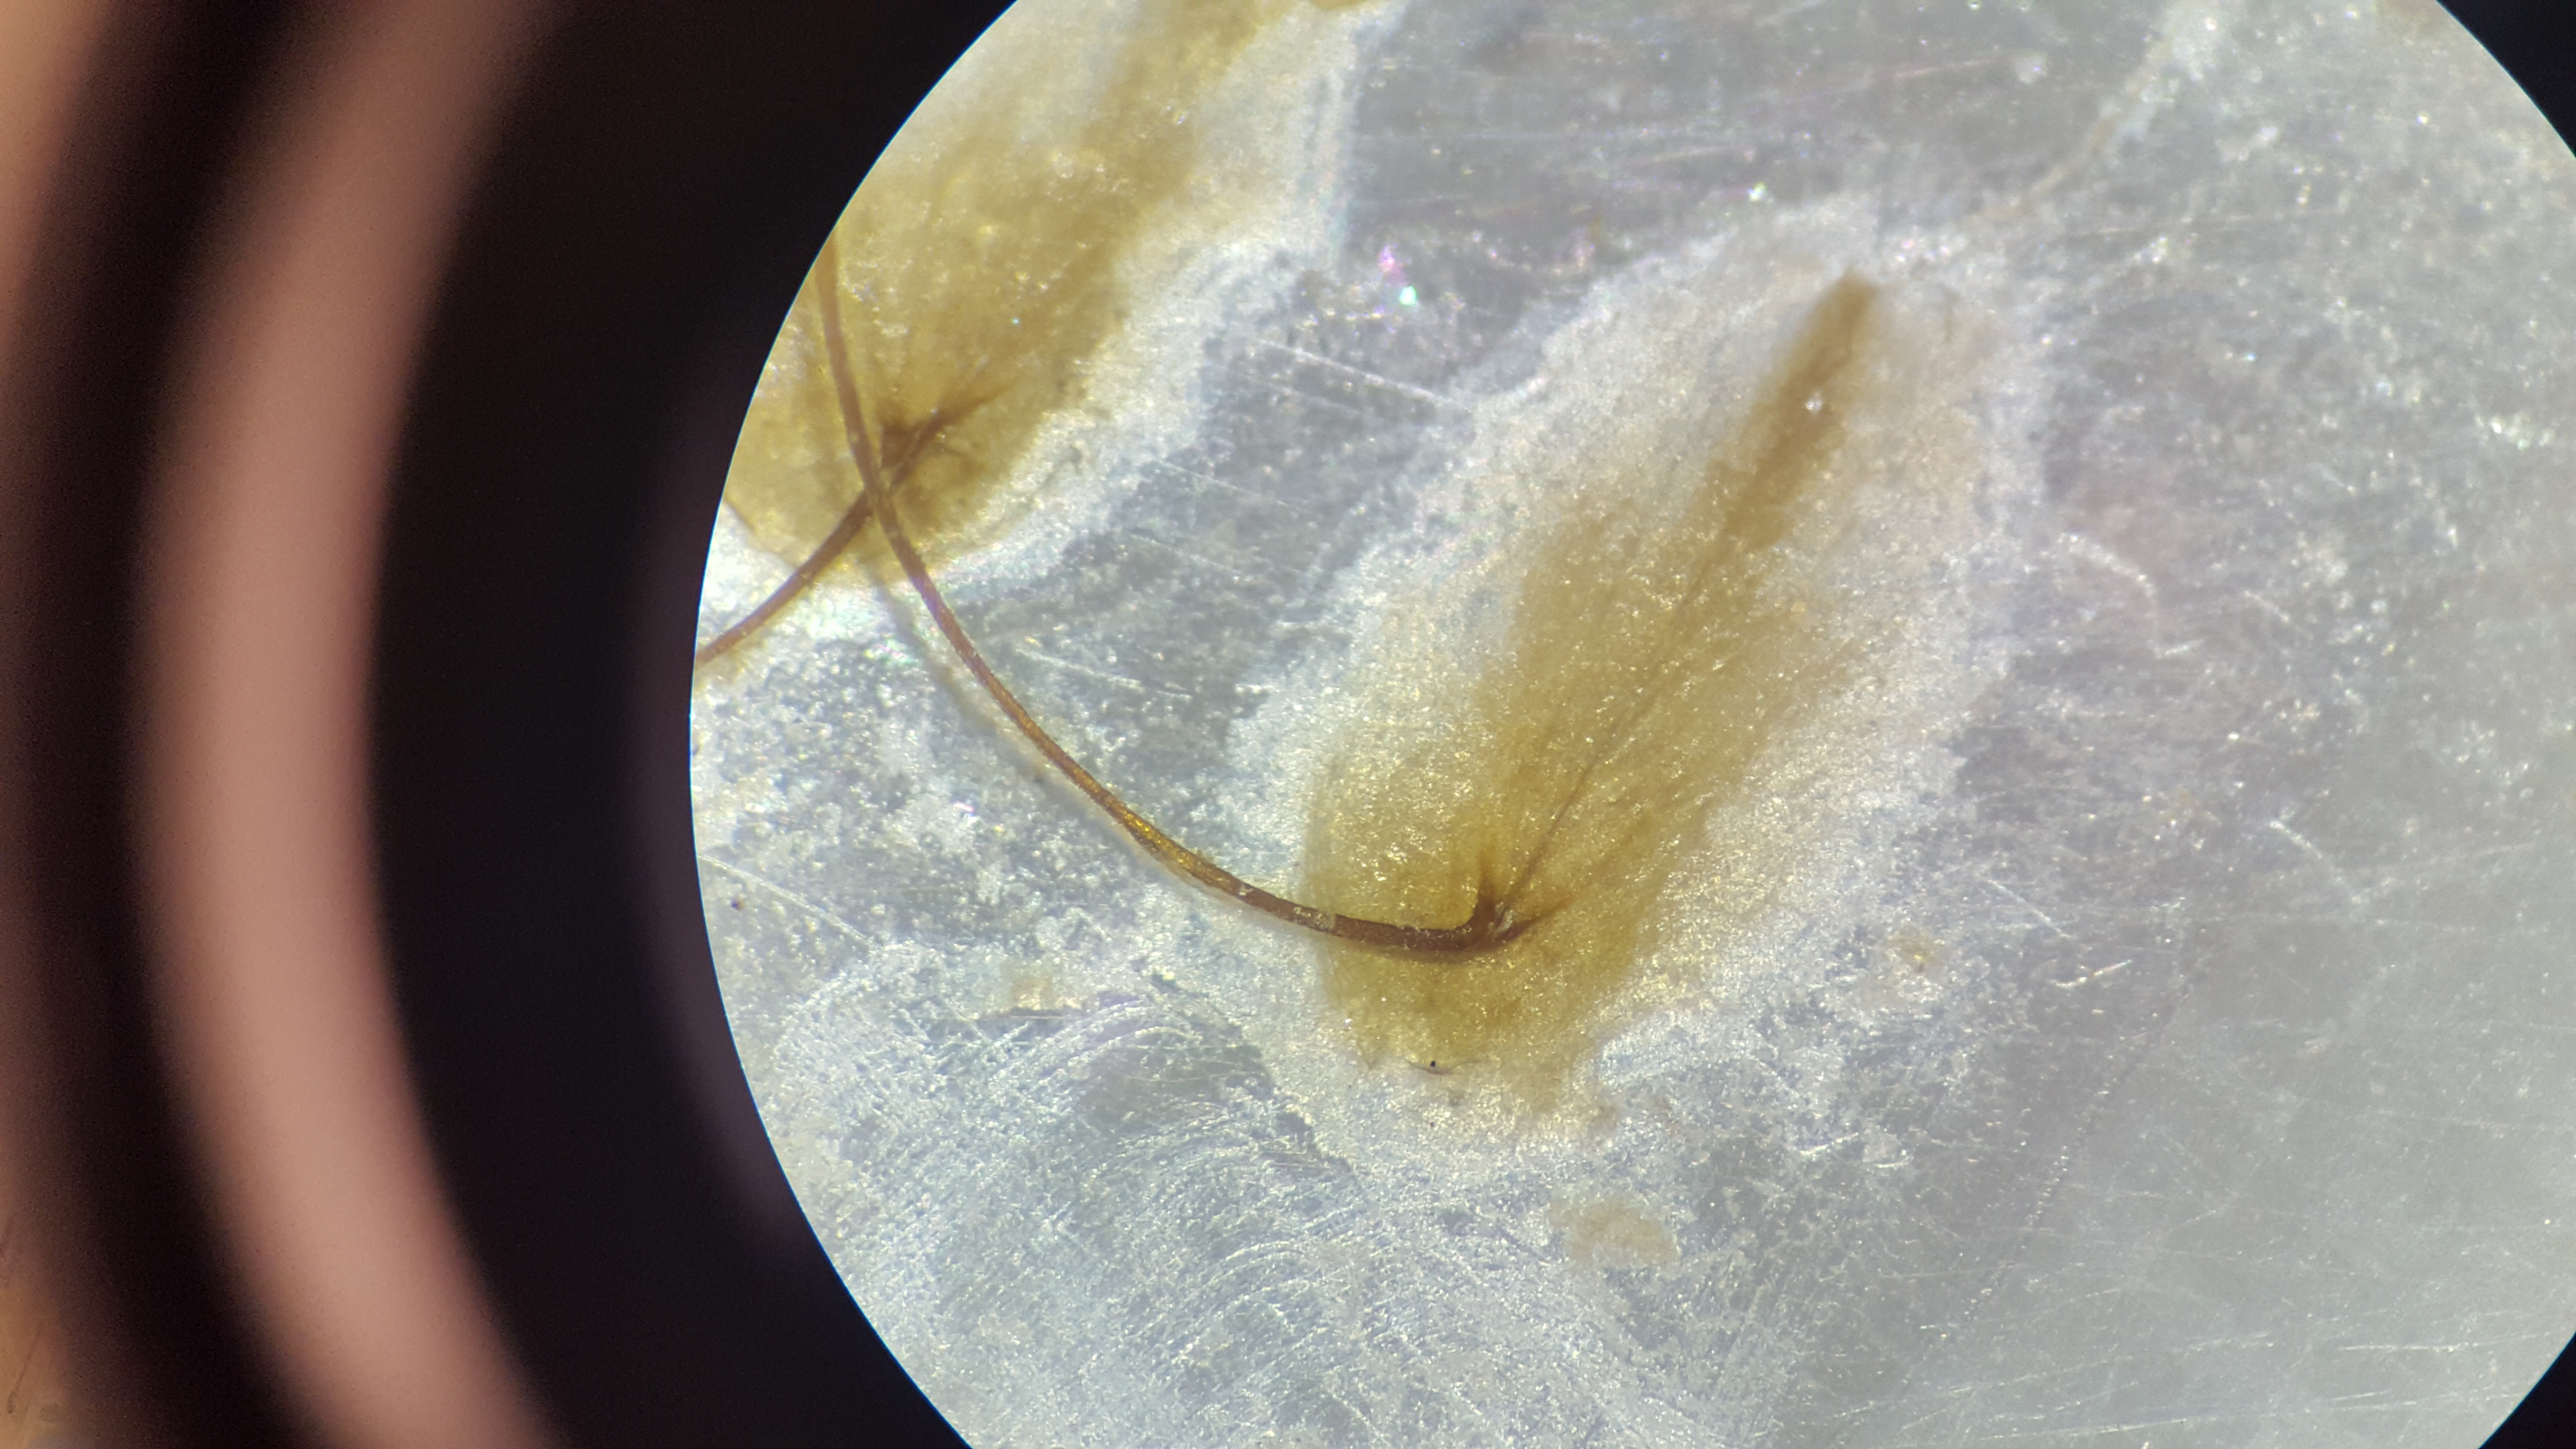
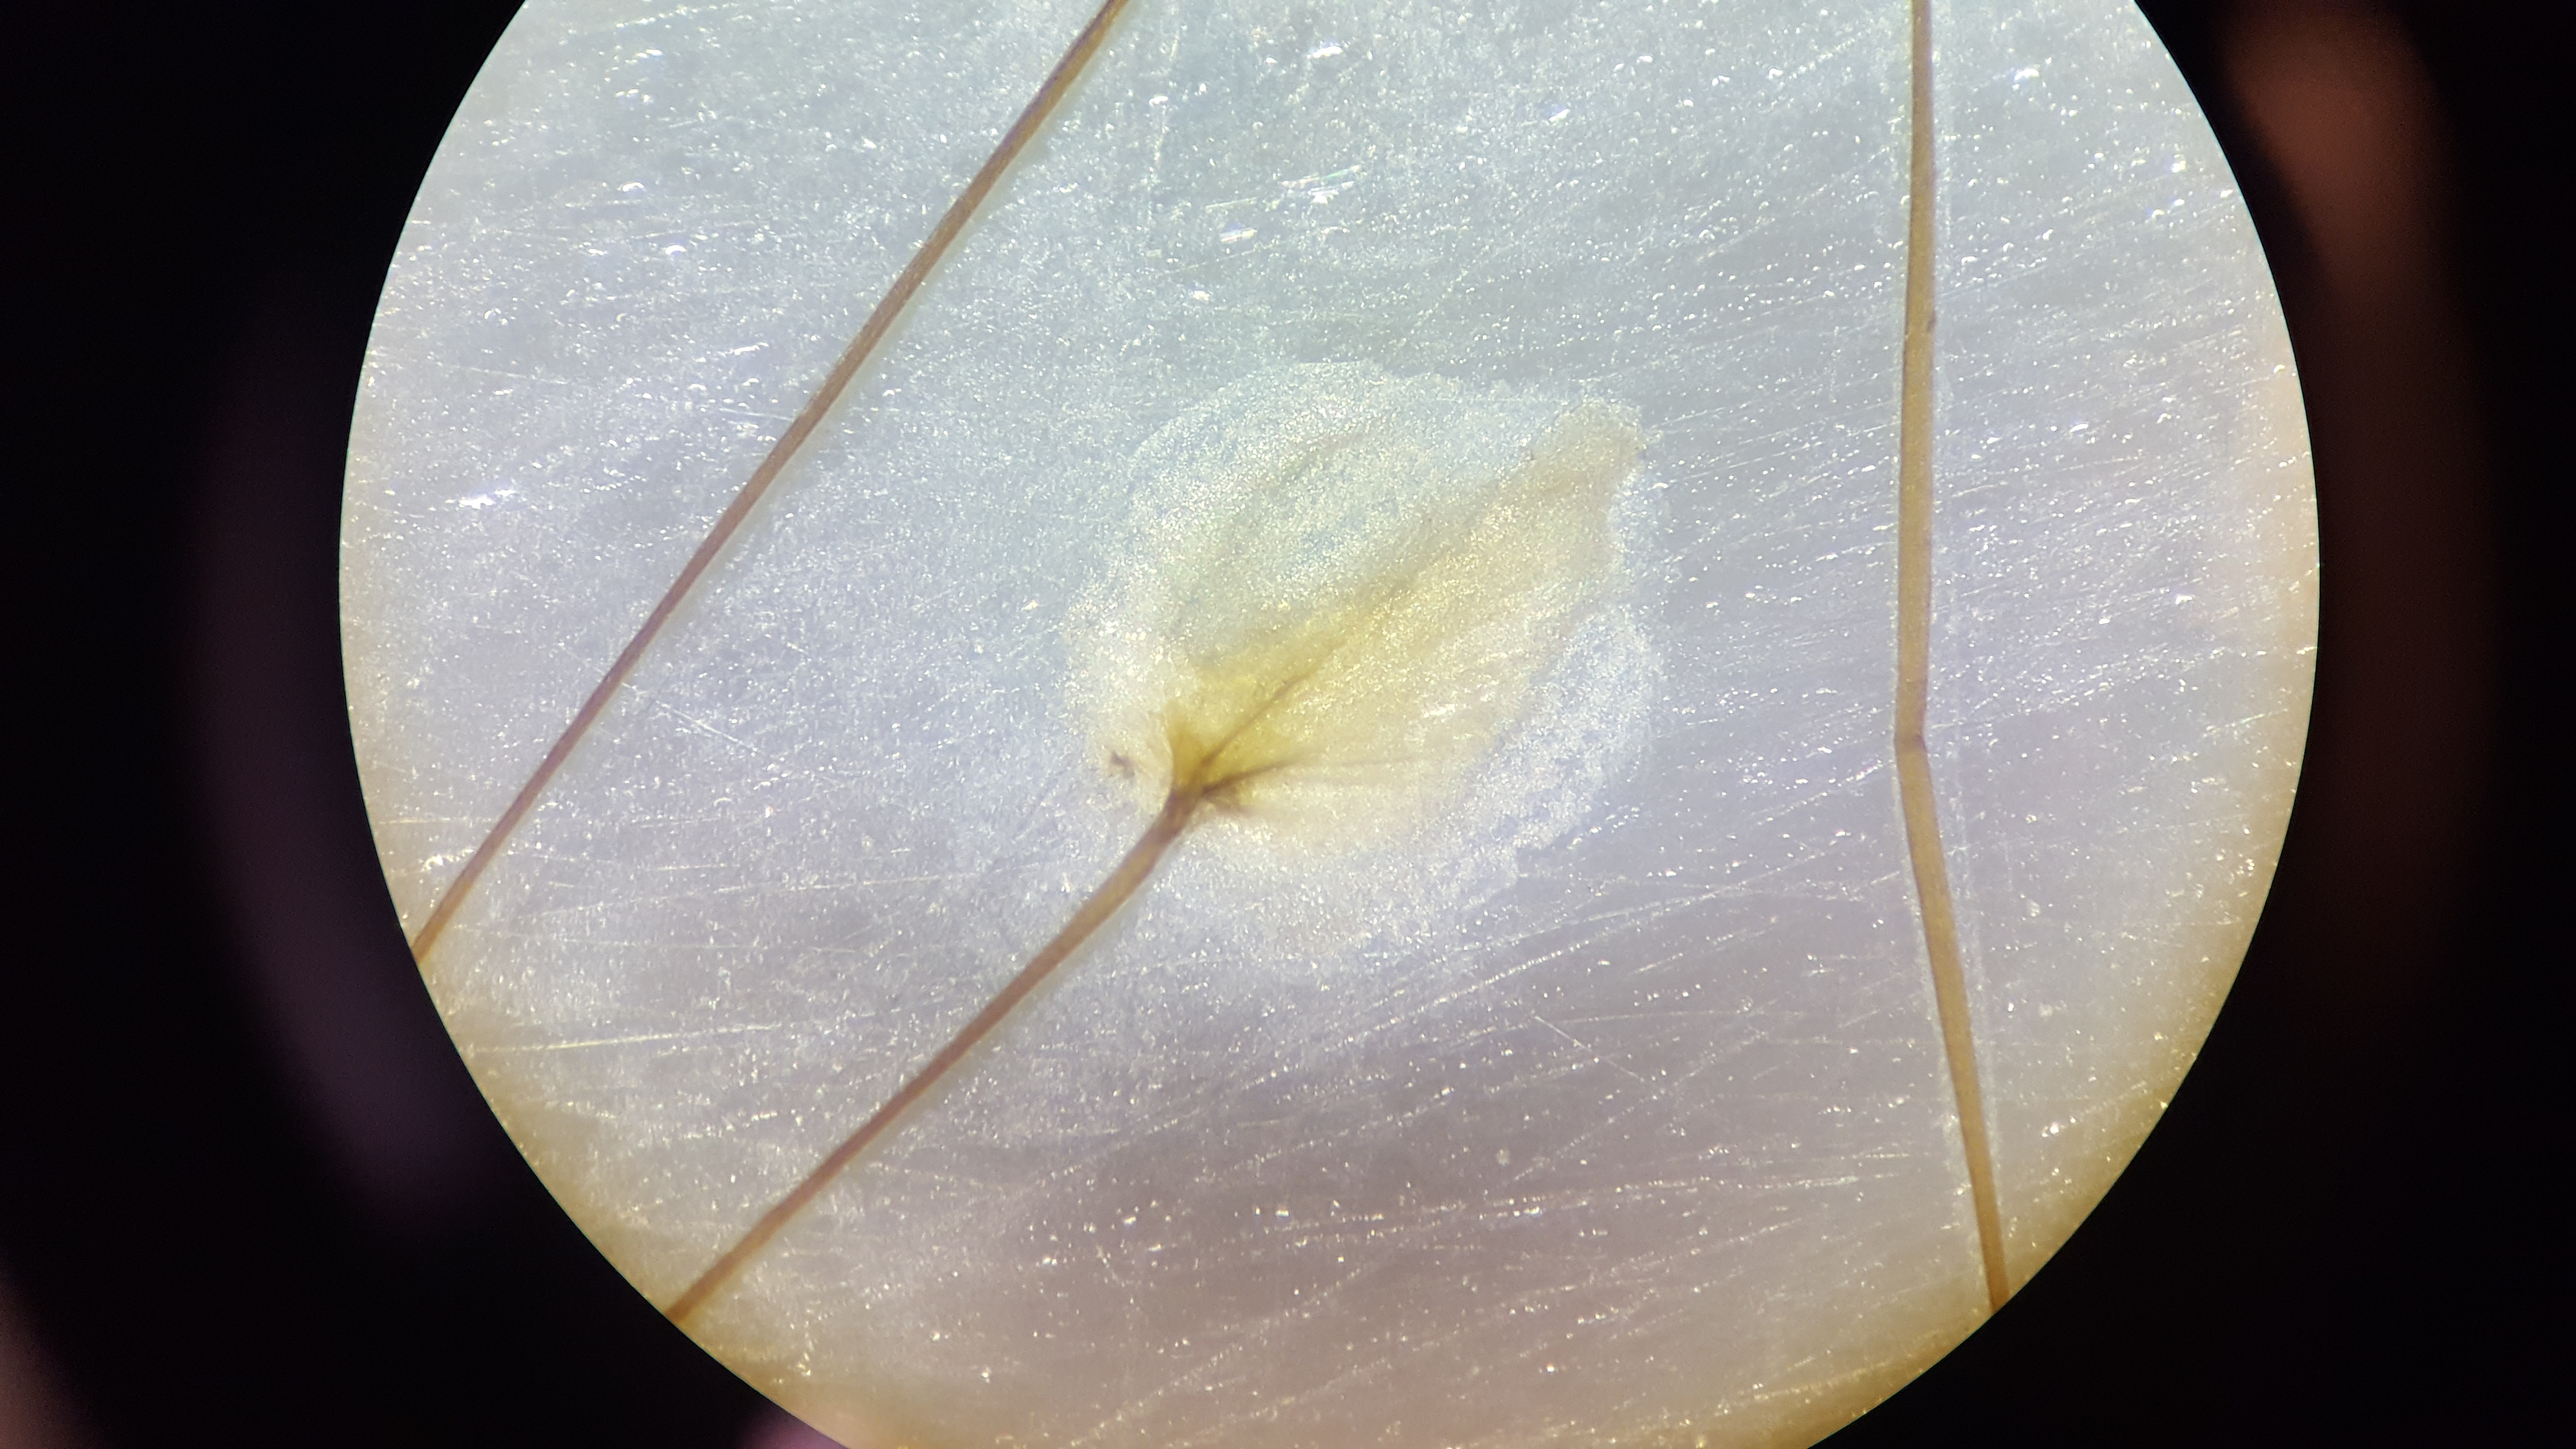
Close-ups of adhesive plaques on mica:
4. Next step: thread testing
The stored threads were pull-tested to failure by Monica Klopp between April and July 2022. Her procedure, recorded in her thread-testing notebook entries, was:
- Rewet each sample with seawater and photograph the plaque (AmScope) to measure its area.
- Grip the thread with a hemostat hung from a force gauge (Omega DFG51-2, logged in LabVIEW).
- Run the motor until the sheet lies flat with slack in the thread, hold the sheet down with forceps, and zero the gauge.
- Start logging and run the motor in the other direction to pull the thread until it fails.
- Record the failure mode: tearing (the thread pulls out of the plaque, or part of the plaque stays on the mica), peeling (the plaque fails asymmetrically), or adhesive (the whole plaque detaches as one unit), as defined in George and Carrington (2018).
Gene expression in the same mussels is analyzed in PSMFC byssus pilot analysis Part 1 (Tag-seq processing) and Part 2 (transcriptome assembly).